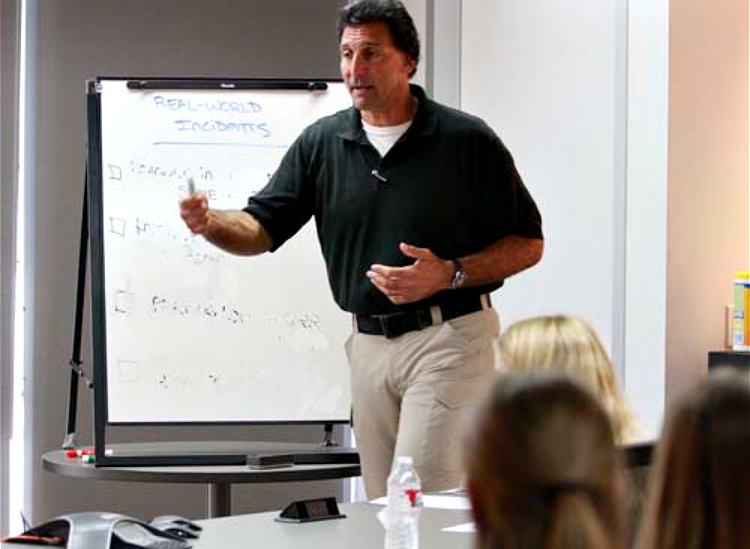
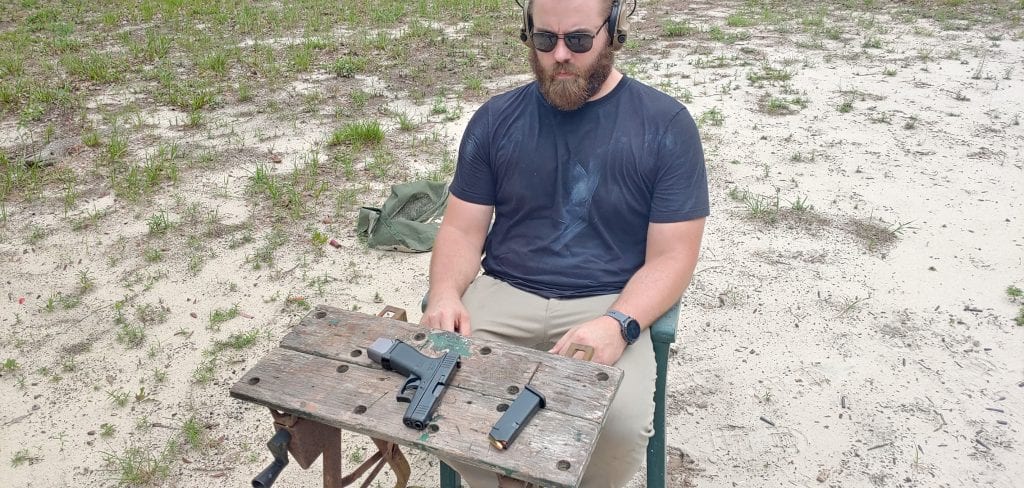
Concealed carry can be a hot-button topic. Whether it comes down to types of holsters, if you need a gun belt or not, or the perfect carry caliber, there’s a lot to argue about. In this video, Mike Pannone goes over his personal experience with concealed carry and gives you, the viewer, some tips for success.
Interested in concealed carry? Mike Pannone is here to tell you all about it. (Photo credit: Mike Pannone)
Noner’s Concealed Carry Background
Mike “Noner” Pannone started his concealed carry journey in the military, which is something of a surprise considering the vast majority of military members open carry. Here’s his background in his own words:
“I was carrying a…full-sized 1911, or I was carrying…basically an off-duty gun…a Glock 26. In hindsight, I should have just carried a Glock 19…because I think I can conceal it on my frame just about as well, but I can shoot it a lot better [than the Glock 26]. …it was relatively basic training-wise, it was just drawing from concealment, reloading from concealment, normal stuff that a basic course would do.
“Then we would integrate that concealment…into what we called our ‘black book standard’; we had…different courses of fire that we shot that were standardized and scored and graded against the historical data [we had collected]. …it was a secondary task unless you were within specialized elements within that unit that were in non-standard uniforms.
“But, it was a good block [of training]…but it wasn’t a primary task for your normal assaulter, so we didn’t go…in-depth on [concealed carry]. …in JOSC [Joint Operations Special Command]…there were a couple places we went where you couldn’t be seen carrying a gun, you couldn’t be caught carrying a gun, where we’re not supposed to be armed, but we were. …I learned to be tuned in to the different tells people were carrying.”
See what else Noner had to say about his early concealed carry experiences in the video below.
Tips for Concealed Carry Success
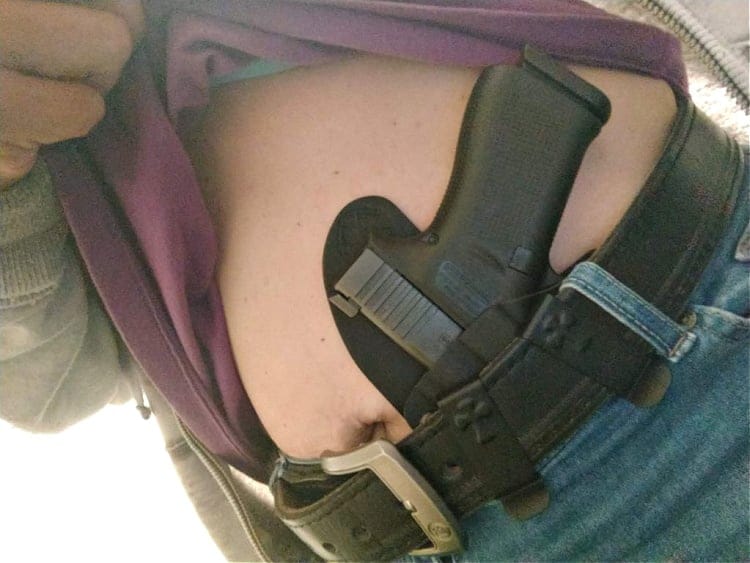
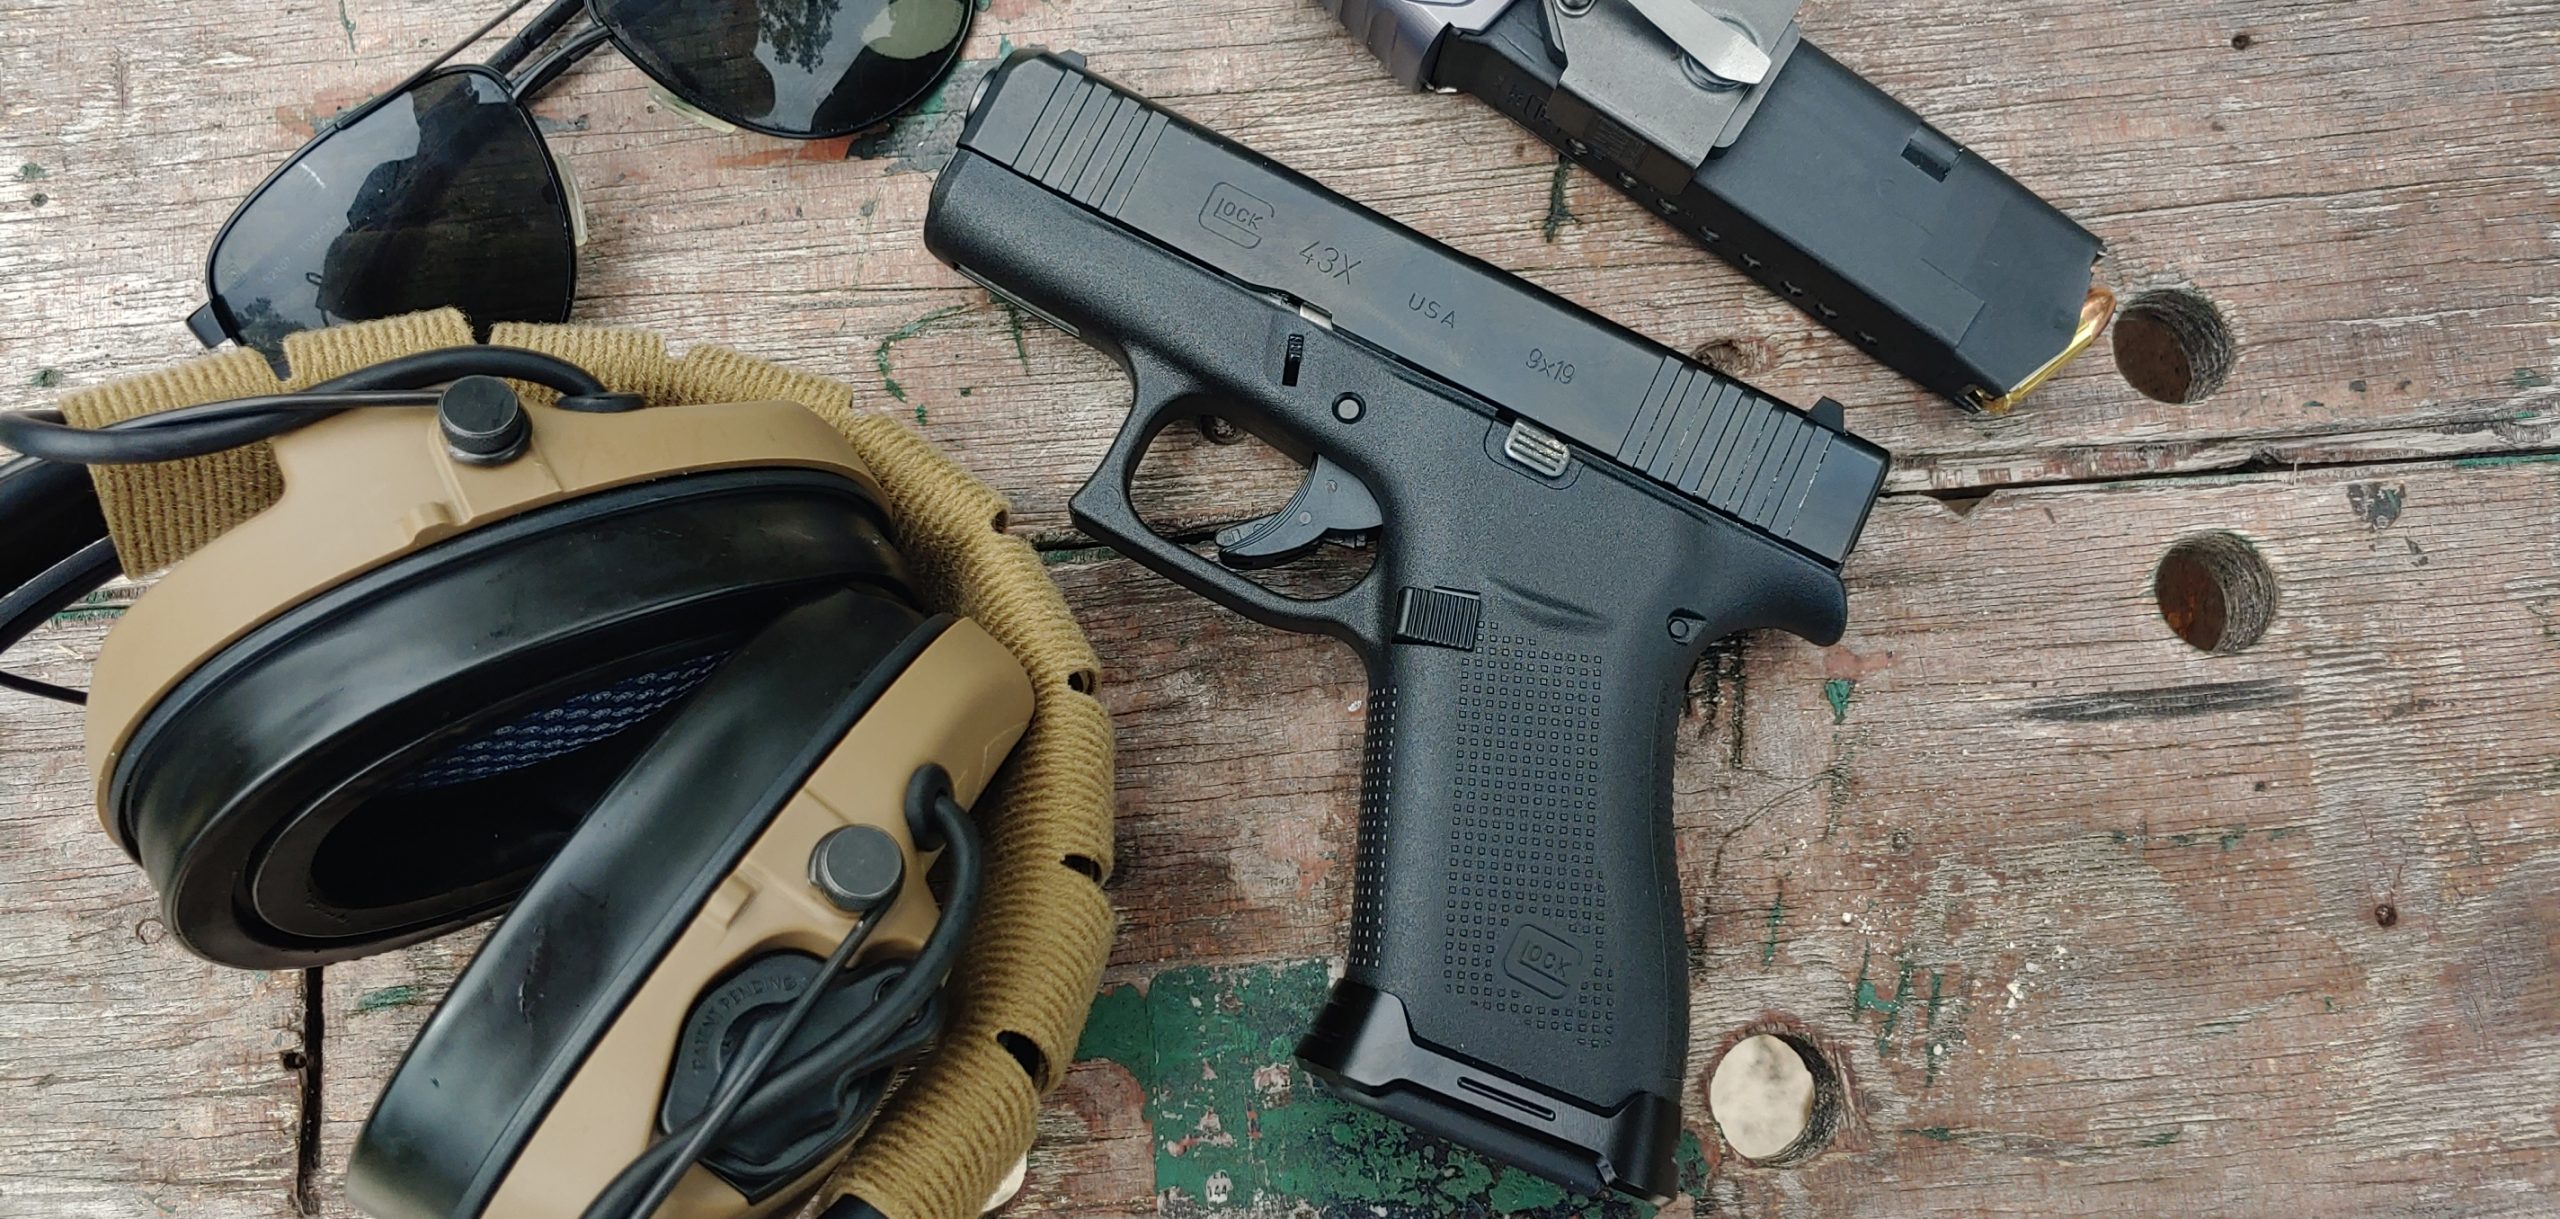
AIWB with a Glock 43X is a good way to conceal your handgun. (Photo credit: Kat Ainsworth Stevens)
Have I considered the mental aspects of what it would take to defend myself against a lethal threat?
Is this a reliable gun?
Is this an accurate gun?
Does my holster protect the trigger guard and provide sufficient retention?
Do I have a good gun belt to use with my high-quality holster?
Do I have or want carry coverage from a company like US LawShield or USCCA?
Am I dressing and carrying myself as a gray man? In other words, don’t wear gun logo shirts or other clothing that makes it obvious you’re likely to be a gun owner. Blend in.
Also, remember not to inadvertently signal to others that you’re carrying a gun. That means you shouldn’t be constantly touching your gun to make sure it’s where you left it — a good holster and belt will keep it in place — and severe printing shouldn’t be occurring. It can take time to find the right holster and belt combination for your gun and body shape, so be patient. Concealed carry is a fantastic way to be prepared to defend yourself against a potentially deadly attack. Doing it right is what could save you in the end.
What’s your favorite concealed carry setup? Tell us about it in the comments below.
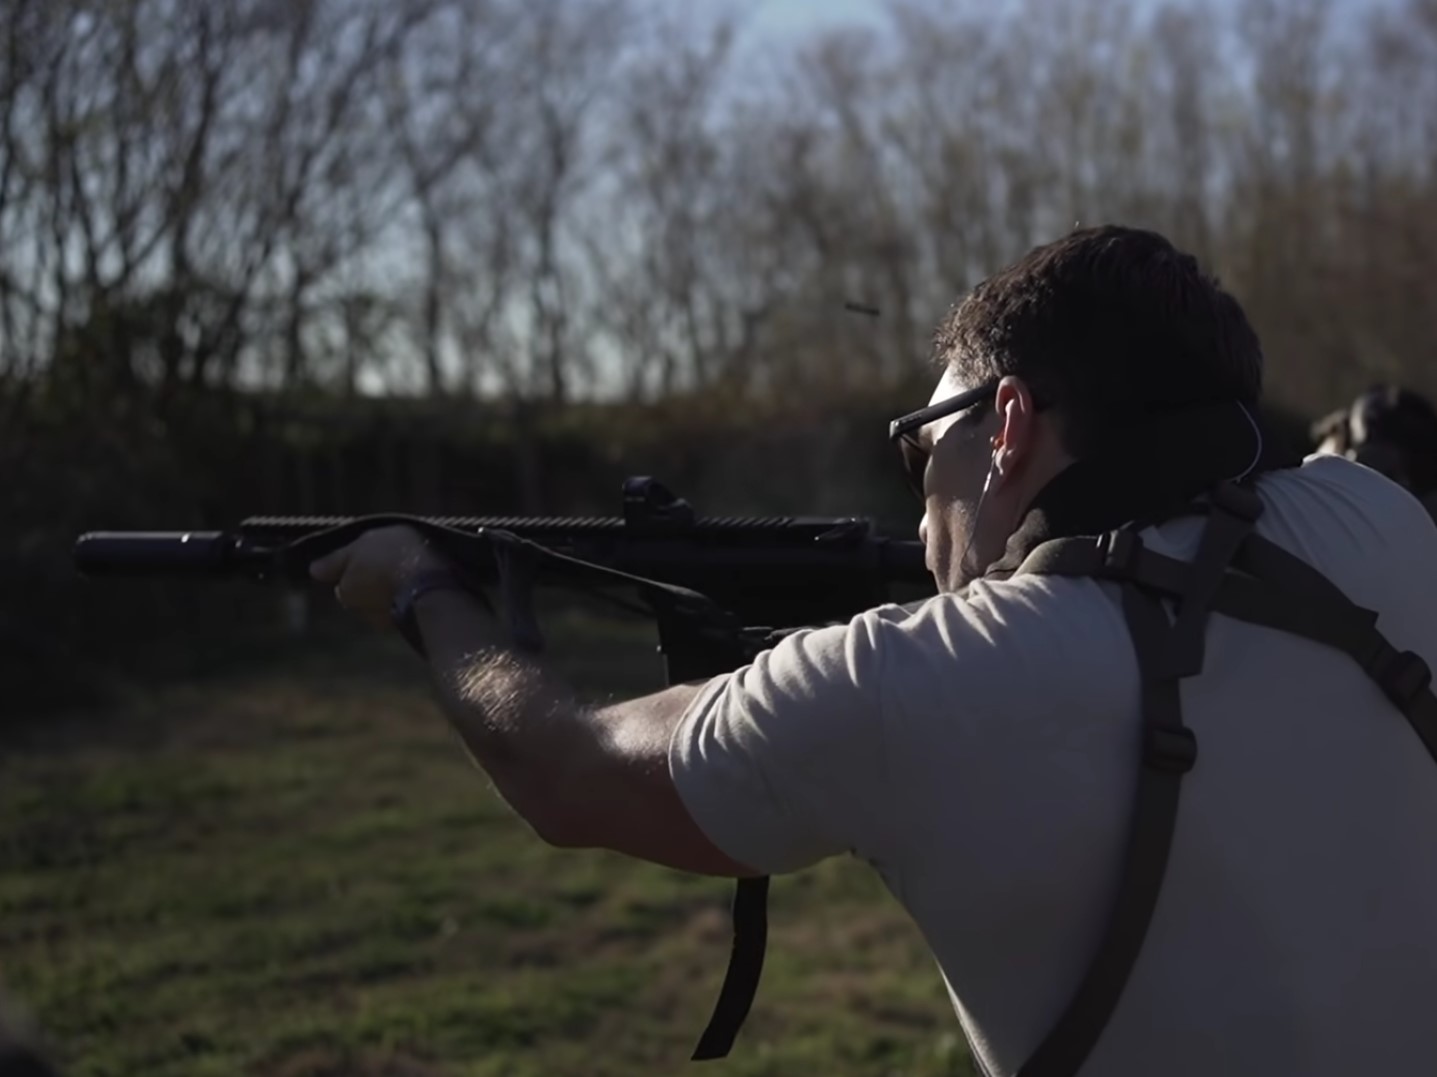
Looking for a way to upgrade your rifle without major changes to its setup? Would you like to potentially improve your own performance at the range? That’s where this easy rifle hack from TFB TV comes into play. In this video, the guys at TFB TV explain how a properly adjusted and utilized rifle sling can be a game-changer for you. Not only is it worth having a sling, they say, but it’s worth doing it right. Read on to discover just how easy it can be to up your gun game.
Could a rifle sling greatly improve your gun skills? TFB TV finds out. (Photo credit: TFB TV)
Why use a rifle sling?
There are quite a few reasons to put a sling on your rifle (and on other long guns, too). Here’s a list to get you going:
Hands-free carry
Stability
Bracing
Easier rifle-to-pistol transitions
Improved accuracy
Removing the strain from hands and arms
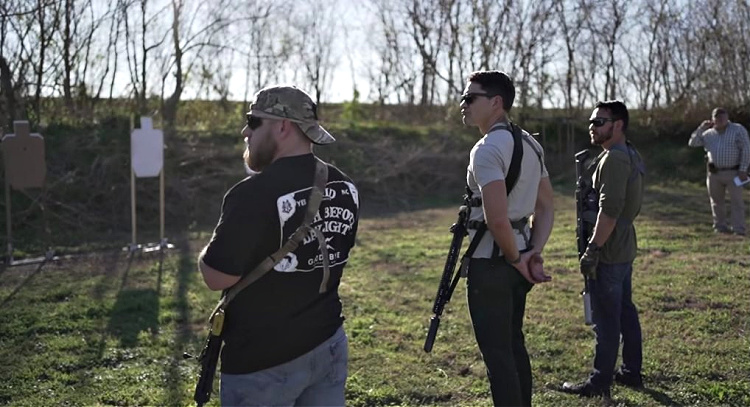
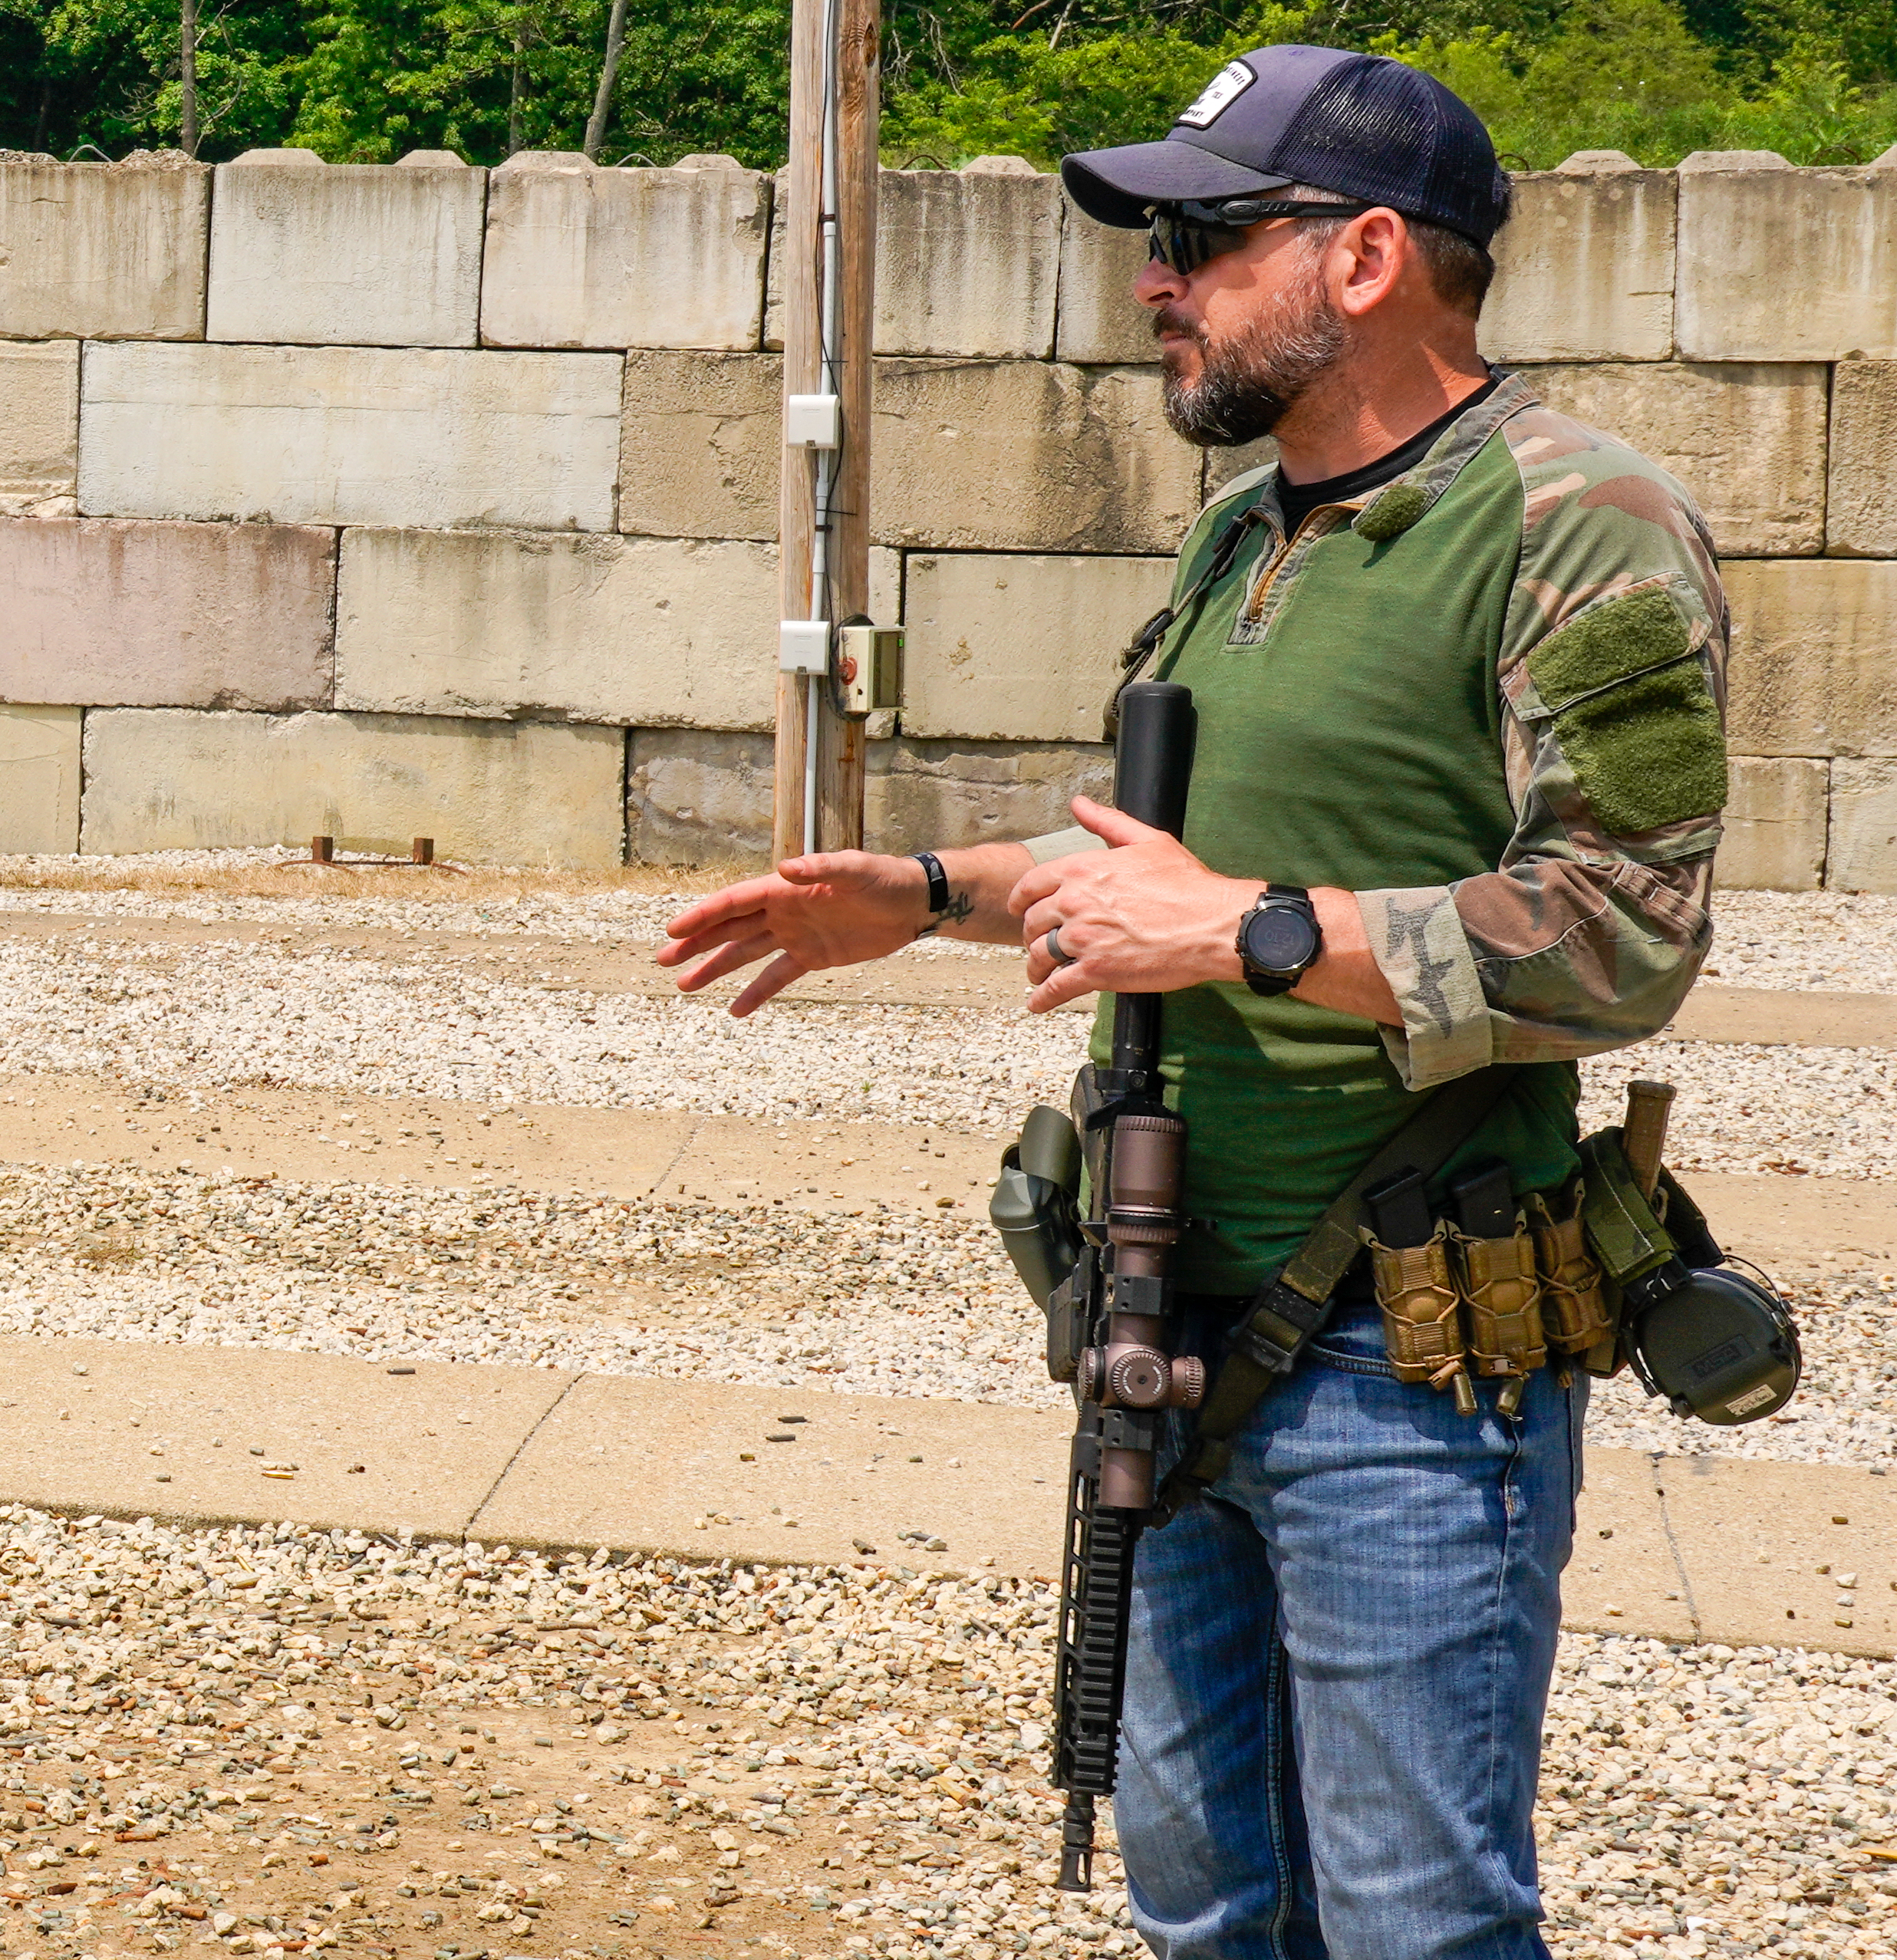
Blue Force Gear, a manufacturer of slings, took the TFB TV team through a three-hour class on sling use. During the class, they did everything from helping the team set up their rifles correctly to teaching them technique — and it’s all been reduced to a 20-minute video so you can watch and learn.
Getting ready for a rifle class on proper sling use. (Photo credit: TFB TV)
In the video, Chris from Blue Force Gear offers advice and answers questions. One question is, “What do we need a sling to do to be optimized?”
He says, ” …a sling needs to do three things for me. …if it doesn’t do these three things, you reduce it down to it [being nothing but a] parade sling, it doesn’t do anything but attach a gun to your body.
“[First] a sling has to give me the ability to have a repeatable and reliable front sling position. The reason I want [that] position is because most of the time…my hands are off the gun. [When] my hands are off the gun…I need it retained… …I don’t need it bouncing around…I don’t need it pointing at anything it’s not supposed to be pointed [toward]. …
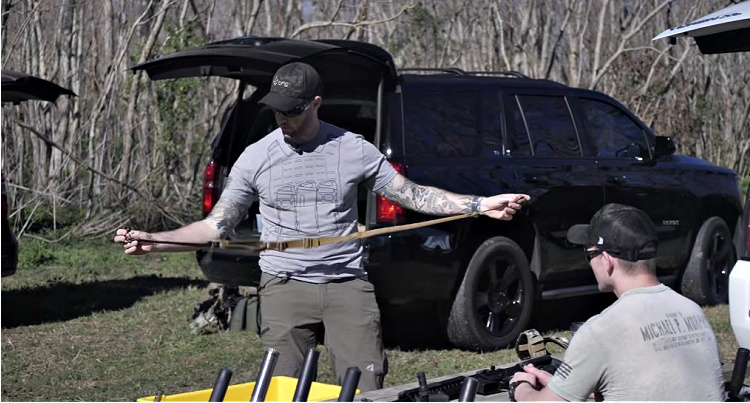
“Two, a [good sling] will make what is inherently a [not] stable firing platform more stable through the use of a sling. We get that through a combination of…having an adjustable sling and…having it sized and fitted properly to the rifle and the shooter. …[the third thing] is I have to have a QD capability in the front [or] in the rear – preferably both – for [quick removal for trauma treatment].”
Blue Force Gear explains rifle sling use to the TFB TV team. (Photo credit: TFB TV)
To find out what else Blue Force Gear has to say about using rifle slings the right way, and what the TFB TV team got out of it, watch the video:
Do you really need a one?
As with any piece of gear, a sling is purpose driven. What are you using your gun for, and is it dedicated to that use? Is it a tactical or home defense rifle? Do you use it for hunting? Consider these things before choosing a sling. There are, after all, many types of slings and methods for using them.
Do you have a sling on your rifle? Which brand, and how does it work for you? Drop a comment below to share.
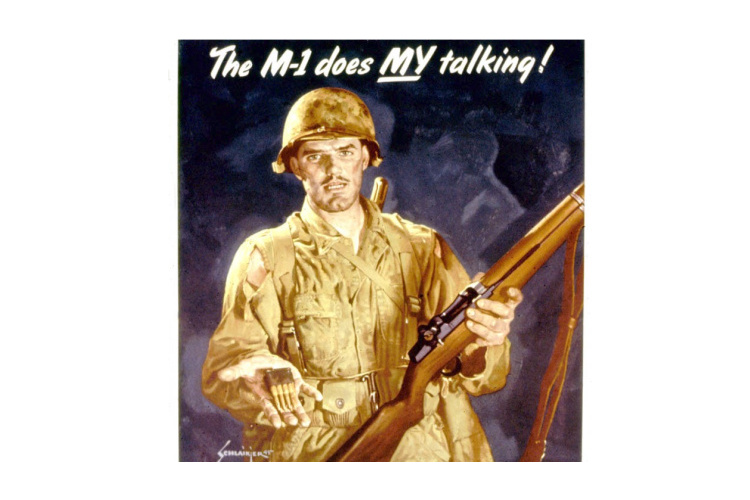
Ever take the time to listen to your gun? I don’t mean the loud “bang” that we protect our ears from. I mean paying attention to its operation. Similar to how your car will often tell you how it’s running, or what might be wrong with it, your gun will do the same.
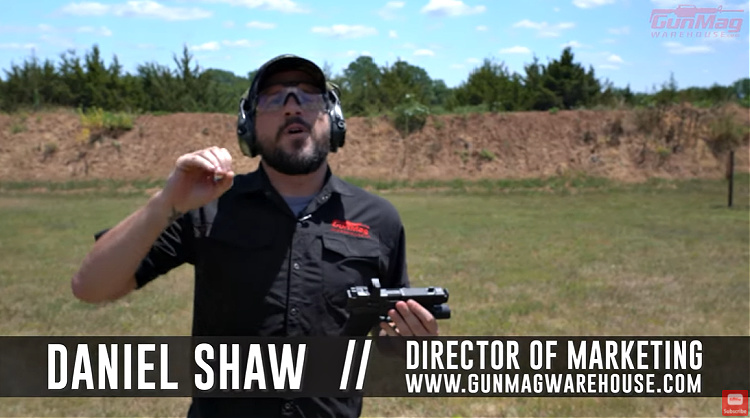
I’d never really thought of it like that, but Daniel Shaw of Gun Mag Warehouse makes a good case for tweaking your thinking toward your firearm in this video.
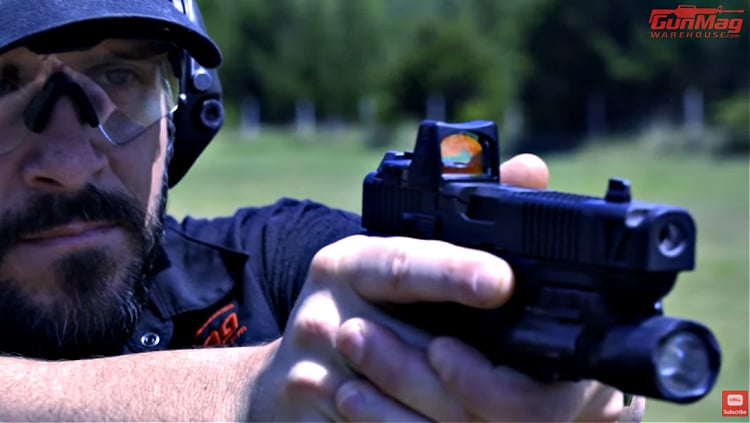
When is it ready to fire?
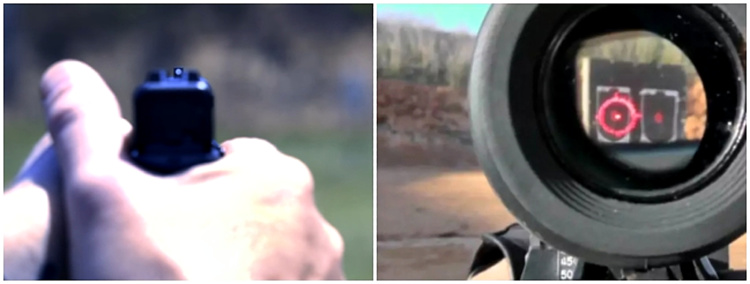
Daniel gives us the example of how some shooters, especially when trying to fire quickly, fail to let the gun tell them when it’s ready to fire the next round. What he means by that is allowing the front sight or the dot to get back on target before pressing the trigger again.
It seems simple, but I can remember doing just what he talked about when I first started shooting. The first shot was carefully aimed but the follow-up shots were often sent in the general direction of the first. Only later, after taking some courses, did I learn that particular skill, and, trust me, it takes practice to acquire and maintain. But making a conscious effort to do small things like that can make you a better shooter even without an instructor looking over your shoulder. I think Daniel makes a good point about seeing it as the gun telling you it’s ready. Just a simple adjustment to your thinking.
Train yourself to not press the trigger until the front sight or dot is back on target. (Photo on the right courtesy of opticgearlab.com)
This frame of mind can help you identify techniques that need work, such as tracking your sights better or improving your grip to manage recoil. These things help your gun get ready faster. The faster your gun gets ready, the more effective you will be.
When is it not ready to fire?
Stoppages are another way your gun communicates with you. It will dang sure tell you when it’s not ready to fire, whether it be the dreaded “click,” which I reference in an article of the same name, or a stovepiped round sticking out of the ejection port.
Running stoppage drills teaches you how to respond when your gun tells you something’s wrong.
In both of those cases and others, your gun is giving you clues about what is wrong with it. Maybe you’re a slob and just haven’t cleaned it since the last time you did, which you can’t really remember. Happens to all of us. Or most of us. Or some of us. I can’t really be the only one here, can I? Learn to read those clues and you will know what to do to fix it and get back to shooting. And if you carry a gun, reading those clues and taking the correct action may save your life someday.
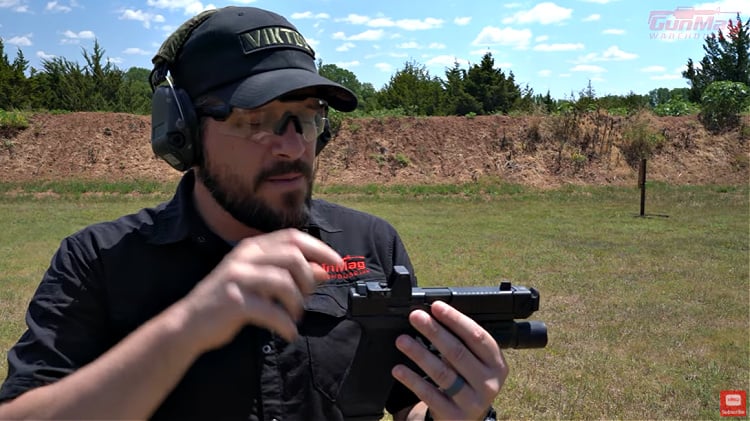
Daniel Shaw explains how your gun will tell you when its ready to fire or if it has a problem, as long as you’re properly tuned to its operation.
It’s a mindset thing and it will take a little time and practice.
Just like it takes time behind the wheel to learn what your car is supposed to feel like, the same applies to your gun. Everyone knows that if the gun fails to go “bang” when you press the trigger something is wrong, but can you quickly identify what that wrong thing is? Your gun will let you know if you’ve taken the time to get to know it.
Training yourself to listen to your gun will get you up and firing quicker and more efficiently.
So, as always, you gotta practice. I’m heading that way myself, since typing this has reminded me that it’s been a week or so. See ya on the range.
We all need to train. Me, you, everyone. That includes what to do when you expect a “bang,” but get a “click” instead. I readily admit that I don’t work on this enough. Do you? Fortunately, it’s something we can easily train for with dry fire and snap caps. In this video, Daniel Shaw from Gun Mag Warehouse takes us through the simple progression:
Failure to fire (FTF, which can also mean Failure to Feed) can be caused by a number of things:
• Bad ammo • Bad primer • Bad magazine follower • Accidentally hitting the mag release while firing • Perhaps your gun needs to be serviced
These can be addressed using a simple procedure that Daniel demonstrates for us: the Tap Rack Bang drill.
• Tap: Actually, it should be more like “smack the crap out of” to make sure your mag is properly seated in the magazine well.
“Tap” (more like smack the crap of) your mag to seat it properly.
• Rack: Rack the slide to chamber a round and reset the striker or hammer.
“Rack” the slide to load a round and reset your striker or hammer.
• Bang: Fire the gun.
“Bang.” Fire the gun.
Tap Rack Bang will solve most FTF situations.
At the very least, it will help you diagnose your problem. If you have bad ammo, racking the slide will eject the unfired round and chamber another. If it still won’t fire, maybe you have a bad batch with faulty primers or perhaps there is a problem with your gun. If the problem was with your magazine, smacking the bottom may reseat the mag, allowing you to strip off another round when racking the slide. If it still won’t chamber a round, you may have a bad magazine follower. “Bang,” obviously, is the final step and the signal that you’ve most likely solved your problem. This is a great procedure to clear what is often referred to as a “Level 1 Stoppage” or begin to diagnose what your problem is.
If you get the “click” and your gun does not fire, MAKE CERTAIN TO KEEP THE GUN POINTED IN A SAFE DIRECTION WHILE YOU CLEAR IT. I cannot emphasize that enough, which is why I put it in all caps. That should be the case anyway, but people tend to turn around and start fiddling with their guns. This is particularly prominent with new shooters who may be looking for help. I expect most of us have witnessed such things at the range. Don’t be that guy. Keep the gun pointed downrange while clearing the malfunction.
But check your gear, too.
Obviously, part of this can be avoided by purchasing quality ammo, but with things the way they’ve been the last couple of years, we often take what we can get. Just be aware of the potential for problems when shooting old or cheap ammo. Another step you can take to minimize these problems is to buy quality mags. Look, I get it. Mags are often expensive, especially if you buy them from the manufacturer. Life would be a lot simpler if everything took Glock mags, but they don’t.
When I first got into autoloading pistols and modern sporting rifles, I had to learn the hard way that you get what you pay for with mags, just as you do with guns and ammo. Spending a little more on quality mags and keeping your eyes open for good mags on sale will save you some trouble. It will also save you money in the long run since you won’t be spending your dough on crappy mags before having to buy the good ones.
Also, remember that mags are a commodity.
They wear out and have to be replaced. Checking your mags occasionally and rotating them often can extend their life. Nor does it hurt to clean them every once in a while. Personally, I have all my mags numbered and labeled by gun. That helps me keep up with the rotation and lets me easily identify one that may be ready for replacement. I just use a silver paint marker. That also helps me keep up with them if I’m working in a training class and have to go back and pick them up off the ground.
Dry Fire Training
The “Tap, Rack, Bang” drill is easily done with Snap Caps in dry fire exercises. Just watch the quick video above to see how it’s done. It doesn’t take long to get in a bunch of reps, and you may save yourself headaches on the range, and, just maybe, it might save your life in the real world.
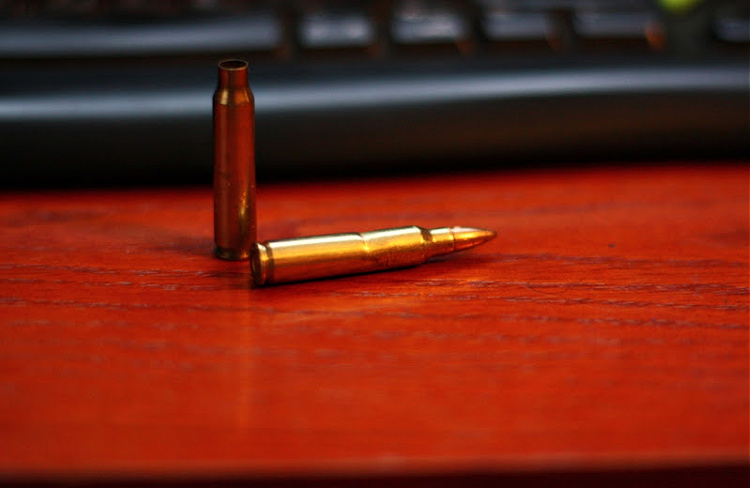
Most of us have seen the stovepipe drill. You know, the one where you close the bolt on a piece of spent brass so it’s sticking out perpendicular to the gun. It’s supposed to simulate a failure to eject (FTE), which you can then clear to prepare you for when the real thing hits you.
Two views of the Failure to Eject (FTE) or Stovepipe malfunction.
Daniel Shaw from Gun Mag Warehouse demonstrates for us how many people get it wrong and then moves on to how to run the drill correctly. This is important because, if you’re doing it the wrong way as he shows, you will not be prepared to do it for real.
Daniel starts by showing the drill he was taught, of all places, in the Marine Corps. It consists of closing the bolt on the spent brass, as noted above, while there is a round in the chamber. To clear it, all you have to do is use the charging handle to cycle the action. The chambered round, being already engaged with the extractor, kicks out the spent casing with no problem and chambers another round. Good to go.
The problem is that this is physically impossible. An FTE is generally caused when the extractor doesn’t kick out a spent casing, thus preventing the bolt from chambering a new round as it moves forward. There is no reason whatsoever for a spent casing to be hung up in the bolt on top of a chambered round.
A Failure to Eject, or Stovepipe, can damage the casing of the following round.
A correct simulation of an FTE looks like this:
• With the chamber empty and a mag inserted, lock the bolt to the rear. • Insert your spent casing at the front of the ejection port, perpendicular to the gun. • Close the bolt on the spent casing.
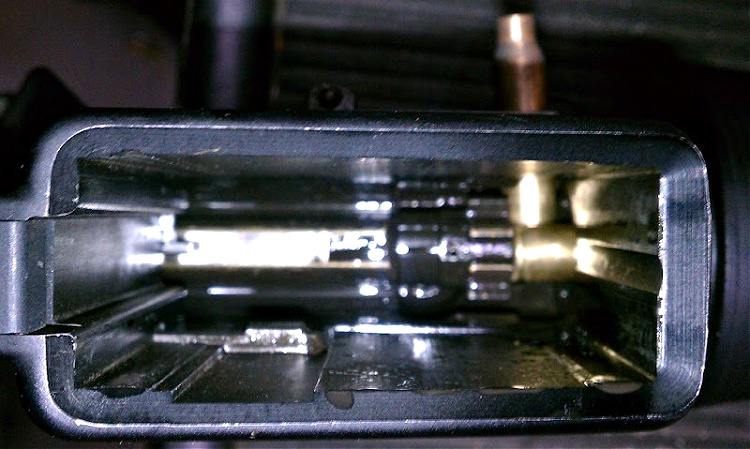
A view of a stovepipe looking up through the mag well. Note how the extractor has not fully engaged the partially chambered round.
This is what an FTE, or stovepipe, really looks like. Now, the clearing drill:
• Lock the bolt to the rear. • Drop the mag Rifle Magazines | GunMag Warehouse. • Some folks say to turn the gun on its side and “karate chop” the stovepiped casing to get it out of the chamber. Daniel prefers to “jiggle” it with his thumb and forefinger. You do you. • Cycle the action to clear the chamber. The brass on the round that was prevented from being chambered may be bent. • Insert the mag and drop the bolt if necessary. • Back in action.
After locking the bolt to the rear and dropping the mag, you can remove the spent casing.
Running this drill properly is critical to performing it when you get a for-real FTE. If you’ve been doing it wrong, don’t worry about it. Stuff like that happens and there is misinformation everywhere. The key here is understanding how the gun works and what is realistic and what is not. It kinda bothers me that at least some people in the Marine Corps teach, or have taught, this drill in a way that shows a lack of understanding of how the gun functions. Nothing I can do about that, but hopefully, they will get it fixed.
Anyhow, this drill should be part of your regular training. It happens to almost everyone, eventually. It’s not a big deal if you’ve practiced for it. As with many other drills, it can be done at home with snap caps and a spent casing. A few practice runs each week and you’re good to go with no precious ammo expended. If you want to see it demonstrated, click the video link. Either way, make sure you’re doing it right. It matters.
The first thing that comes to mind when one thinks of tactical advantage is, of course, winning the fight. However, what exactly does that mean — to win? Does that mean you didn’t get shot in a gunfight, stabbed in a knife fight, or punched in a fistfight?
Choosing to engage in a violent physical encounter whether armed or unarmed, you wittingly or unwittingly accept the associated risks of incurring a recoverable injury, permanent injury, or death.
Sixth century AD Chinese general, military strategist Sun Tzu, author of ‘The Art of War,’ states “The greatest victory is that which requires no battle.” In other words, the best win over your opponent is when you never even need to step onto the battlefield.
What are some tools that you can keep in your war chest that would help you gain the tactical advantage — especially in such a way that Sun Tzu would approve; not needing to engage physically? Perceive, prepare, position.
Perceive
As opposed to finding yourself rocked back on your heels behind the action-reaction power curve, awareness is the currency that buys you time and allows you to proactively solve the tactical problem.
To not fall behind that action-reaction power curve is to monitor your environment. (Image source: stevetarini.com)
Controlling your immediate environment with your physical senses (visual, auditory, etc.,) and your awareness (perception) gains a tactical advantage in three ways.
First, it is your earliest warning system.
Alerting you at the very onset it is not possible to stay any further ahead of the power curve. By hearing it, seeing it, or sensing it coming, you end up ahead as opposed to behind the curve of an emerging physical threat.
Second, it acts as a deterrent.
When your would-be-assailants observe that you are mentally connected to your environment, they understand that you are gathering relevant information that can be used against them and that by doing this have effectively removed any element of surprise. By using your perception as a deterrent, it stops the fight before it even starts.
Lastly, but certainly not least…
…others observing your acute perception indicates to them that you are not such an easy or soft target. In fact, it both begs the question “Are there softer targets?” and provides the obvious answer “Yes.”
Prepare
Being prepared for physical combat starts in the mind. You must be mentally tougher than your adversaries. Mental toughness is the measure of individual resilience and confidence that can project success at home, at work, in competition, and under duress. It refers to any set of positive non-physical attributes that helps you to cope with the threatening situation and perform under duress and in difficult situations.
You must be mentally tougher than your adversaries. (Image source: stevetarani.com)
What exactly is mental toughness?
If you ask elite military personnel, mental toughness is the ability to remain calm in extremely dangerous, or life-threatening situations and make the appropriate decisions to ensure mission success. If you ask an elite athlete, mental toughness is the ability to remain focused and perform well under stressful circumstances. If you ask the life-and-death incident survivors who escaped the impossible, many of them will tell you that mental toughness provided the willpower to get them through it.
Being prepared for physical combat also means being in good physical condition. If you were a predator searching for easy prey and you had your choice between someone who looked physically weak or incapable versus someone who appeared strong and physically able, which one would you most likely target? The one who wouldn’t appear to put up much of a fight.
Predators go for low-hanging fruit, soft targets, and easy prey. They don’t want to tangle with someone that may be tougher than them mentally and/ or physically that could possibly raise their scale of injury, put them in a hospital or in a morgue.
Position
Exploiting your perception and your preparedness affords you the opportunity to take up the most tactically sound physical position as a precursor to engaging in physical violence.
The three most tactically advantageous positions are found at higher ground, away from the fatal funnel, and in keeping your ducks in a row.
‘Higher ground’ can be applied either indoors or outdoors.
An indoor setting could mean atop a flight of stairs, a balcony, or an upper-level mezzanine — all of which give you both an elevated and dominant field of vision and, if need be, an elevated and dominant field of fire. In an outdoor setting, you can use the terrain or micro terrain such as a mound or a hilltop to gain a superior physical (positional) advantage.
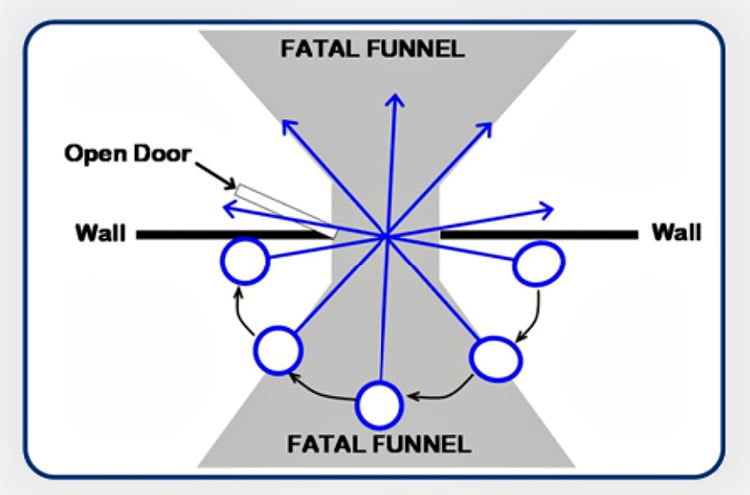
Avoid the Fatal Funnel
(Image source: Reflex Protect)
‘Fatal funnel’ is a close-quarters battle (CQB) term often used by military and law enforcement specialty teams to describe potential choke points such as doorways, stairwells, entryways, or any type of narrow area. Although specialty teams train for many hours on how to negotiate, navigate, and otherwise circumvent the fatal funnel, a general rule of thumb is to avoid those types of locations if you were to engage in physical combat.
Keep your ducks in a row.
‘Ducks in a row’ is a term referring to physically positioning yourself opposite multiple assailants. As an example, if there were two attackers and you positioned yourself in between the two of them then you would be essentially fighting a two-front war.
If, instead of being in between them, you flank one or the other of them and then line them up like ducks in a row, you’d at least have the tactical advantage of having one of them standing in between you and the other one, forcing them to first deconflict with each other prior to moving at you simultaneously which buys you the tactical currency of time and opportunity.
If you were a predator and you observed a potential target that was perceptive and effectively monitoring their environment, removing any element of surprise plus appeared to be both mentally and physically prepared and lastly moved to a superior tactical position, it would be in your best interest to seek a softer target or be willing to assume a substantially higher risk.
In a police interview with an apprehended felon, an investigator asked the perpetrator why he didn’t engage the arresting officer when he clearly had the capability and opportunity. His response was “Well, I thought about it for a second, but he really looked dialed in, kept changing position and I could tell that he was well trained, so I didn’t think I could beat him.” The officer held the upper hand. Utilizing one or more of these tools; perception, preparation, and position, can afford you a similar tactical advantage.
Jeff Cooper has been described as the “father of modern handgun shooting”. His influence pushed shooting forward, and his contributions to modern handgun handling deserve notation. Over time we may have evolved, and tactics, techniques, and firearms change, but the way we see shooting in 2021 was built on the blocks of Jeff Cooper’s contributions. Today we are going to look at three of his drills.
These are part of a larger martial art called Combat Pistol Shooting which got its start in the early 1900s. It combines works from Cooper’s Modern Technique as well as contributions from Captain William E. Fairbairn and Sergeant Eric A. Sykes and their time in Shanghai as well as Rex Applegate, Jack Weaver, and many more. These drills were based on actual events, and Jeff Cooper applied what someone could theoretically do should they be armed with a pistol.
Mozambique / Failure To Stop Drill
You might argue this isn’t technically one of Jeff Cooper’s drills, but I’d argue it is. A mercenary named Mike Rousseau was fighting in the Mozambique War of Independence. During a particularly harrowing fight at an airport, he turned a corner and came face to face with an enemy armed with an AK 47. Rousseau engaged with his Browning Hi-Power and fired two rounds into the guy’s chest.
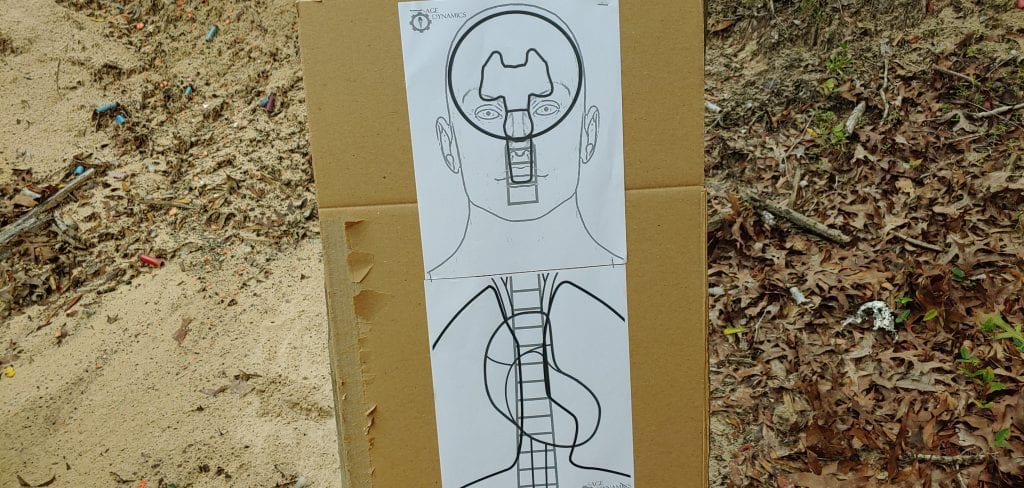
The Mozambique drill only requires a chest and head target.
The man didn’t go down, and he continued to advance. As such, Mike fired a final shot to his head. He recounted this story to Jeff Cooper, and Cooper added the Mozambique drill to his drills folder. You surely recognize this as the classic two to the chest and one to the head.
It’s a very simple drill, and you’ve likely already figured the core of the drill out. Shooters face the target, and on the signal, they fire a double tap or hammer pair to the chest of the target. From here, they take a well-aimed shot at the head of the target. Headshots should be focused on the T zone of the target. This is the entire that ranges from eye to eye and down the bridge of the nose to the upper lip.
Two to the chest and one to the head wins hearts and minds.
The drill is modular and can be fired at nearly any range with either a rifle or pistol. Shooters can start holstered or in the low ready, and a timer can institute extra stress. It’s a great drill that allows shooters to continually increase the difficulty of the drill as their skills increase. The Marine Corps still uses this drill, and they label it the Failure to Stop Drill.
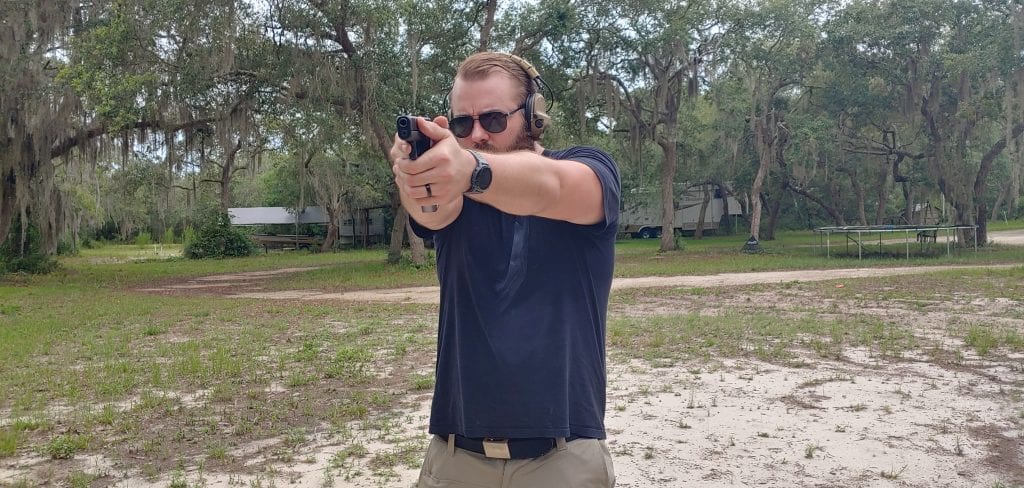
The El Presidente
Undoubtedly as far as Jeff Cooper drills go, this is the most famous. The El Presidente drill came from a 1970s issue of American Handgunner. While training a South American security force, Cooper designed the drill to test shooters and gauge their skills.
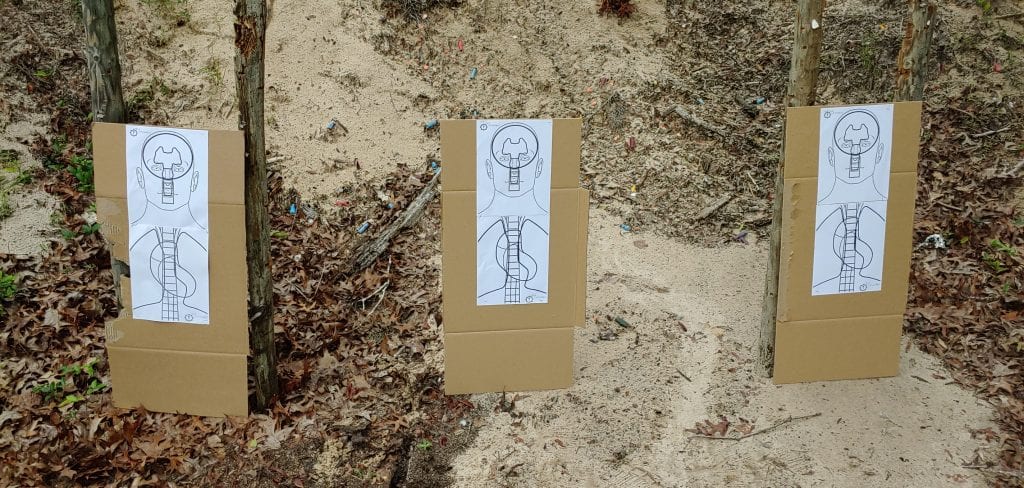
The drill is simple. You’ll need three man-sized targets spaced a yard apart from each other. Shooters will stand 10 yards from the target. From here, they will face away from the targets, with their hands in a surrender position with their firearm holstered.
The El Presidente Calls for three bad guys
You’ll need a firearm loaded with six rounds, and a magazine or speed loader also loaded with six rounds. A shot timer should also be present with a par time set to 10 seconds. On the beep, shooters turn, draw and engage each target with two rounds.
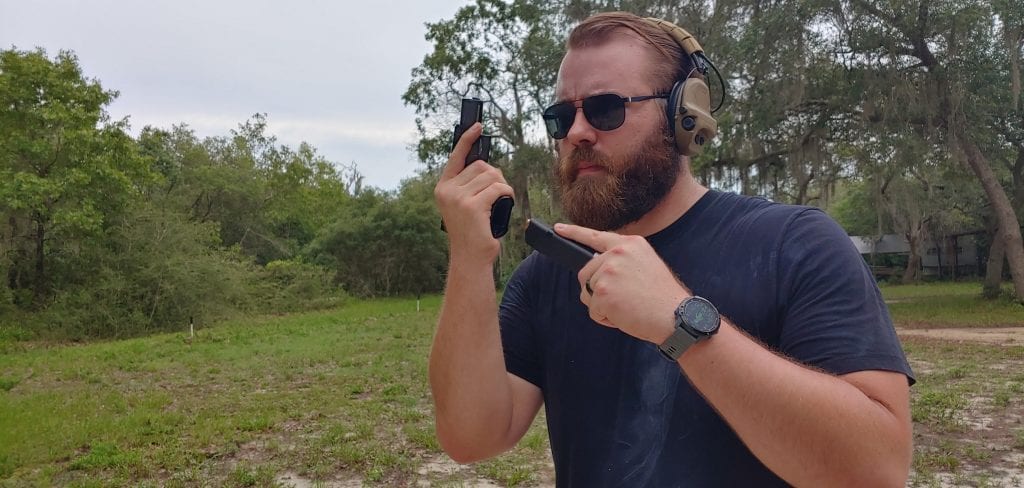
Once the gun is empty, they reload and fire two more rounds into each target. Shooters who score all shots on target in under 10 seconds have passed the drill. That’s a surprisingly generous par time, and this makes it rather easy. I’m surprised Jeff Cooper didn’t choose a tighter time.
Getting below seven seconds provides a more worthwhile goal. It’s more challenging and makes this page of Cooper’s drills more useful and practical.
An El Pres calls for a rapid reload on the fly.
I also fire the drill from concealment. Concealed carry wasn’t a hugely popular thing in Jeff Cooper’s time. As such, the drill doesn’t force you to hide your piece. Adding a concealed carry garment makes the training more practical for the vast majority of us.
Shooters desiring a good challenge and a good time should give the ole El Presidente a try.
The Dozier Drill
In 1981 five Italian Communists kidnapped Brigadier General James Lee Dozier from his apartment in Verona, Italy. The kidnappers posed as plumbers, which leads me to believe they all looked like Super Mario. Anyway, they kidnapped him, held him for 42 days, and eventually, he was freed.
Dozier recounted the kidnapping and how one man pulled out an SMG from his tool bag and loaded it as another read some filthy commie statement. Dozier was prohibited from carrying a firearm at the time. In this Jeff Copper drill, you play Dozier, but you’re armed.
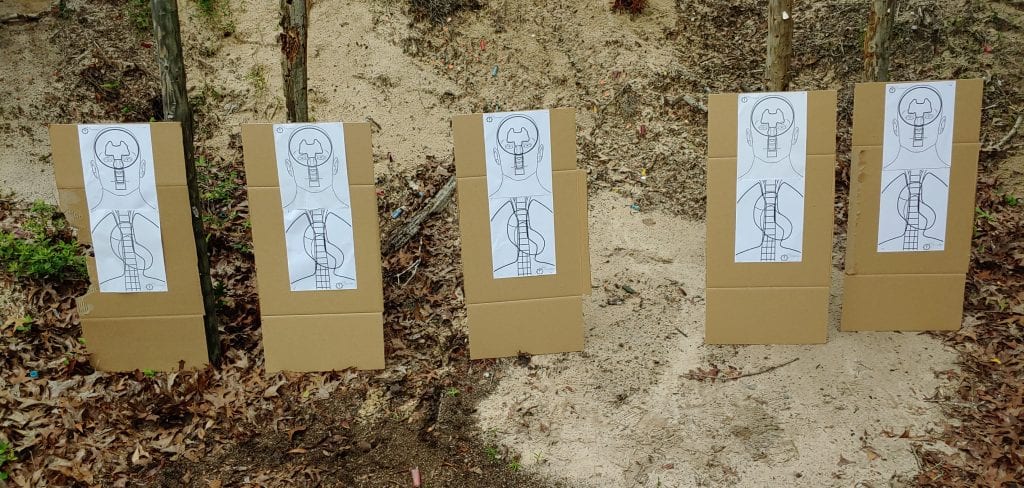
Now you have to face five Italian plumbers.
You’re facing five targets five to seven yards away. Cooper dictated they be steel poppers that fall when struck. However, that’s an expensive proposition. I think the A-Zone of an IPSC target works, as do Sage Dynamics free printable targets. Each target should be one yard apart or so. Start with the handgun in the low ready, and engage the five targets as fast as possible.
Add a Partner
Now, if you really want to kick it up a notch, have a partner behind the firing line going through the motions of retrieving a weapon from a bag, loading it, and making it ready. To keep things fair, use a toolbox or tool bag that closes.
Your goal is to shoot all the targets before your partner has the gun ready. Your partner represents the armed terrorist retrieving his weapon. This method of measuring time is a part of the original Dozier drill, but it often gets ignored these days. It creates a moving par time that’s never the same thing twice.
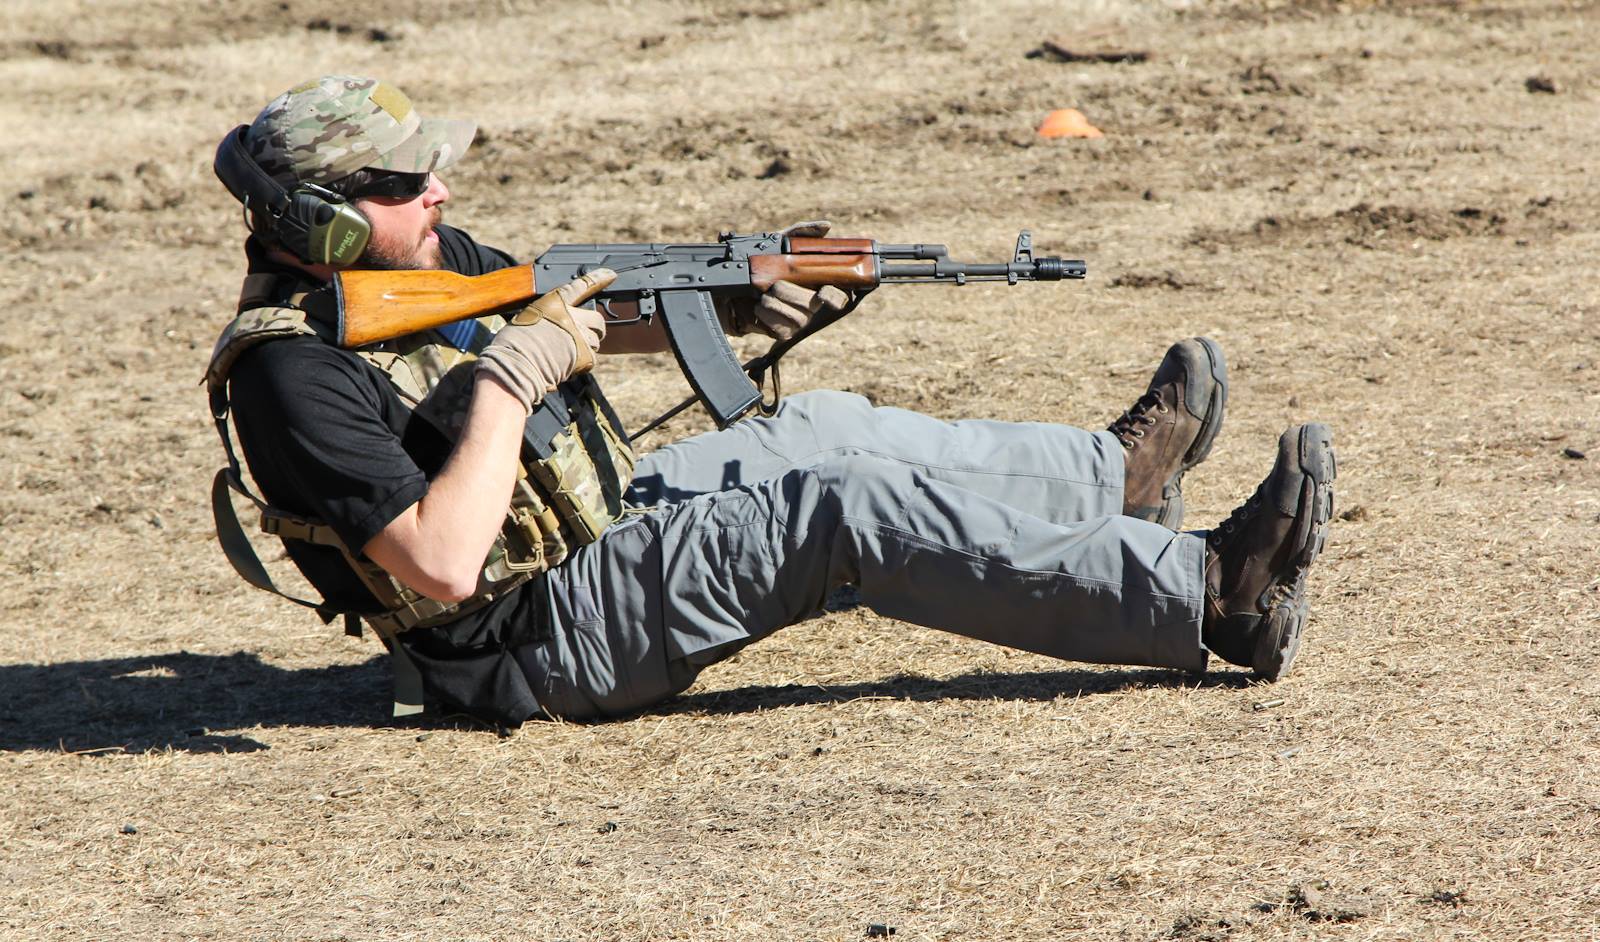
Make it tougher by taking a seat and starting from this position.
A friend and fellow Marine and I do this drill on occasion, and it often becomes quite competitive. It’s also a lot of fun with a buddy and motivates me to do better when I gotta beat someone else. To further alter the difficulty level, start with the handgun holstered or placed on a table in front of you. You can shoot each target once or use double taps, whatever floats your boat.
Jeff Cooper Drills
These drills will make a plain ole range day a bit more interesting. Now the big question is, are they out of date? They are admittedly not very difficult and can be done by most average shooters. With a little practice, anyone can do an El Presidente, but how many can do a Sage Dynamics Eleanor drill?
They aren’t necessarily useless as they do train valuable, defensively-minded drills. However, Jeff Cooper’s drills are a lot like his contributions to modern pistol craft. They act as building blocks and give shooters new skills they can build upon. Check ’em out, and let us know what you think below.
The ability to shoot consistently well is one of the most elusive and coveted goals of any defensive or competitive shooter. It provides both the technical advantage and skill-building platform upon which to further expand your shooting abilities. What steps can you take to consistently shoot well?
A common adage you often hear in the professional firearms training community is “First time is luck, second time chance, and third time is skill.” Traditional shooting standards such as the Bill Drill, the Wilson Five-by-Five, and the like, require the shooter to perform five or more consecutive repetitions Why? Because it demonstrates consistency in repeat shooting performance.
Bill Wilson, creator of the 5×5 drill, as a young, competition shooter. Photo credit: Wilson Combat.
The first step toward this coveted goal is to straight-up admit to yourself that you’re not yet at the skill level that you want to be. If you were, then you would be able to demonstrate it. Although that’s a jagged little pill to swallow, it is essential to find the motivation, discipline, and commitment required to reach that next level.
Only after you can hold yourself personally accountable (self-motivation, discipline, and commitment) may you then embark on that journey up the proverbial stairway to performance. Adopting this mindset, unleashing your motivation, engaging your discipline, and standing firmly in your commitment affords you the opportunity to pursue the lofty and worthy terminal objective of earning consistency.
Consistency in shooting well can be defined as “your ability to repeatedly perform at a known skill level.” In meeting the expectations of this definition, there are three steps that you can take to help develop your abilities to shoot consistently well: familiarity, comfort, and confidence.
1. Familiarity
The first stride on the road to repeatedly perform at a known skill level is to become intimately familiar with exactly what that level is. To find this line of demarcation is to differentiate between what works and what doesn’t work. Applying a correct shooting process is what works.
When you follow a shooting process such as “bring stability to alignment and break the shot without disturbing that alignment”, you find that it works every time. Completing each of the subprocesses within that process (minutiae) is what makes good hits and in acceptable times.
Should you take a mental approach such as ‘try to go fast’ or ‘try to be more accurate’ then you are trying and not shooting, something which is not recommended as part of your regular training regimen along with anything else that may pull you away from following the shooting process.
Clear your mind of all but the mental focus needed to stay in the shooting process. Know what works and what doesn’t work.
Understand the shooting process, test the process, trust the process, and the more times you apply that same process without error, the greater your familiarity in applying what works.
2. Comfort
Once you have built this familiarization and can instinctively discern “right” from “wrong” — that is, doing what it takes to make that shot versus not doing what it takes to make that shot — you have established the yellow and white lines on the long and winding road toward comfort.
Why is comfort is such a critical step in the process? Under duress, you will default to your lowest level of comfort to ‘guarantee’ the shot.
In a defensive situation or in the heat of competition, you can’t afford to be reckless and push past your headlights so far that the wheels fall off your shooting process, and you crash. The converse is also true — you can’t be too conservative at the expense of time. The sweet spot is somewhere in between the boundaries of a guaranteed hit and the edge of your comfort zone.
The goal, of course, is to always step outside your comfort zone by pushing that envelop into uncharted ground. Forcing the wheels to fall off and learning from each mistake affords you access to uncharted territory. Once you have walked all over that new real estate you have moved that boundary marker a bit further, and in doing so have expanded your comfort zone.
Any shooter willing and able to put the work in needed to shoot well, must at some point also be willing to depart their comfort zone.
You can only step outside your comfort zone once you have set and identified its boundary markers.
3. Confidence
After identifying your comfort zone, it is strongly recommended by the best in the industry to push past your comfort zone. As per multiple world championship competition shooter Rob Leatham: “get comfortable being uncomfortable.”
Upon attaining the confidence of identifying the markers of your skill level, the very next step is to assert the resulting confidence as a tool to push past those markers in reaching for that next level. You can only accomplish this task after you have built the familiarity and in doing so have attained confidence at your prior skill level. Without setting the bedrock of confidence you are not afforded the foundation upon which to build your next level of performance.
The top shooters use confidence as a power tool to push beyond their comfort zone to move into, and become familiar with, that uncharted territory. Building confidence is a necessary and incremental step in moving away from shooting at lower skill levels and toward shooting well.
Becoming intimately familiar with the shooting process and its minutiae is a required step in expanding your comfort zone.
Once you have established that zone and the ensuing confidence it produces, then challenge yourself to push past those boundaries and shoot consistently well.
There aren’t many people in the United States who could answer the question, What is violence? Not from a criminal violence/self-defense perspective. That is because they don’t viscerally grasp how violence works. This is true among even the better trained elements of our armed, responsible citizenry. It’s also true, albeit to a lesser extent, within the ranks of those who practice the noble profession of arms.
That is not a criticism. It is an acknowledgment of a potentially uncomfortable, perfectly understandable, fact, and one we would all do well to recognize.
What is violence?
We can debate semantics and interpretations, but violence in our context is much more than a clinical, definition of the word. And it’s not something that can be explained in one short news post on a website — which is, of course, why I’m recommending this book.
Nice people fall to the manipulator. The manipulator crumbles under the assertive. The assertive shrinks before the aggressive. The aggressive have no plan for the assaultive. The assaultive are unprepared for the homicidal. (Marc MacYoung)
Mental preparation and training will help to mitigate this self-defense shortcoming, albeit only if we recognize that it is a shortcoming. You can begin all of that with some reading and research.
How far are you willing to go — and how do you know that the other guy will not be willing to go farther?
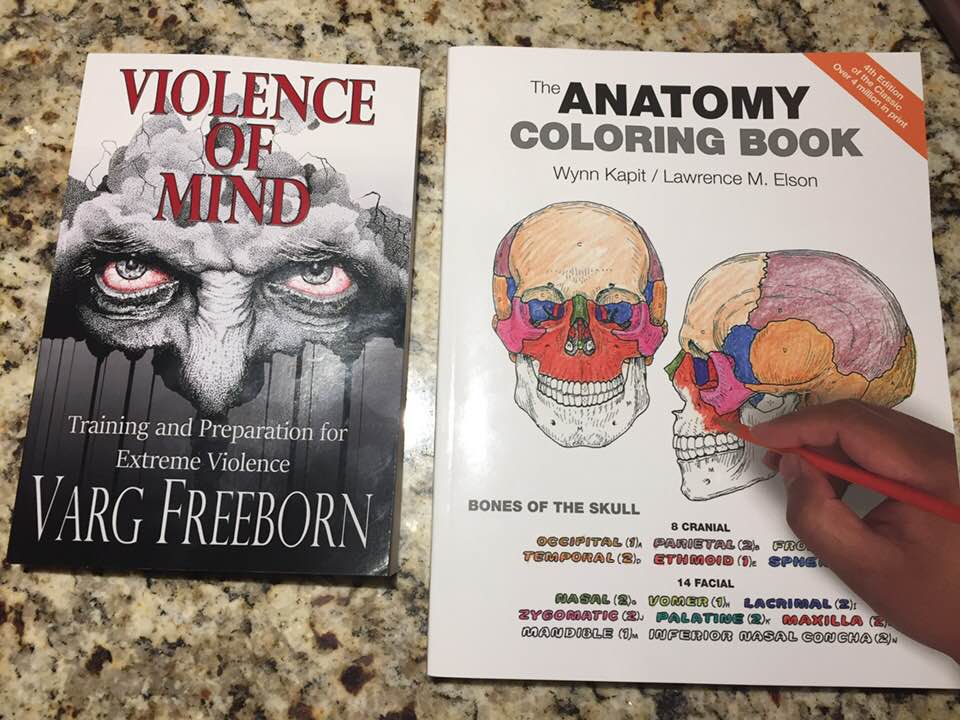
Varg Freeborn
Varg Freeborn’s Violence of Mind is one of the first books, if not the first book, a new gun owner should read. In fact, anyone serious about protecting themselves or their family should read it, gun-owner or not.
That’s nice, many of you are thinking. So what? Why should I care?
Here’s why.
Because Varg’s book is an excellent option to assist in that recognition-and-training effort. In fact, I would argue that,
It is one of the first two books a new gun-owner should consume (the other being Werner’s Serious Mistakes Gun Owners Make), and
It should be, along with de Beckers Gift of Fearand Choose Adventure (or at least several chapters thereof) by Greg Ellifritz, one of the books that everyone should read.
Whether they go heeled or not.
If you pepper spray someone (assaultive), how do you know they will not turn around and shoot you (homicidal)?
You don’t. And if you are willing to offend you better be willing to assault. If you are willing to assault, you better be willing to kill.
If you are willing to kill, you better be 100% justified.
What are you willing to kill for again?
Wait, you won’t kill over a spot in line, but you will assault over it? Then the other guy decides that he is willing to kill to stop your assault, and now YOU must kill or be killed. This is how violence works.
Author’s Incarceration
The author of Violence of Mind explains his precepts from a very unique position. He grew up in a criminal environment, ultimately going to prison after being forced to stab a man repeatedly in a fight. Freeborn spent five years in a penitentiary before he was released and his rights restored. By existential necessity he spent the next five years studying predatory behavior — from within one of the most predacious human environments on the planet.
This isn’t a CQB tutorial written by a former SOF operator. Nor is it a treatise on shooting skills by a retired police officer. There are many outstanding examples of such books out there, but Violence of Mind is a substantially different sort of work. That I’m aware of, there simply isn’t anything else like it in publication and for that reason should be a part of any serious attempt to study self-defense.
“The most efficient violence I have ever witnessed was the highly developed predatory system of violence inside of prisons. A majority of the most effective and efficient killers are inside of those walls.
[T]he truly violent predator has mastered doing it with very little equipment and very simple methods. Those tools and methods are based on adhering to fundamental principles. The only two places that real violence can repeatedly be found is in war, and in the criminal culture (especially prisons).
Both are an unbroken lineage, and both are very different. What works in war does not so much apply to what works in prison, or in a parking lot by yourself on a dark night.”
Listen up
The Violence of Mind audiobook is just shy of nine hours long. It’s narrated by the author and is Whispersync for voice ready. Although there is some repetition and occasional tautology (which the author is cleaning up in the next edition), there is more than enough information to offset that distraction.
Remember the rule: stop looking for things and start looking at things.
Violence of Mind is absolutely worth the read. Or of course the listen.
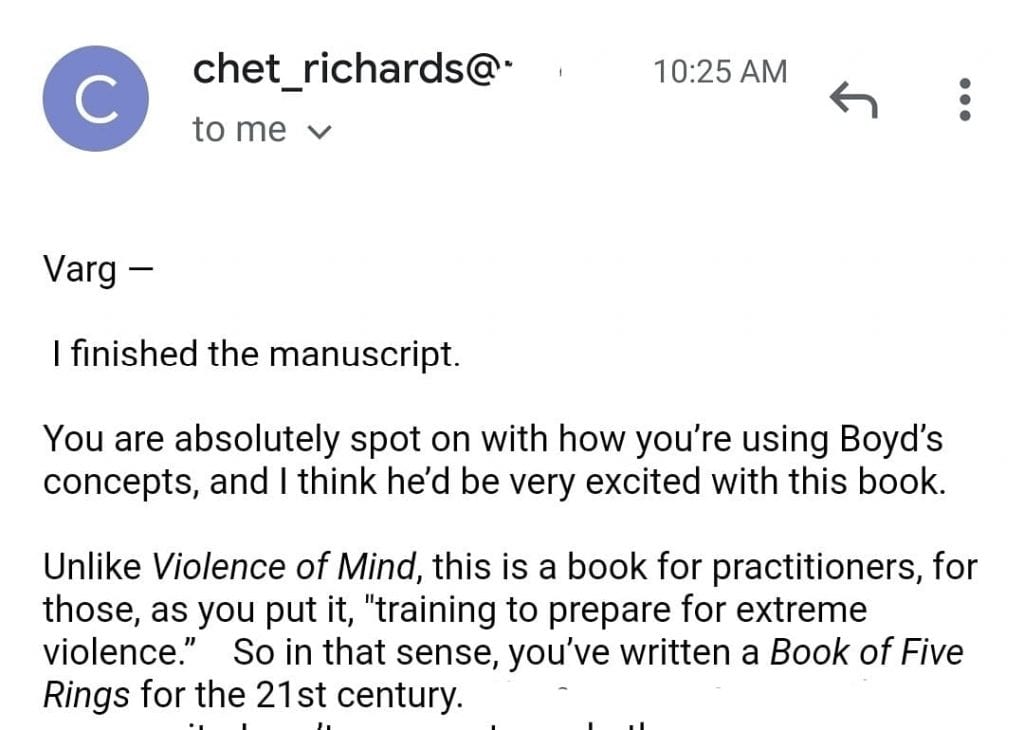
OODA Loop Observation
Here’s something else to be aware of. Freeborn is in the final stages of finishing his second book. This one will focus on the second O in OODA: the OODA Orient (i.e. the one for Orientation). If you’re a student of John Boyd’s seminal work, you’ll want to take a look at it once it’s available.
Chet Richards, one of John Boyd’s “acolytes”, commenting on Varg Freeborn’s forthcoming book.
Orientation is the basis for mindset. Your response to violence will be based upon your orientation to the violent situation. Your conditioning and confidence level, your attachments in life, your cultural beliefs (particularly about violence), and ultimately your real experience level, all make up your orientation.
Through these experiences and beliefs, you will make a series of decisions which will determine how you will assess and respond to a violent encounter.
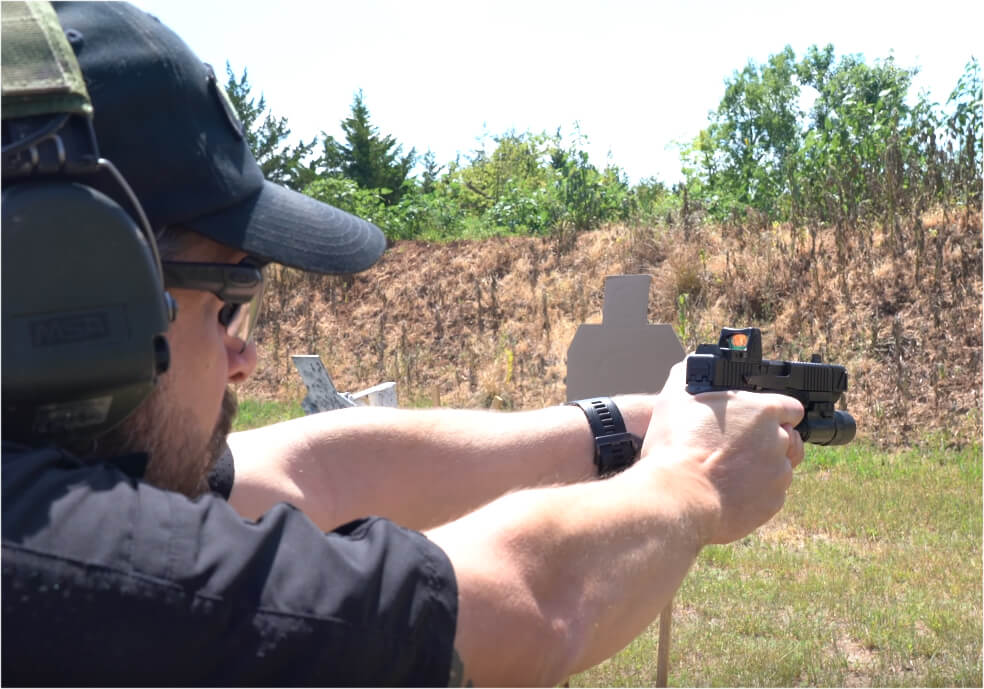
Who doesn’t love red dots? Aimpoint gave us the first modern red dot in 1975, and since then, they’ve gotten smaller, more powerful, and all the more capable. We’ve seen rifles and handguns benefit substantially from red dots, but what about shotguns? Lots of people seem to be resistant to optics on shotguns. I’m here to tell you today why you need a shotgun red dot.
Shotgun Red Dot — The Best of Both Worlds
I love shotguns of all types, from the latest tactical, mag-fed blaster to the old-school double barrel. In all my shotgunning, I’ve not found a shotgun that couldn’t be improved with a red dot. A good shotgun red dot offers you substantial improvements over a bead sight or ghost ring sights because it combines the best factors of both sighting styles. A shotgun gun red dot gives you the ease of use of a bead with the precision of ghost ring sights.
Holosun HS07C reticle
Speed, All The Speed
Red dot sights reduce the time it takes to get an accurate lead on target. That sentence alone should sell you on the shotgun red dot. Shotguns are close-quarter combat specialists, and speed matters in close quarter’s shooting. The faster you can get a load of buckshot on target, the better.
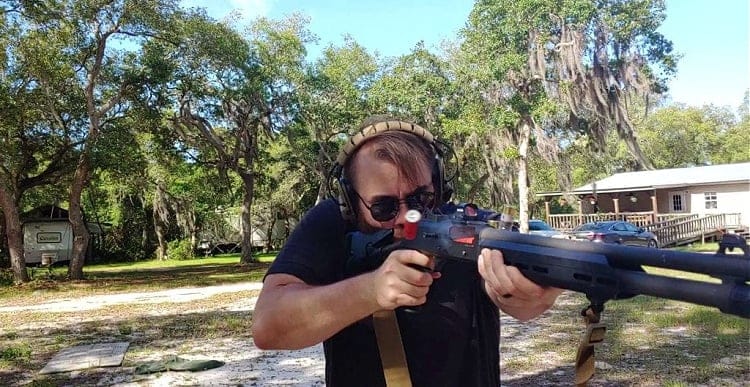
Who doesn’t love dispensing lead this fast?
After a bit of force-on-force training, the first thing I learned was speed matters a ton in close quarter’s situations. A red dot eliminates the time required to align ghost ring sights and captures the eye faster than a bead sight.
Can a shotgun’s recoil knock the zero off?
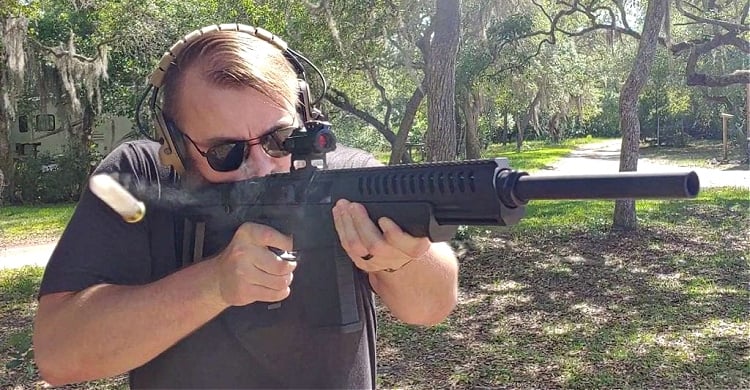
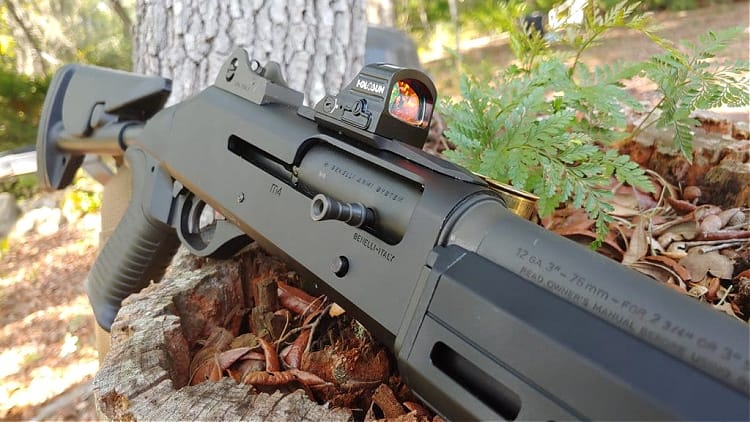
Red dots famously catch the eye very well. Even better than a bright gold bead. A shotgun red dot offers you an unparalleled level of speed. When I went from ghost ring sights to a red dot on my Benelli M4, I trimmed half a second off my snap drills. Speed isn’t everything, though, and if your shots aren’t landing, then it doesn’t matter how fast you are pulling the trigger.
Intuitive Shooting
With that in mind getting on target and putting buckshot where it matters is much easier when gazing through a red dot. With iron sights, you’re supposed to focus on the front sight; with a red dot, you look at the target. Focusing on the target is much more natural than focusing on a front sight when you are fighting for your life and when you are training with a little stress.
Speed, shotguns are all about speed, and so are red dots. A perfect pair.
A shotgun red dot allows you to look through the optic and focus on your target. Your shotgun red dot will be in your vision and allow you to see both your reticle and your target with ease. It’s more natural and easier to utilize than iron sights. It allows you to place buckshot with precision and speed.
Day or Night, the Dot Glows
A red dot gives you a sighting system that works 24 hours a day and in any lighting condition. If you utilize a shotgun red dot with shake awake or with a system that only sips at the battery, then you just leave it on. Bad things can happen 24 hours a day and having a sighting system that works both in low light and bright light is comforting. Hell, a good shotgun red dot can even work with night vision for you goons out there.
The HS507C packs a lot of optic for a little money. It also provides a lot of features I love on a shotgun red dot.
The Right Dot Does Wonders
I’ve taken to using Holosun red dots on my shotguns. Holosun has proven itself to be competent and making red dots that are durable, easy to use, and feature-filled. One feature I love is the multi-reticle system. I used the 32 MOA circle with my shotguns because I can pattern my buckshot inside of that reticle.
I know that with my chosen load of Federal Flitecontrol buckshot within 15 yards, not a single pellet will leave that circle. I know where every pellet will go, and I can guarantee with confidence that the pellets will hit where I need them to. This allows me to do things like take headshots with confidence.
The perfect shotgun and the perfect optic.
Using a shotgun means understanding how it patterns. You are responsible for every pellet fired from your shotgun, so having this feature in a shotgun red dot allows you to shoot with supreme confidence inside your home. I know the longest shot in my house is only 12 yards, so my shotgun red dot, and ammo selection works perfectly together.
What Kind of Red Dot?
Obviously, you want a quality red dot. You do not want a shotgun red dot that costs 30 bucks on Amazon. It won’t hold up to serious use. Like with any serious optic, you need to consider the basics. Any shotgun red dot needs to be durable, well made, shock- and water-resistant.
Poorly made optics will often stutter and flutter when faced with the heavy recoil a shotgun generates. This results in the dot turning off due to poor battery connections, not to mention the recoil will beat it to hell and eventually break it.
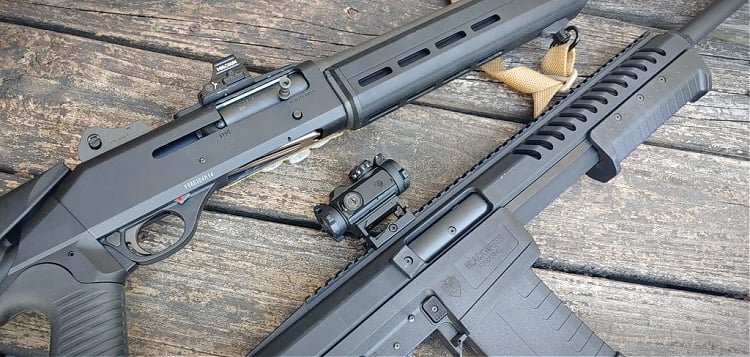
Different strokes for different folks. Regardless of the shotgun, a red dot makes it better.
Shotguns don’t benefit from larger red dots. In fact, they can actually make handling a shotgun harder. Port reloads over the top are restricted when larger optics are in the way. Also, big red dots will get in the way of using side saddles and make it tough to pull rounds out the top.
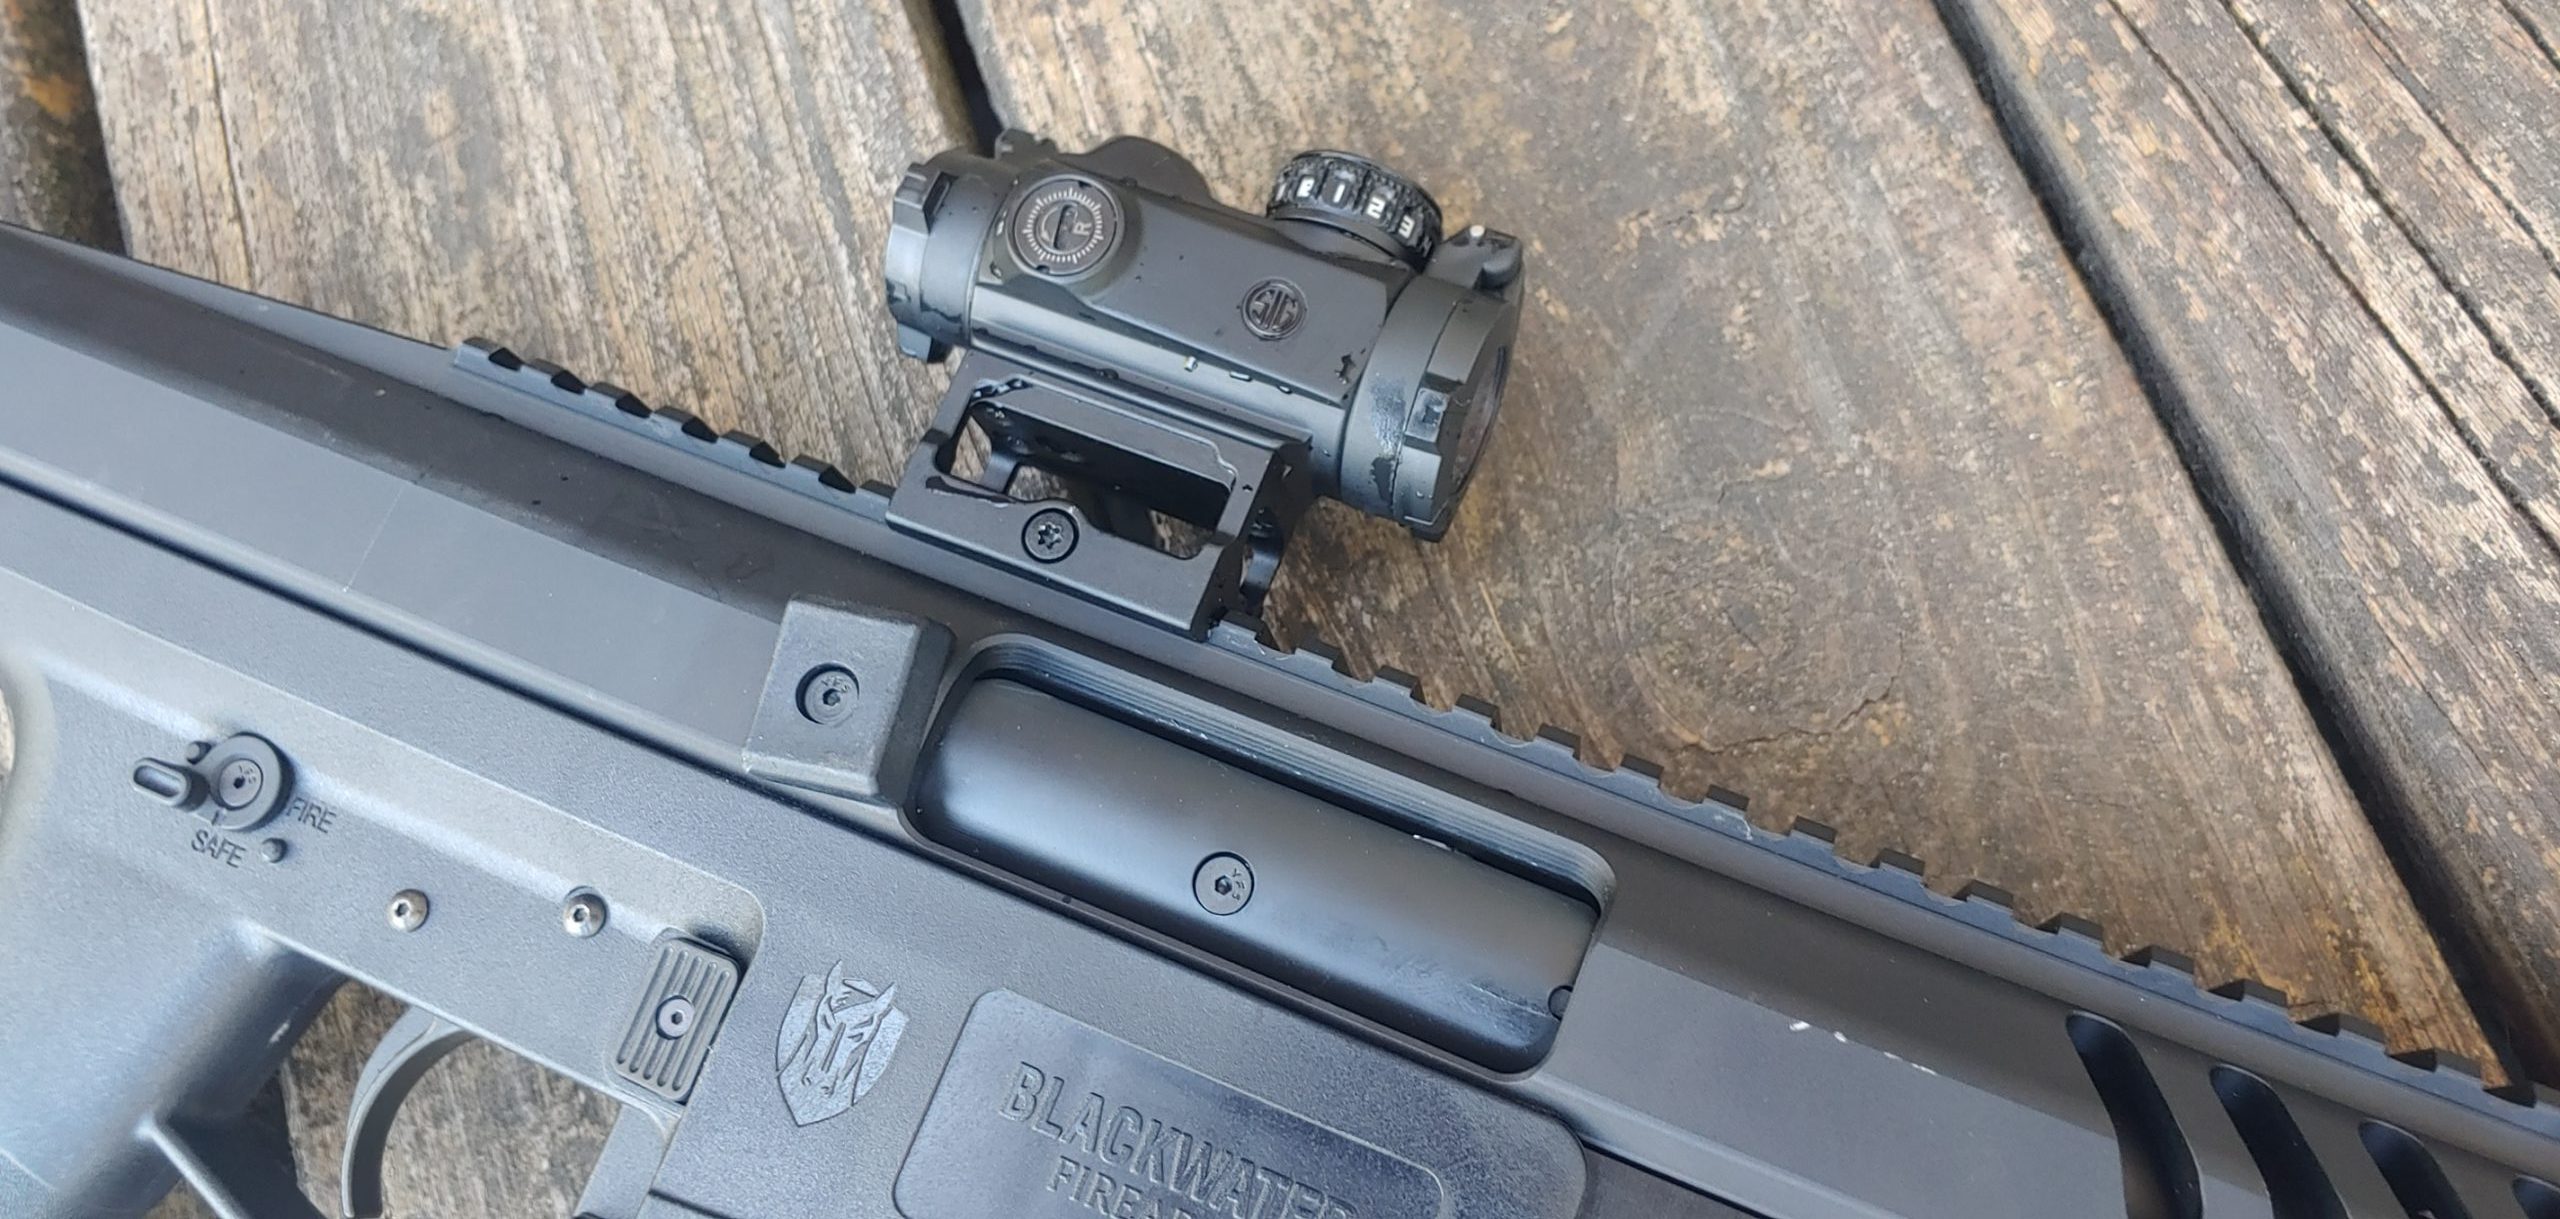
Smaller dots often work better, and shotgun layouts traditionally favor low-mounted dots. The lower, the better in most cases with the way a traditional shotgun stock works. Shotgun red dots shouldn’t have AR height riser mounts unless they are AR-type shotguns like the VR 80 and Blackwater Sentry 12. On your traditional Mossberg, Benelli, or Remington, a low mount gives you a proper cheek weld.
Big Dots Work
Your pistol red dot and your shotgun red dot have a lot in common, which makes sense when you consider they are both close-quarters weapons. In the same vein, a larger reticle works better than a smaller reticle.
The smallest shotgun red dot reticle I’d suggest is 3 MOA. Honestly, bigger is better, and it’s not out of line to run with a 6 MOA dot or triangle-type reticle. The bigger the dot, the faster and easier it is to see. If it’s fast to see, it’s easy to shoot with. That’s another reason why I’m a fan of the Holosun 32 MOA reticle. It’s big but not obtrusive.
Seeing Red
Popping a red dot on your shotgun gives you the same advantages you get with both a rifle and handgun. It opens up the gun’s potential. You’ll find yourself getting 00 on target faster, with better accuracy, and even at longer ranges. Don’t sell the shotgun red dot short; it makes a bigger difference than you’d imagine.
House Cannons With Red Dots In Use
Some examples of other shotguns with a red dot can be found below.
Self-described “House Cannon” by Tom Marshall, a member of the editorial staff at RECOIL Magazine. Tom advises, “Re-jiggered the lighting setup on the house cannon. It’s not the smoothest lighting arrangement I’ve ever built but it seems to be working out so far…” This build features a Surefire 300 Scout light in an Arisaka Defense mount with tape switch (and also gaffer’s tape). Also Aridus Industries adapters for Magpul furniture, a CROM red dot mount, QD-C sidesaddle shell caddy, and a Nordic Components magazine extension kit. Additional furniture on this “shottie”: Taccom 3G match saver shell holder, Holosun 403C red dot sight, and Wright Armory 3-gun loading gate mod.