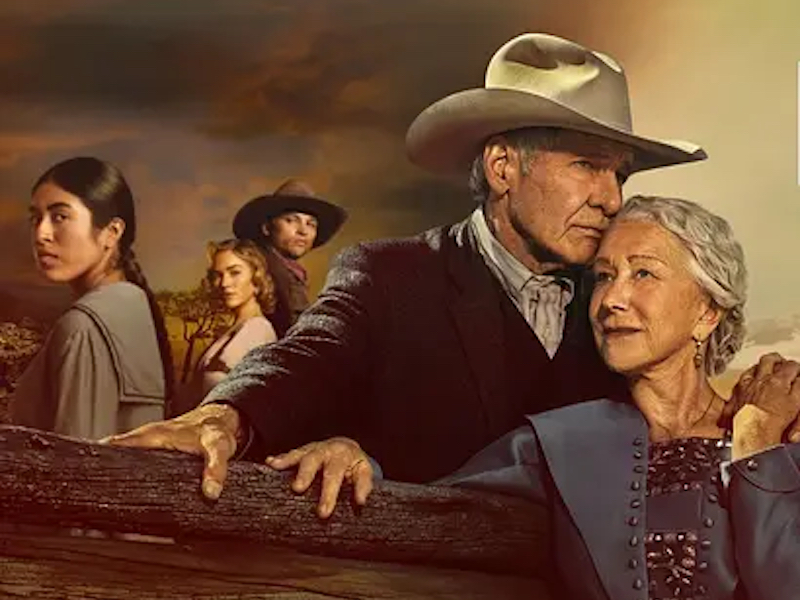
Guns of 1923: A Yellowstone Origin Story
The second installment of the Yellowstone origin stories has wrapped up its first season with the “1923” limited series. Like its counterpart in “1883,” “1923” featured some really neat firearms, some historically accurate, and some maybe not so much.
For those who might not fully know, “1923” follows the next generation of the Dutton family on the Montana homestead that was featured at the end of “1883.” In this version, we see Jacob Dutton, the brother of James from “1883,” and his wife Cora, along with John and Jack Dutton, the sons of James living through the year in Montana and across Africa.
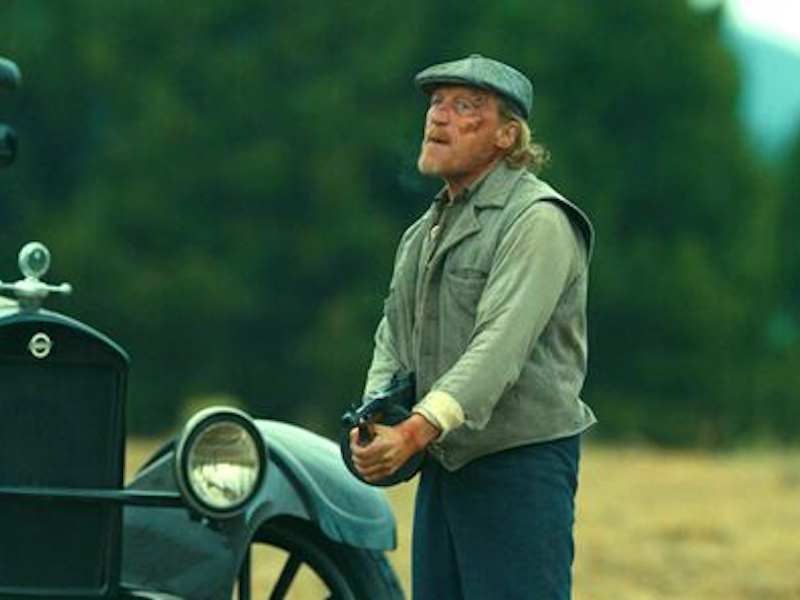
One of the major arching themes of “1923” as a whole is the struggle between technological advancements and tradition. This can be witnessed in scenes with characters on horseback while period cars rumble by, and in the presence of historical firearms and newer options.

What rifles are seen in the 1923 Yellowstone Origin Story?
Quite a few, actually, ranging from the Winchester 94 to a double-barreled H&H, as well as the Lee Enfield and some World War I rifles. Here’s a look.
Winchester 94
The main rifle used in “1923” is the Winchester 94 carbine. This carbine was invented by John Browning in 1894 and offered an affordable and reliable carbine that was often chambered in the smokeless .30-.30 cartridge during that time period. The lever action rifle was definitely one of the more popular hunting rifles available thanks to the lighter weight and compact profile that was quick to shoot.
Portrayed in “1923,” the Winchester 94 is used readily and accurately in many shooting scenes. The ones shown on screen may be a later model, like the 1940s “flat band” rifle that has a similar butt plate and sights. While seen as old-fashioned even in 1923, it would certainly be right at home with the men on the ranges of Montana.
Additionally, the rifles shown match up with what the “Yellowstone” protagonist, John Dutton III, regularly uses, illustrating how these rifles were often handed down within families with many around still today. As a side note, the rifle that is used on “Yellowstone” is an actual family heirloom of actor Kevin Costner, who stated in different interviews that the Winchester 94 that he uses on-screen was his father’s.
Holland & Holland Double Rifle
The Holland & Holland Double Rifle makes its appearance in “1923” in the Spencer Dutton storyline. In it, he is a World War I vet traveling in Africa working as a hunter of large maneaters, like lions and such. His weapon of choice in the first episode is the Holland & Holland Double Rifle. This rifle was historically chambered in several large calibers like .375 H&H Magnum, .470 Nitro, .500 Nitro, .577 Nitro, and .600 Nitro.
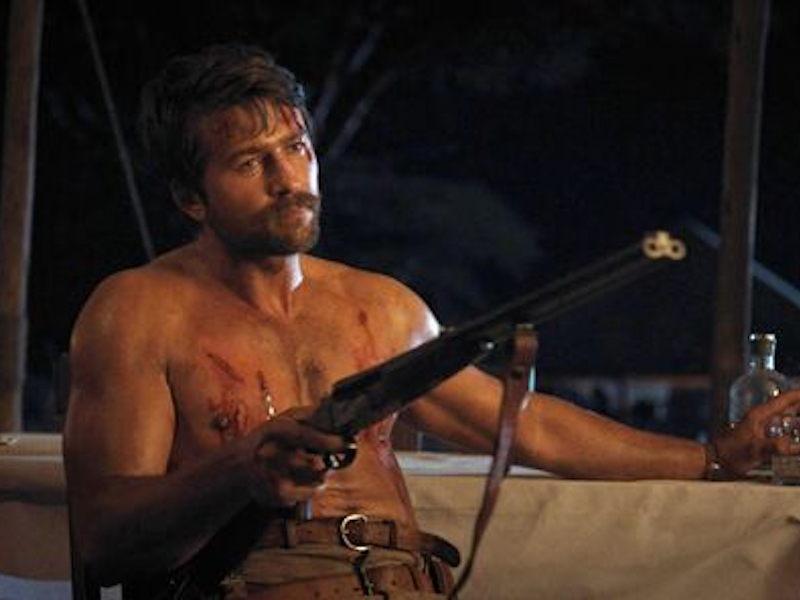
While the rifle he carries in the show doesn’t seem to match up exactly with the rifles at the time, it is most likely aimed at being similar enough to convey the feeling, if that makes sense. Since he was employed by a British company, his Holland & Holland seems like the natural fit. So while the rifle might be a dead-on match, it does help illustrate the large game hunting era of the time in Africa.
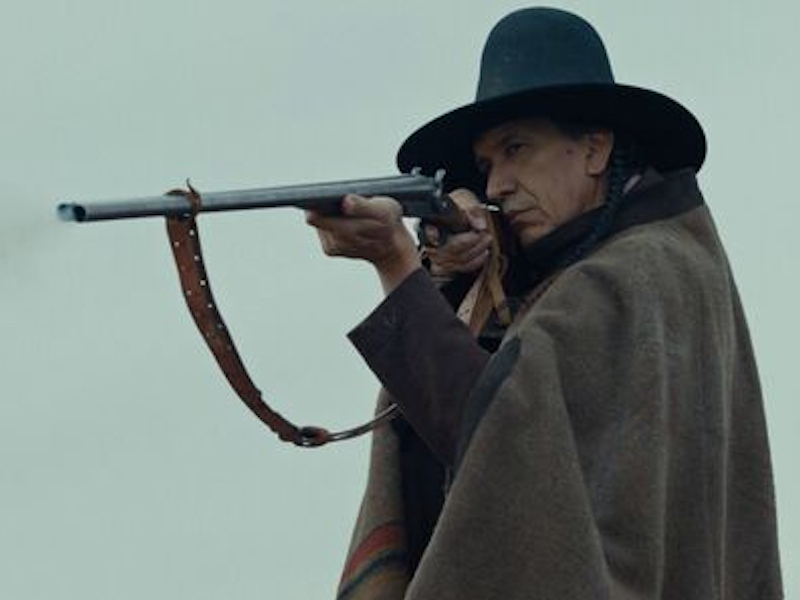
Lee-Enfield No. 1 MkIII*
In other scenes from the Spencer Dutton storyline, the character is seen with a Lee-Enfield No. MkIII* rifle. This rifle was essentially a simplified version of the MKIII used by the British Commonwealth during WWI, chambered in .303 British. This bolt action rifle has a 25” barrel length with updated sights, a different cocking piece, and a magazine cutoff. This rifle would continue to see use after WWI and into WWII and beyond.
WWI Rifles
The Spencer Dutton character, as a veteran of World War I, experiences some flashbacks to his time during the war. During these scenes, A few different rifles are shown, including Mauser Gewehr 1898 rifles carried by German soldiers and Springfield M1903 rifles carried by American forces. Both rifles are accurate depictions of what soldiers during WWI would have been using and carrying. The Mauser rifle was traditionally chambered in 7.92x57mm with a 5-round magazine while the Springfield M1903 rifle was a .30-06 rifle with a 5-round column box magazine.
Shotguns In the Series
Staying true to the strong women types that are so popular in the “Yellowstone” series, Cara Dutton is no exception. Like Beth Dutton of “Yellowstone” and Margaret Dutton of “1883”, Cara handles the scatter-shot shotgun with ease and skill.
When she uses a firearm, she usually has a side-by-side hammerless shotgun. The 12-gauge shotgun appears in the opening scenes of the series and looks to be similar to an Ithaca Flues Field Grade shotgun which was manufactured between 1908 and 1926. So, if the shotgun is the Ithaca Flues, it would fit in perfectly with that time frame. The one carried in “1923” appears to have Damascus barrels, that have a twisted steel pattern present as well.
Other shotguns make appearances in “1923” in addition to Cara Dutton’s shotgun, like a Charles Parker 1878 shotgun or a Winchester Model 1897 Trench shotgun. The Charles Parker 1878 lookalike shotgun appears in scenes featuring Hank Plenty Clouds, matching up with the dates of the shotgun production. The walnut stock and length of the barrel also seem to match up with the original.
The other shotgun that shows briefly in the series is the Winchester Mode 1897 Trench shotgun, something that was used during WWI by soldiers. The Spencer Dutton character’s flashbacks to WWI battles show the shotgun in use. The shotgun was the first successful pump-action design from John Browning and was used by US forces in both World Wars with a short barrel. The design of the shotgun could be used by even inexperienced shooters and could have all six rounds fired within two seconds. It was so successful in neutralizing the enemy that the German government filed an official complaint against the American use of the shotgun.
Are there any machine guns in 1923?
Given the timing of “1923” and the proximity to World War I, it’s no surprise when automatic weapons appear on screen in war scenes and Montana-based battle scenes. For the war sequences, the Browning M1917A1 makes its debut for the show, while the Thompson M1921AC machine gun shows up in the hands of ranchers in Montana.
During some of Spencer Dutton’s war flashback scenes, the Browning 1917A1 belt-fed machine guns play center stage. While the battles are not explicitly named in the show, some viewers believe his flashbacks featuring the late-war arrival stem from the battle during the Meuse-Argonne offensive, the final major campaign of WWI, and some of the bloodiest.
On the home front, civilians had access to Thompson machine guns, which was a weapon of war that found a market in the States. Remember, this is prior to the National Firearms Act of 1934 and deep in the realm of the mobsters and prohibition bootleggers. It wasn’t exactly cheap to purchase these weapons, but given the right means, a rancher in Montana could easily have access to them. The Auto-Ordnance company even marketed the weapon to civilians as the ”Thompson Bandit Gun,” so it’s no real stretch for it to arrive on screen.
Handguns of 1923: A Yellowstone Origin Story
The series offers plenty of handgun action. Here’s a look.
Smith & Wesson Military & Police
Jacob Dutton, played by Harrison Ford, has his sidearm of choice in the Smith & Wesson Military & Police model. Originally released in the late 1800s as the Smith & Wesson Model 10, the double-action revolver has been through several iterations since its release. The version seen in the series is a K-frame revolver, mostly likely chambered in .38 Special. This revolver is said to be one of the most popular ever produced, so it fits right in on “1923”.
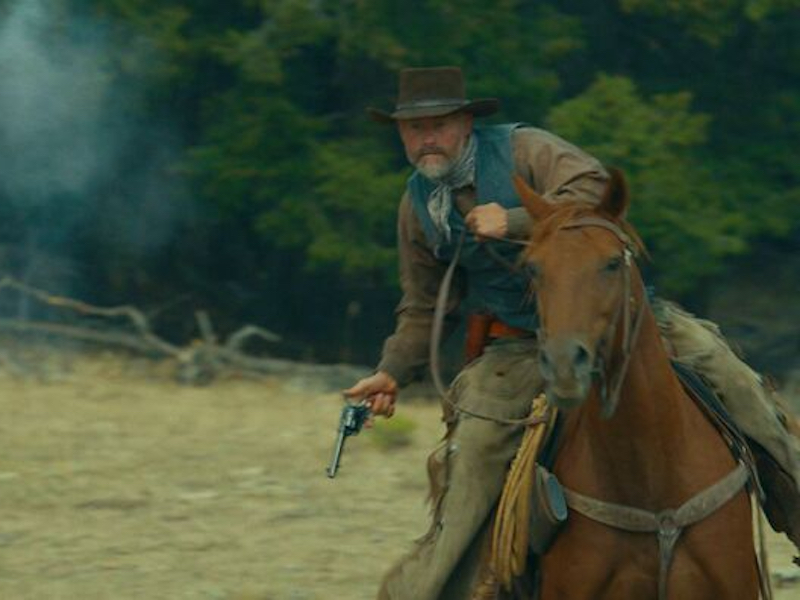
Colt Single Action Army
Like the revolver covered in the Firearms of “1883” piece, the Colt Single Action Army, or SAA, was a wildly popular revolver from the Old West through early modern times. Known by other names, like the Peacemaker and the Frontiersman, the western revolver is natural. By the time “1923” is set, the revolver was starting to decline in popularity, but with an estimated 300,000+ in circulation, it was proven a reliable and durable weapon. Also, added into the mix is the character who is often seen with it, John Dutton whose father was James Dutton of “1883” and his son Jack. The aspect of a family heirloom is right on par.
Webley & Scott Mk VI
In the opening scenes of “1923,” Cara Dutton is seen holding another rancher at gunpoint with her shotgun. The other rancher, an Irish immigrant, is shown having trouble reloading his Webley Mk IV revolver, more from adrenaline than anything. The Webley & Scott top break revolver was a well-known wheelgun used by many military personnel and civilians throughout the United Kingdom at the time. The revolver making its way to the American West with its Irish owner is spot on.
Colt M1911
The Colt M1911 .45 pistol makes a few appearances in the “1923” series, both in the hands of Spencer Dutton as well as a guard for a mining company. This pistol was a popular choice during the era and was readily available thanks to soldiers keeping theirs after the War and many on the market as military surplus. The pistol was reliable and said to be one of the best self-loading pistols created, with different versions of the pistol being used by military forces throughout the 20th century.
Colt Officer’s Model Match
The Sheriff in “1923” is seen with a Colt Officers Model Match Fifth or Sixth Issue. While the revolver model doesn’t quite match up with what would be available at the time, it probably was meant to show an earlier model, a medium frame double action target revolver from Colt. Regardless, it wasn’t accurate for the time.
Wrapping Up
The showrunners for “1923” did a good job mixing the firearms that would have been used at the time. By mixing the newer technology during the era and the traditional firepower, the theme seemed to be met with subtlety. Between the sweeping vistas of Africa, the mountains of Montana, and the flashbacks to the brutal War, the show matches firepower with tradition.
As a side note, fans of both 1883 and 1923 can rest easy as it was recently announced that both series will receive extra episodes to help round out the stories leading up to the Yellowstone timeline. No word on air dates yet but should be within the next year or so.