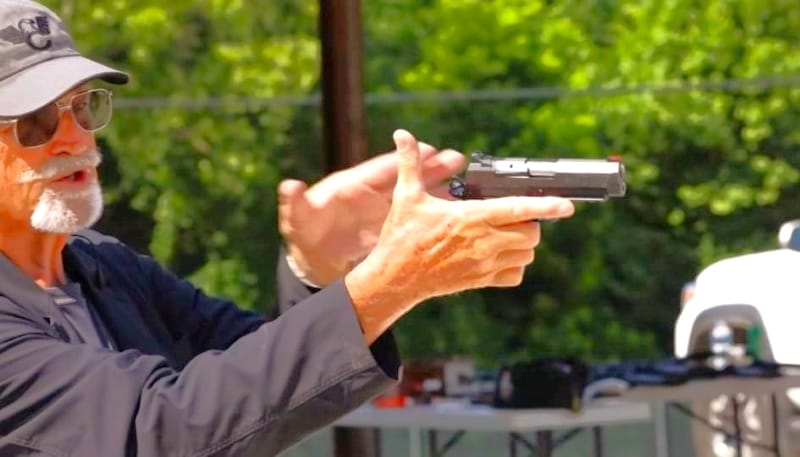
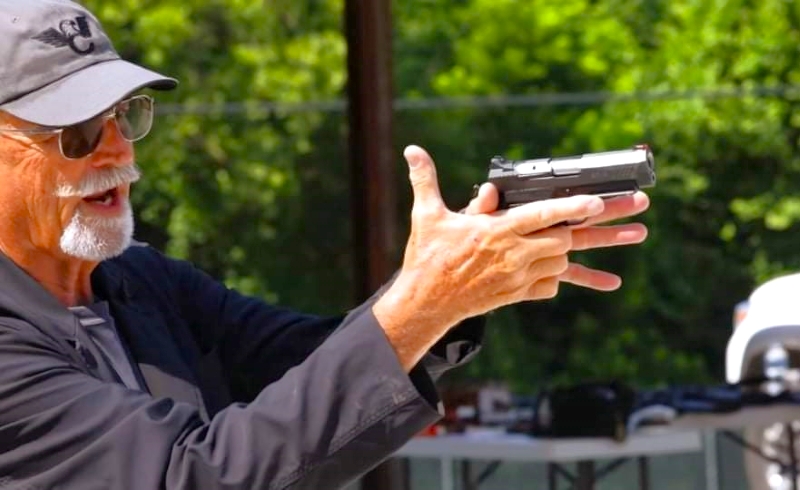
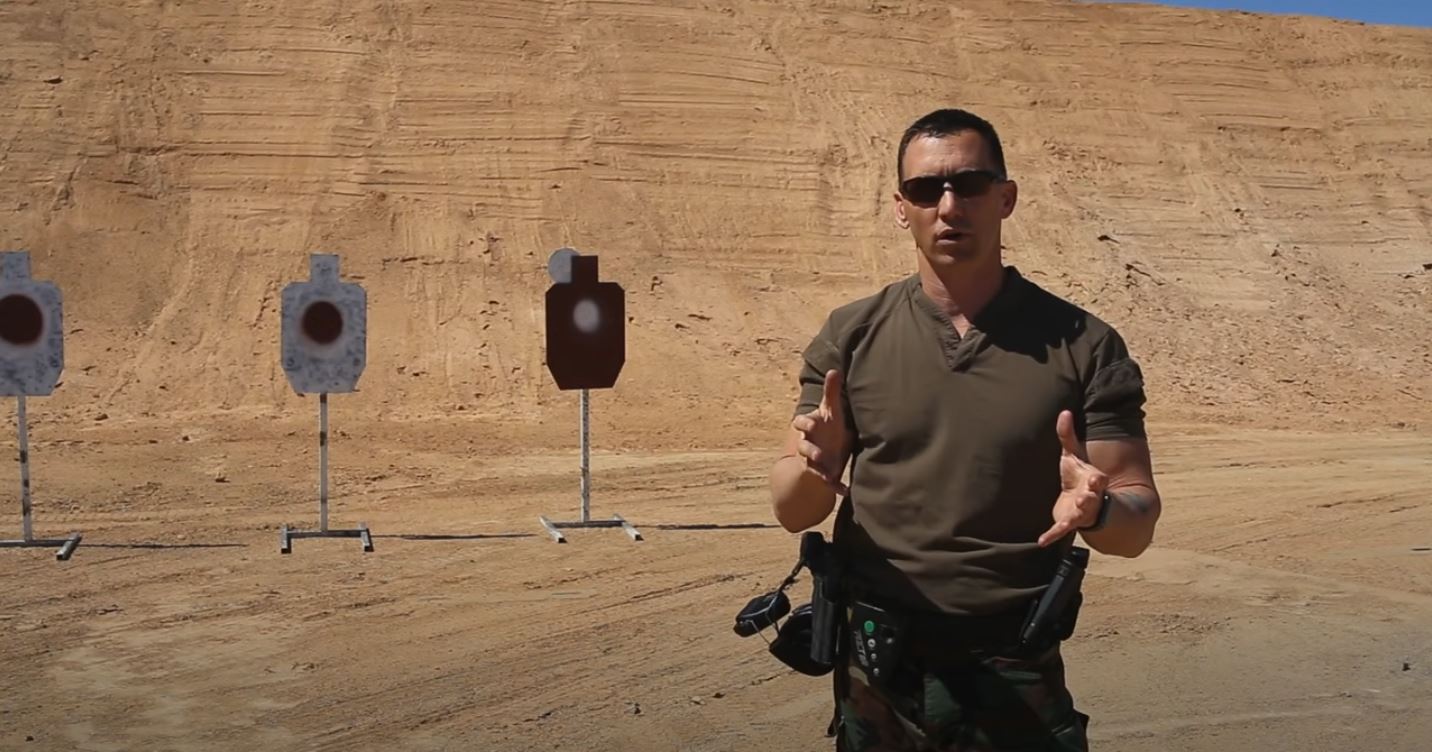
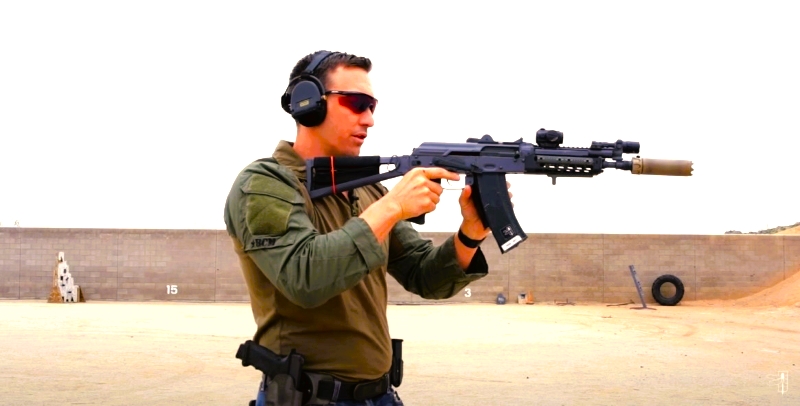
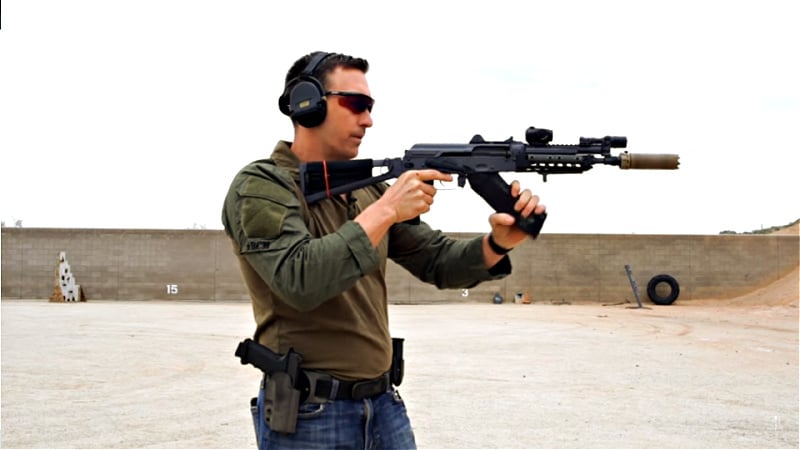
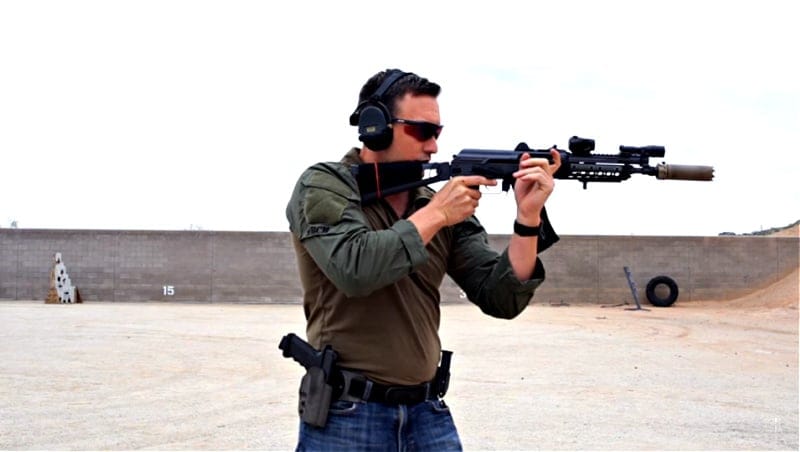
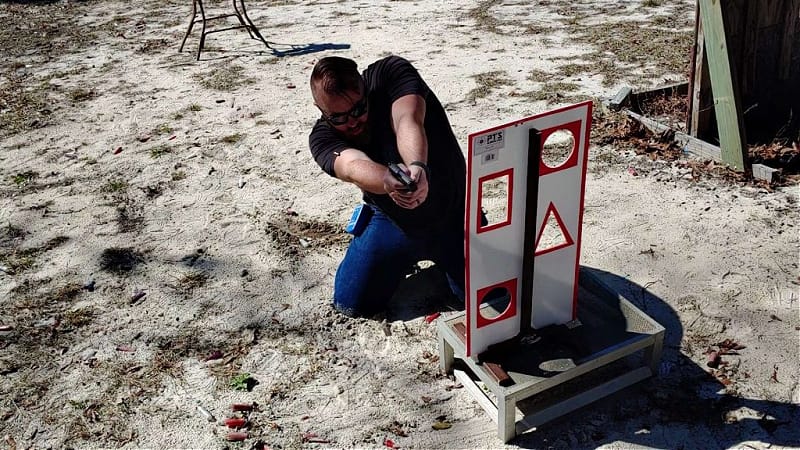
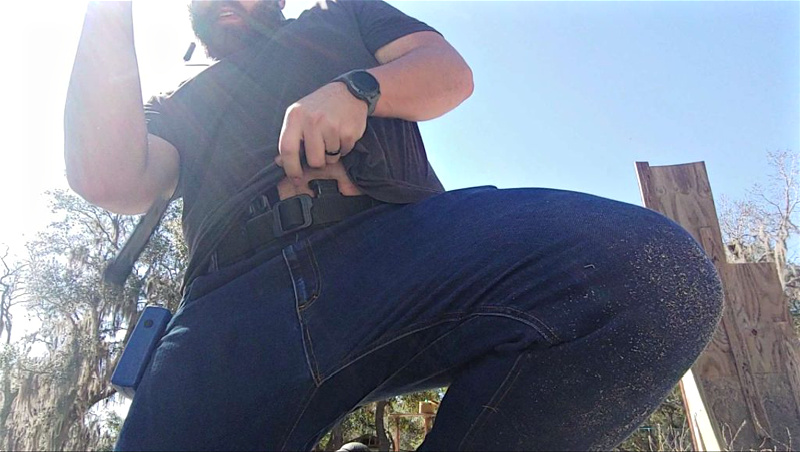
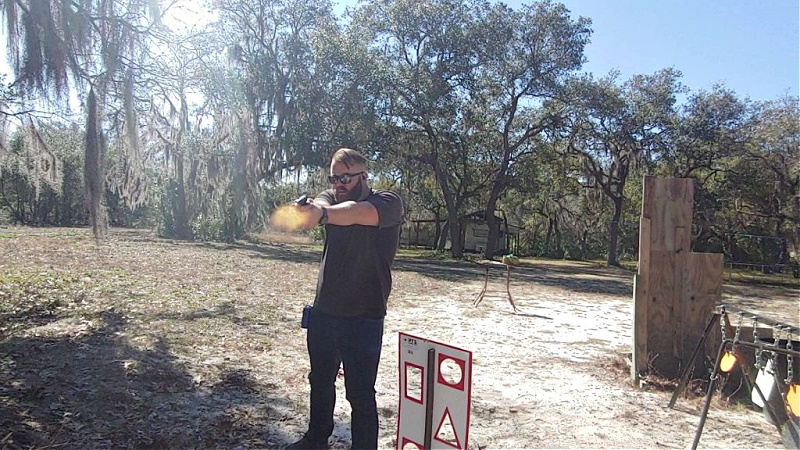
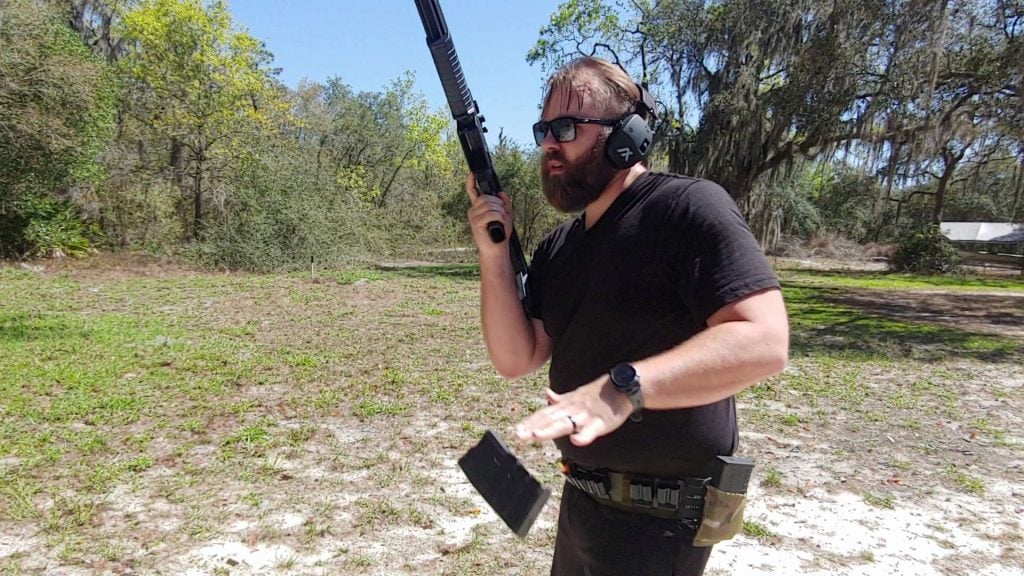
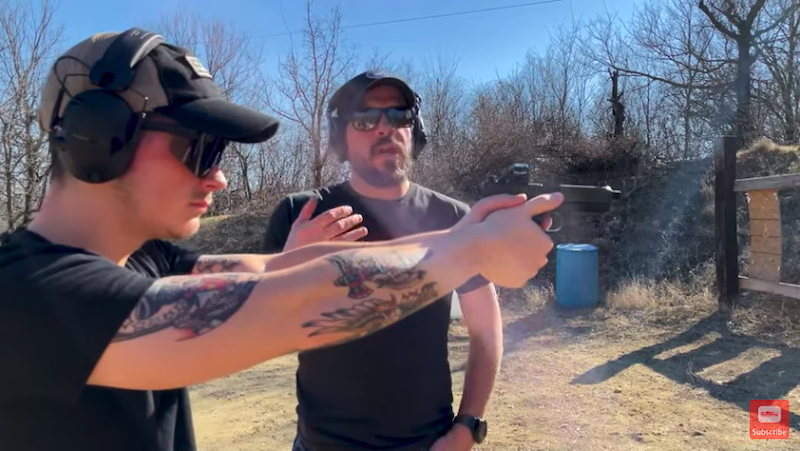
Shooting Stance: Does It Really Matter?
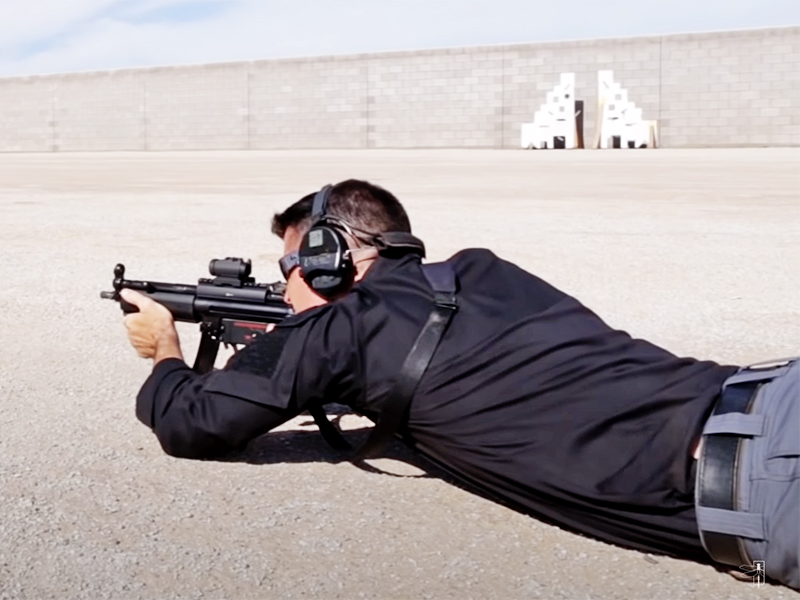
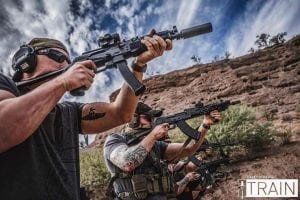
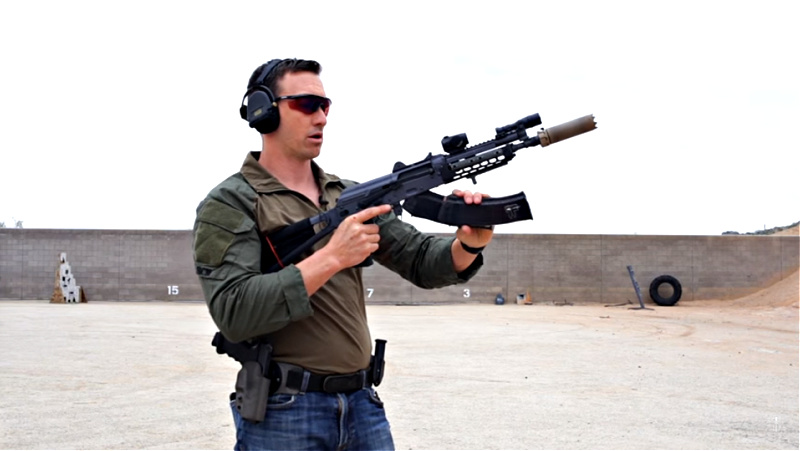
It might seem odd to stop and consider a different shooting stance, but there are good reasons to consider more than the current trending way of standing while you shoot (it’s Isosceles). Perhaps the most important reason to practice in multiple stances is to diversify your shooting skills, but there are others. For example, if you’re ever forced to defend yourself from a violent attack, it’s highly unlikely you’ll have time to get into your favored Isosceles Stance before firing your gun. In real life, a firefight is fluid and changing. Not sure where to start? Check out the basic upright shooting stances before you get into things like shooting and moving or variations on prone.

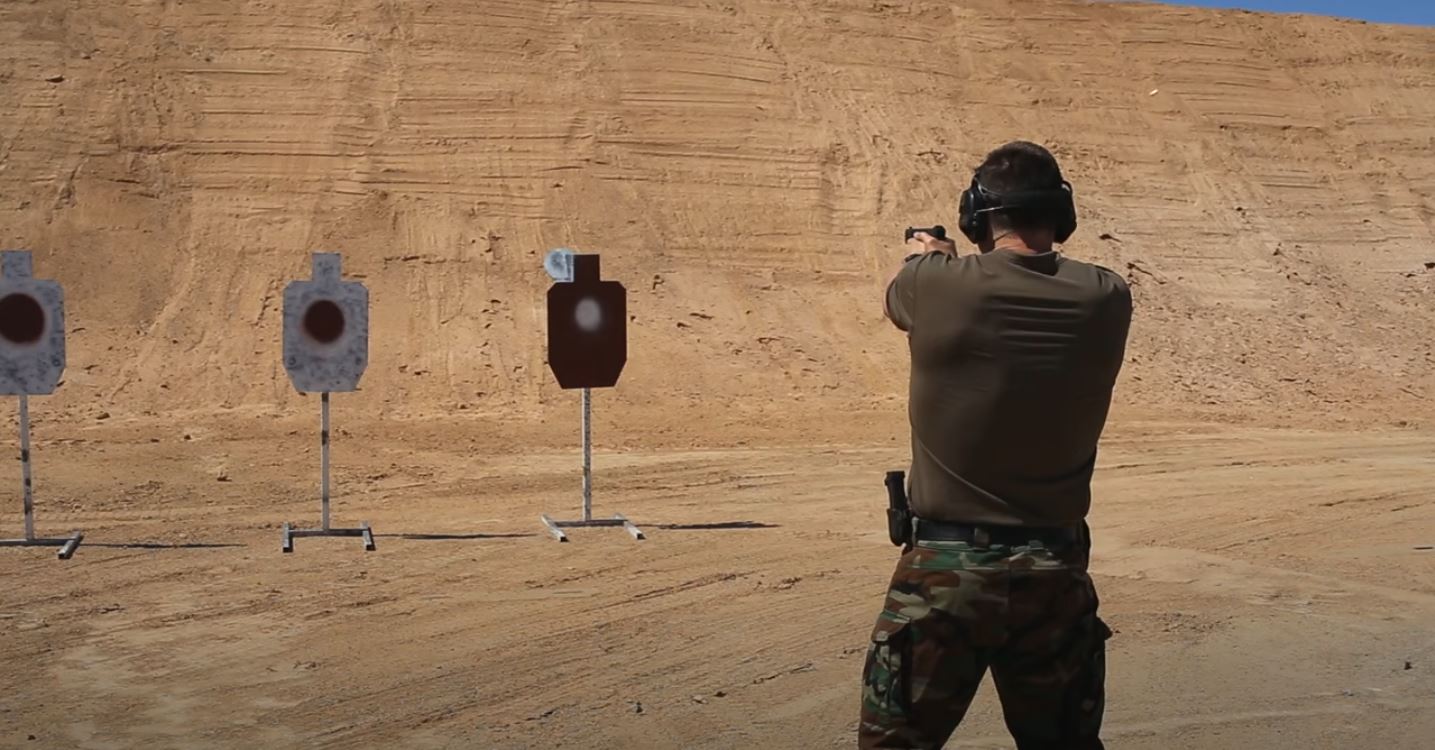
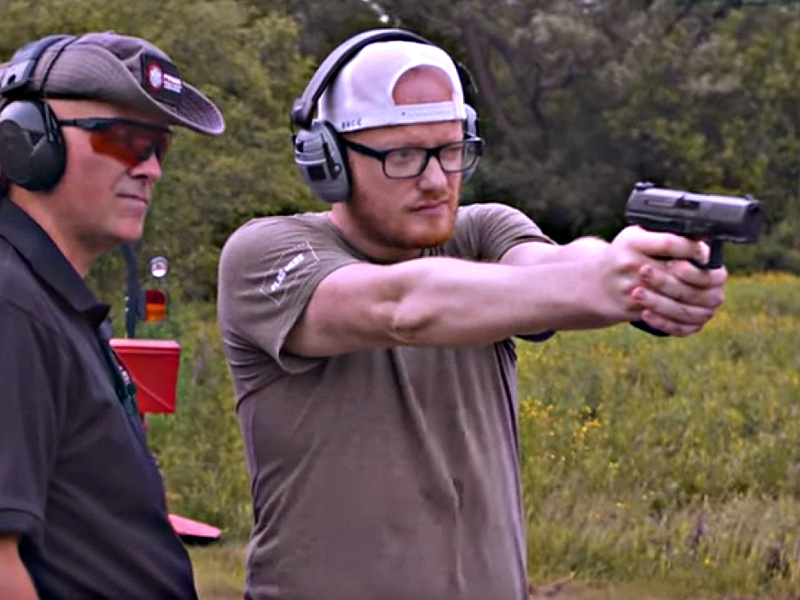
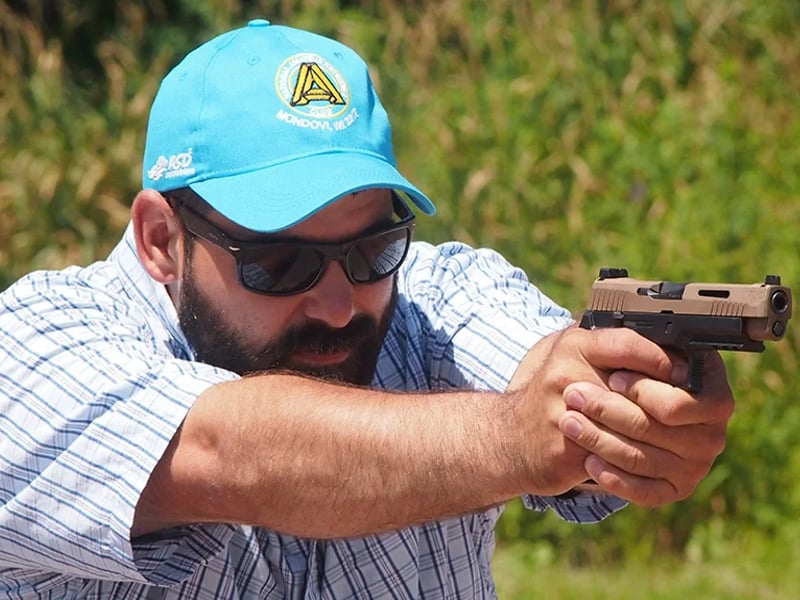
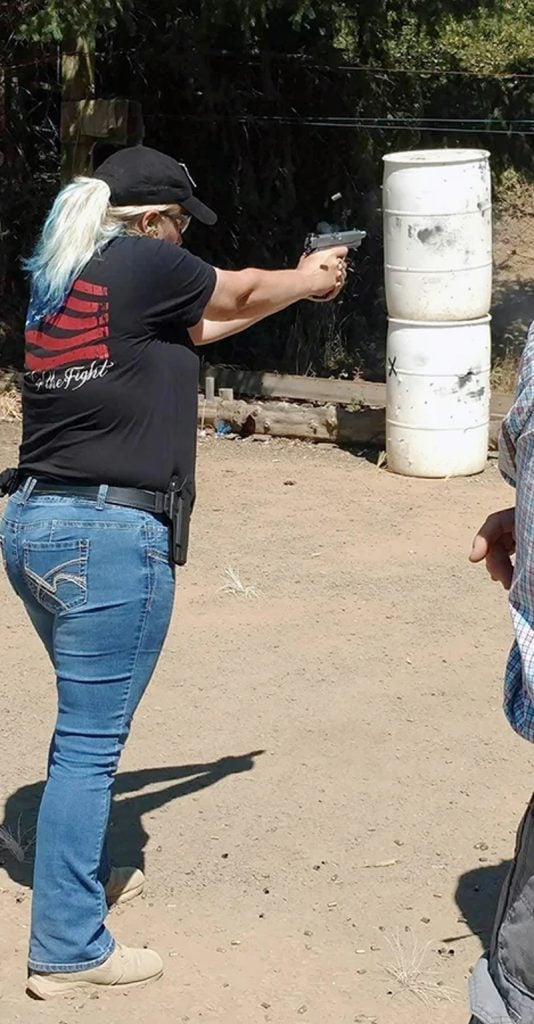
Isosceles Stance
It’s undeniable that shooters in Isosceles stance are all over social media and on the pages of gun magazines. Isosceles has been the favored stance for some time now, which is understandable.
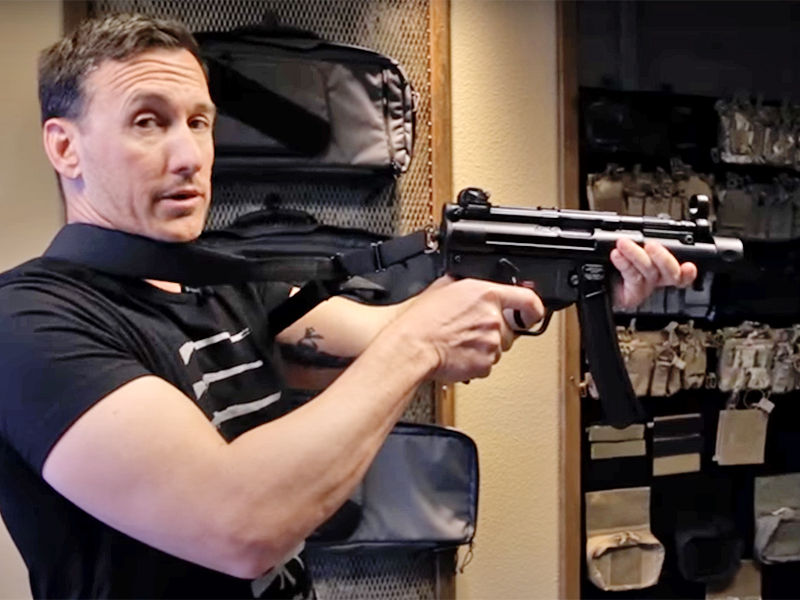
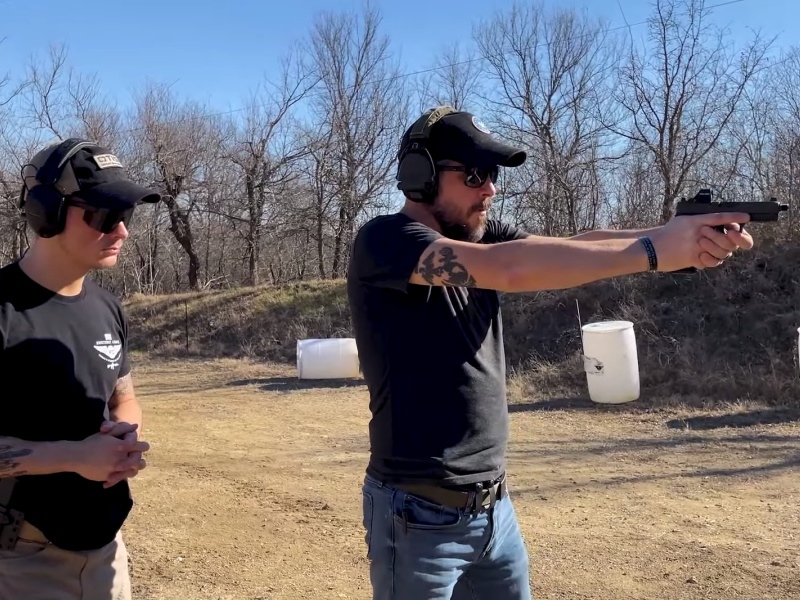
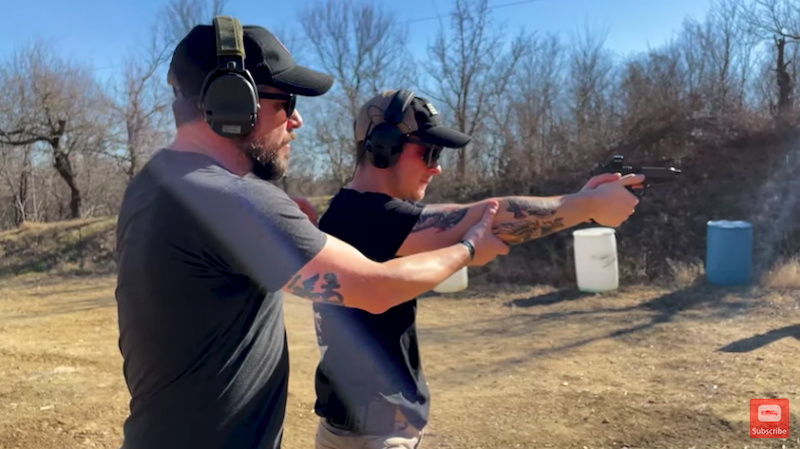
When taking the Isosceles stance, the shooter faces the target squarely. This differs from other stances that involve more of a bladed approach. For example, in a standard Isosceles, the shooter will stand with their feet slightly beyond hip-distance, apart with the toes of both feet aimed at their target. In this stance, the shooter’s arms are held out straight from their body without bending the elbows. This means that when the shooter is gripping the gun, their arms are in a triangle.
A Few Tips for Isosceles
- Don’t lock your knees; just stand firmly in place.
- Don’t lock your elbows, simply maintain tension.
- Don’t lean forward like there’s a strong wind.
- Don’t turtle your head down. Instead, bring the gun up to your line of vision.
There are modifications and variations to every stance in the gun industry. Perhaps the most popular for Isosceles is the Power Isosceles which requires the shooter to take a step back with their strong-side leg. Knees are slightly flexed as well using Power Isosceles.
How well Isosceles stance works for you depends on your body type and size, but it’s also going to be affected by the gun you’re shooting. Larger calibers, specifically magnum ones, often benefit from a different stance to better manage felt recoil.
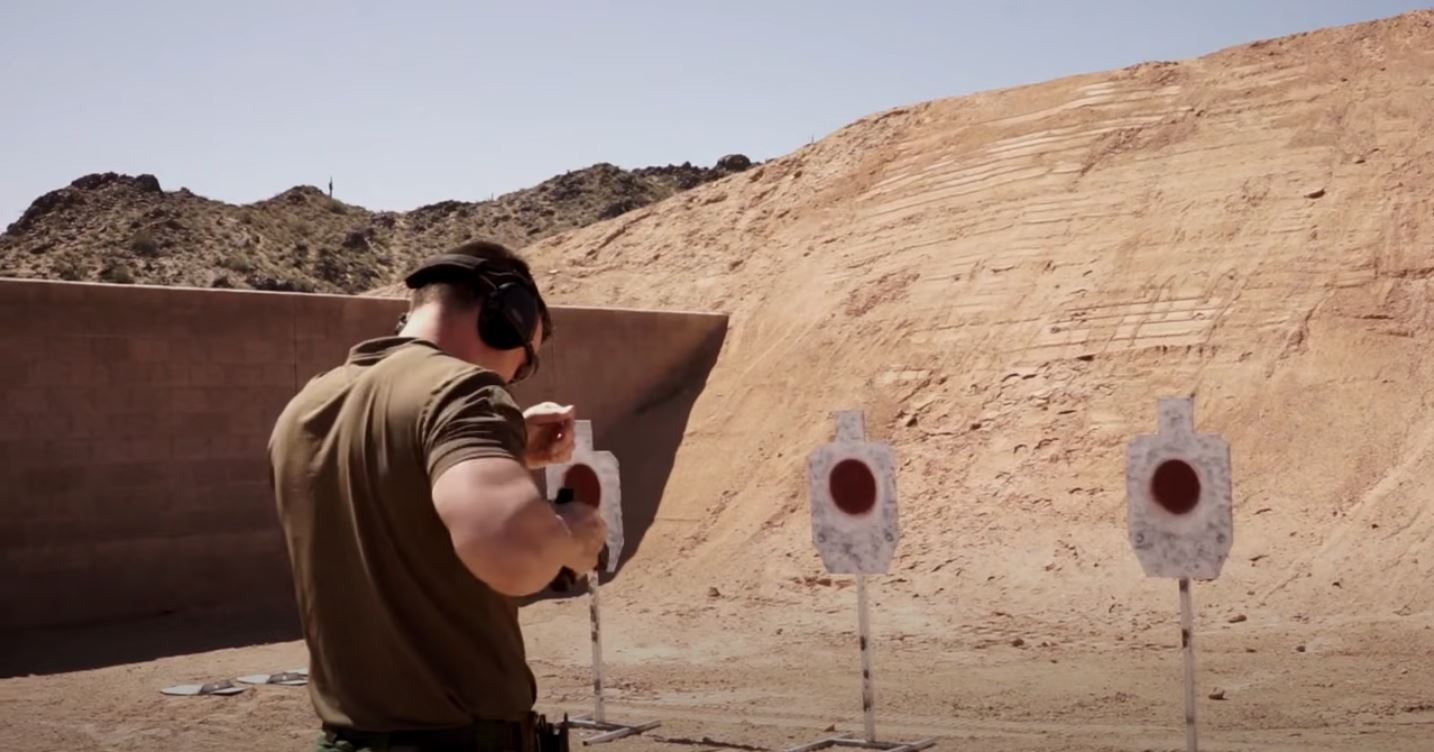
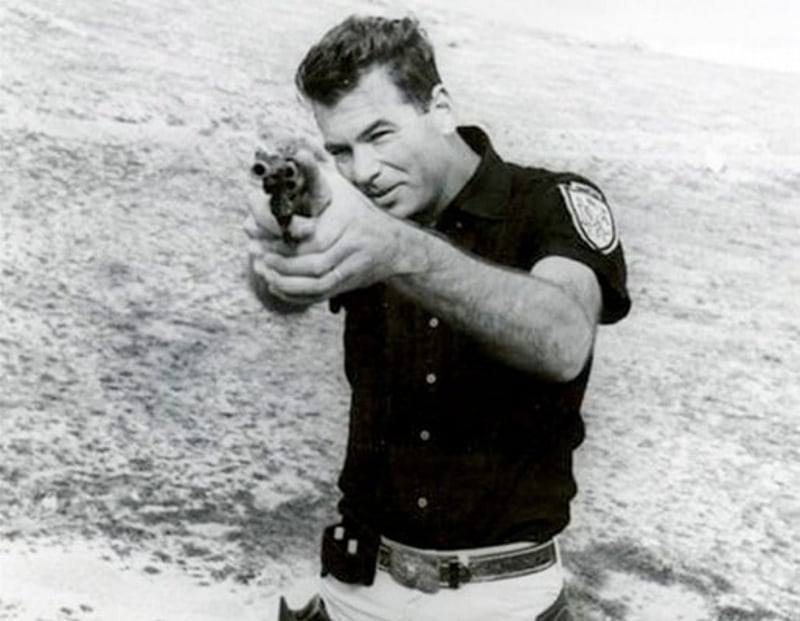
Weaver Stance
Frequently referred to as outdated and not worth doing, the Weaver stance is a legitimately useful shooting stance. It can be traced back over half a century to Jack Weaver, and its entire creation was basically the result of Weaver’s desire to win a competition.
At that time, Col. Jeff Cooper, the founder of what is now known as Gunsite Academy, held annual Leatherslap competitions. They were quick draw matches that attracted shooters like Elden Carl, Thell Reed, John Plahn, Ray Chapman, and, of course, Jack Weaver. Part of Leatherslap involved shooting balloons from 10 feet away, and for whatever reason, they kept missing. Weaver later wrote about the event, saying, “Most of the talk was about how fast different contestants were; ‘hundredths of a second’ seemed very important. Nobody ever mentioned accuracy—that problem was somehow going to take care of itself, like all the Westerns on TV during that time (1956).”
Only it didn’t. The shooters were lightning-fast and highly skilled but did not take the time to aim carefully enough to make those precise shots. Jack Weaver decided to do something about it—he wanted to win next time—and spend the next year fine-tuning what would become known as the Weaver stance (by the way, he did win the next Leatherslap using it).
Breakdown of the Weaver Stance
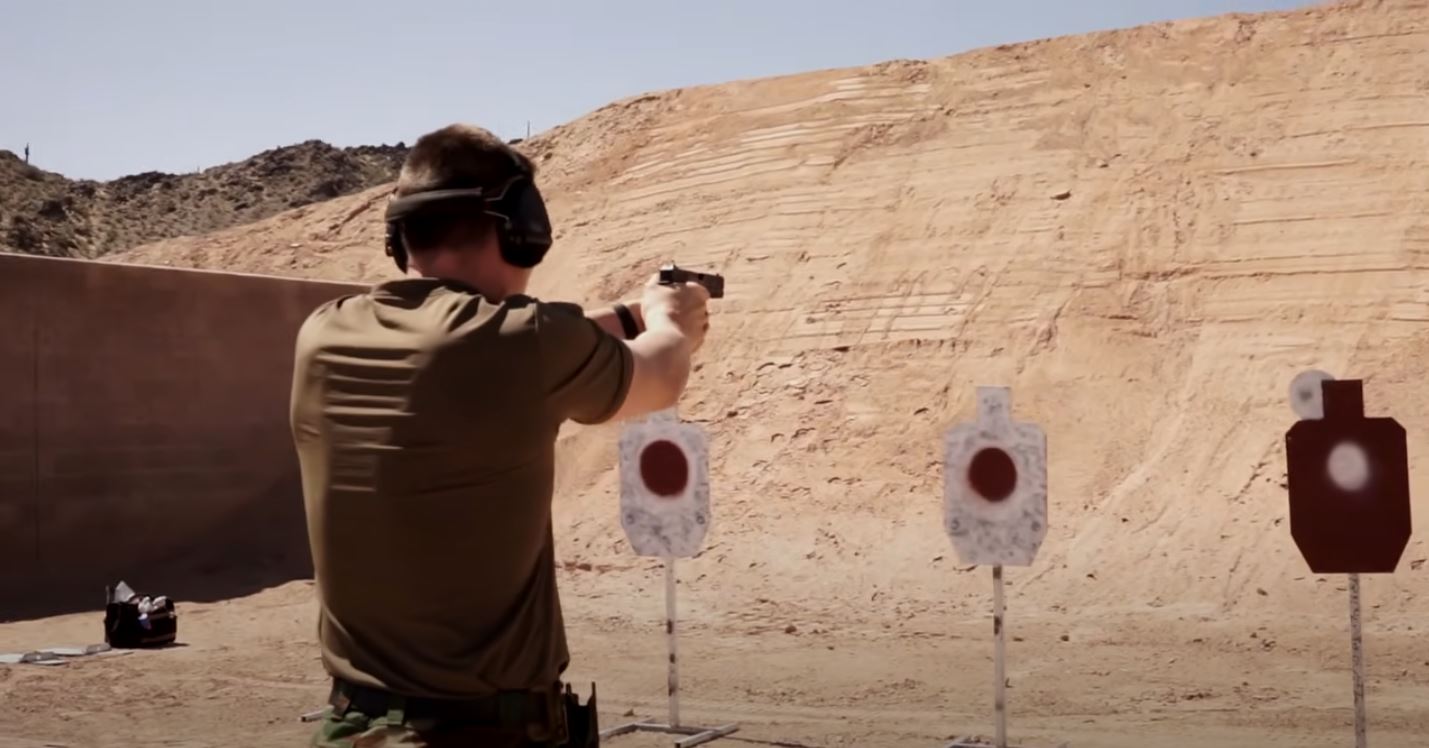
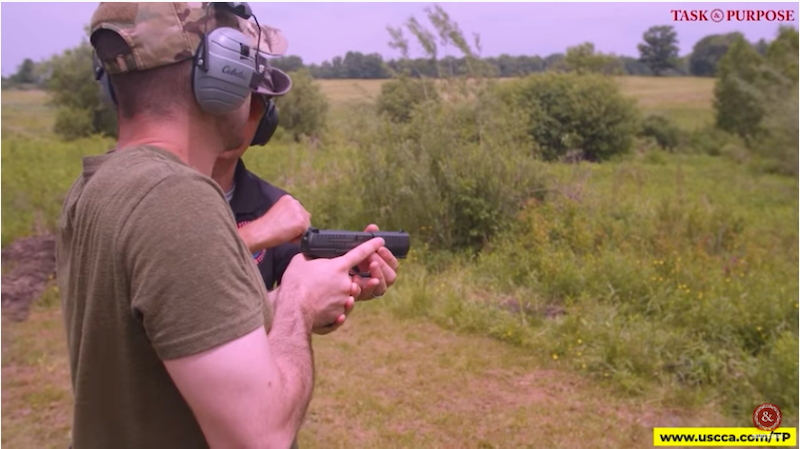
The Weaver stance is sometimes called a boxer’s stance. The shooter takes a step toward the target with their support-side foot to take this shooting stance. The toes of that foot remain pointed in the direction of the target. The leg is turned at a 45-degree angle on the shooter’s strong side, similar to how a boxer is angled before throwing a punch.
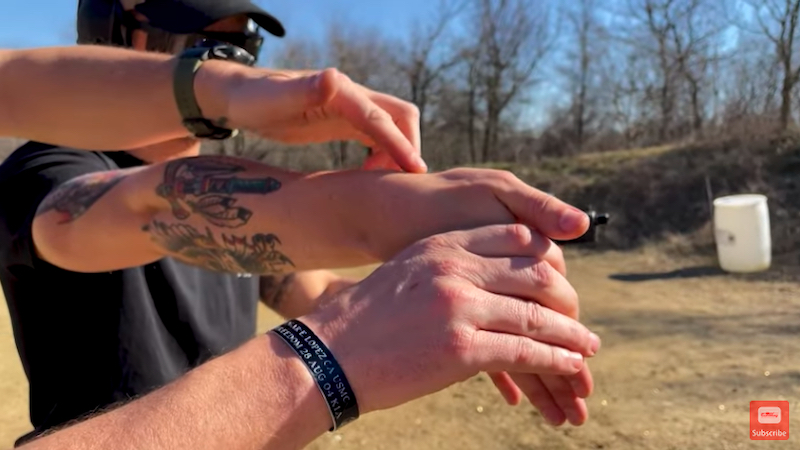
This is a two-handed stance. The shooter’s strong-side arm is extended in front of their body but not fully straightened; a slight bend should remain in the strong-side elbow. The shooter’s arm is bent at a 45-degree angle on the support side. The shooter shouldn’t stick their elbow out chicken-wing style but should, instead, aim their elbow at the ground.
Properly doing Weaver requires a push-pull method—dynamic tension—with the shooter’s grip. Some gun owners dislike the blading of the stance because they say it could open them to a potentially fatal wound even when wearing body armor.
It’s also worth noting that Mas Ayoob, whose reputation always precedes him, has noticed Weaver’s push-pull and overall stance has a tendency to fall apart under extreme stress. That’s relevant because it means it could be worthless in a fight for your life. Does that mean the Weaver stance has no use? Not necessarily, but it’s information worth remembering.
A few tips for the Weaver stance:
- Don’t leave the strong-side arm raised like a wing; tuck it into your body.
- You can turn your head slightly when aiming your gun. Traditionally, the gun is held higher, and the head is tilted. Find what works for you.
- Don’t crouch or dramatically lean into the gun.
- Practice the push-pull grip. It takes time to master.
If Weaver’s not for you, check out the variation below.
Chapman Stance (Modified Weaver)
Yes, there’s a modification to Weaver, and yes, it was “invented” by one of Jack Weaver’s buddies. Ray Chapman came up with the Chapman stance by watching Weaver and deciding he could improve on the stance. There’s more, but you get the idea.
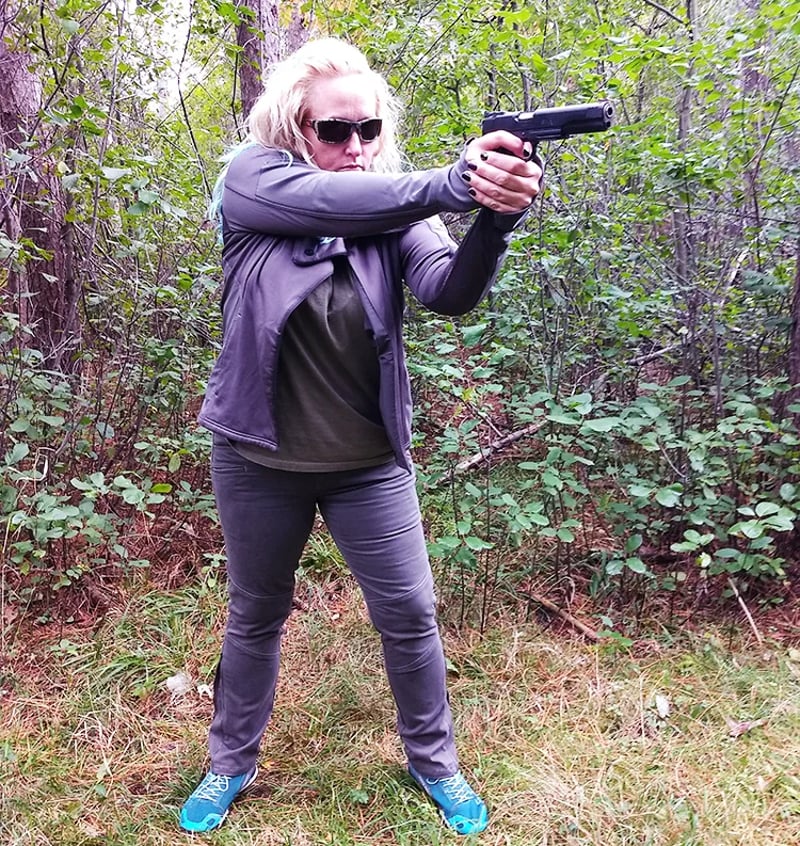
In the Chapman stance, the legs are not quite as widely spaced. That means instead of taking a complete step forward with the support-side foot, it’s just a small movement, creating a more tightly-held frame for better balance. The shooter’s arms remain similar to how they’re held in Weaver, but the strong-side arm is extended instead of being slightly bent, and the support-side doesn’t push forward into the gun. This removes the push-pull needed for Weaver, making Chapman much simpler for many people.
Chapman has some specific uses. It can be easier or better for women than Isosceles due to our different body shapes and is also useful for shooters with hip or back pain. The shift in how the legs and arms are held can alleviate some of the pressure that’s put on those joints during Isosceles. And if you’re cross-dominate, you can turn your head and press your cheek into your bicep.
A Few Tips for the Chapman Stance
- Don’t take a big step forward to separate your legs. Unlike Weaver, Chapman requires only a small gap to be created with the support-side leg.
- Don’t lock or fully extend your strong-side arm. Leave a little flex in it.
- Don’t be afraid to turn your head to better line up your eye with the sight, but be aware that if you tilt your head at an angle instead of holding it upright, it will affect shot placement.
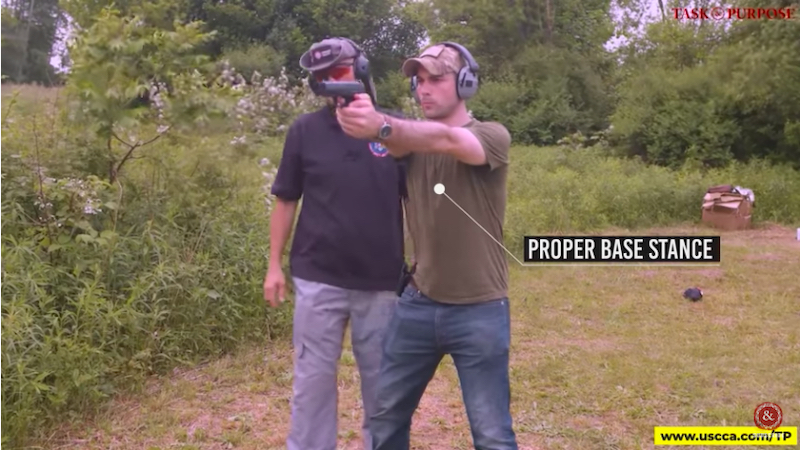
Modern Fighting Stance
You might have noticed that Weaver and Chapman both have connections to the famed Gunsite Academy in Paulden, Arizona. Well, there’s a fourth stance to add to the list, and it comes straight from Gunsite. The academy calls it the Modern Fighting Stance, and it works exceptionally well for a wide variety of shooters.
The Modern Fighting Stance requires the shooter to square off with the target, just like in Isosceles. The shooter’s legs are a bit more than hip distance apart, with the strong-side leg approximately six inches, give or take, further back than the support-side leg. Toes aim at the target; there is no blading. The shooter extends their strong-side arm, and the support-side arm is slightly bent to create tension similar to that of Weaver (but not so extreme).
This is what Gunsite uses as a balanced fighting stance, and they’re cool with modifications. They understand different shooters have varying body types, injuries, and needs, so changes and adjustments are made as needed.
A Few Tips for the Modern Fighting Stance
- Be flexible. Don’t be rigid in your approach to this stance. Make adjustments as needed.
- Don’t take too broad a stance. Legs should be only a little wider than your shoulders.
- A dramatic push-pull is not required. Simply keep good tension in your grip.
Which shooting stance should you use?
There’s no one-size-fits-all shooting stance (surprise!). What works for the guy on social media might be a train wreck for you. Something else I’ve learned over time is that the gun affects things. My stance affects my accuracy with guns of different sizes, so I’ve learned to make adjustments. Don’t get stuck in a rut thinking there’s only one way. Broaden your horizons and try it all because being a well-versed shooter in many methods is a good plan. Plus, it gives you an excuse for extra trigger time, and who doesn’t want that?
What’s your preferred shooting stance, and why? Tell us in the comments below.