SIG P365 Holster Options for your Every (365) Days of Carry

What is the best Sig P365 holster? What is the most comfortable Sig P365 holster? These aren’t rhetorical questions. The Sig P365 is without a doubt one of the most revolutionary handguns we’ve seen in the concealed carry market, though the subsequent Hellcat has been giving it some competition. The article you’ll read below was originally published about a year ago (August 2019). Since that time, many other holster companies have released a Sig Sauer P365 holster option (or more than one) Some we’ve written about (like the Tenicor Velo, below). Some we haven’t (yet). Some we won’t.
• SIG P365 Holster Releases & News
• Tenicor Velo: AIWB P365 Holster Review
• Pike’s Picks for Best SIG P365 Holster
Sig P365 Holsters in the News
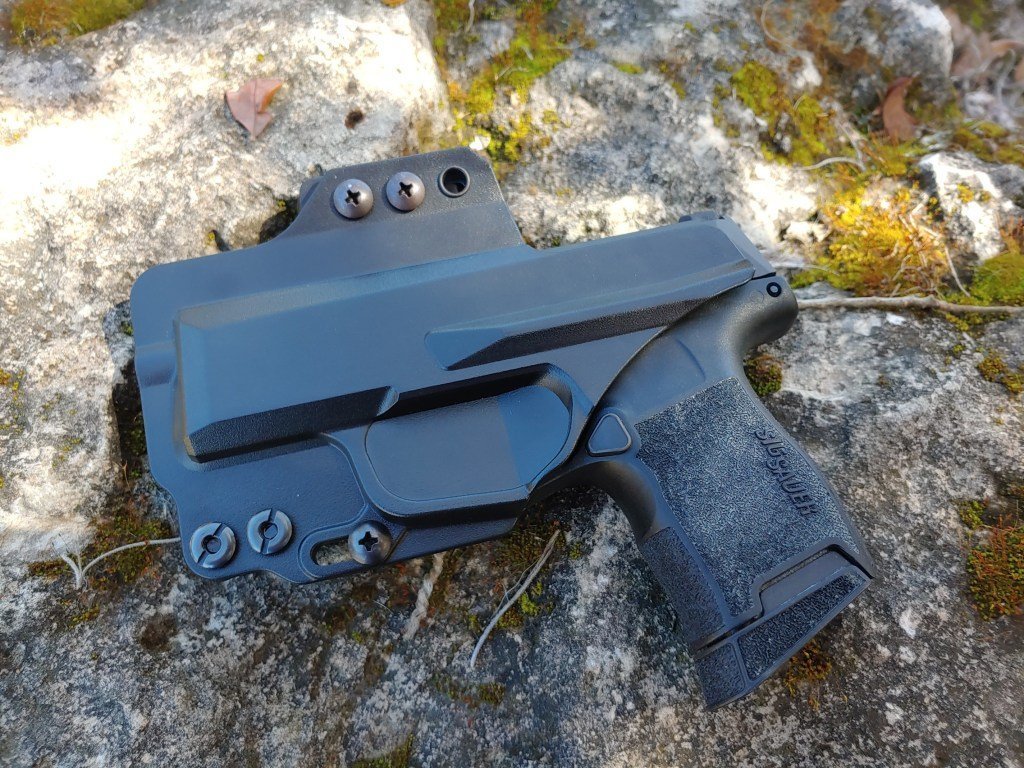
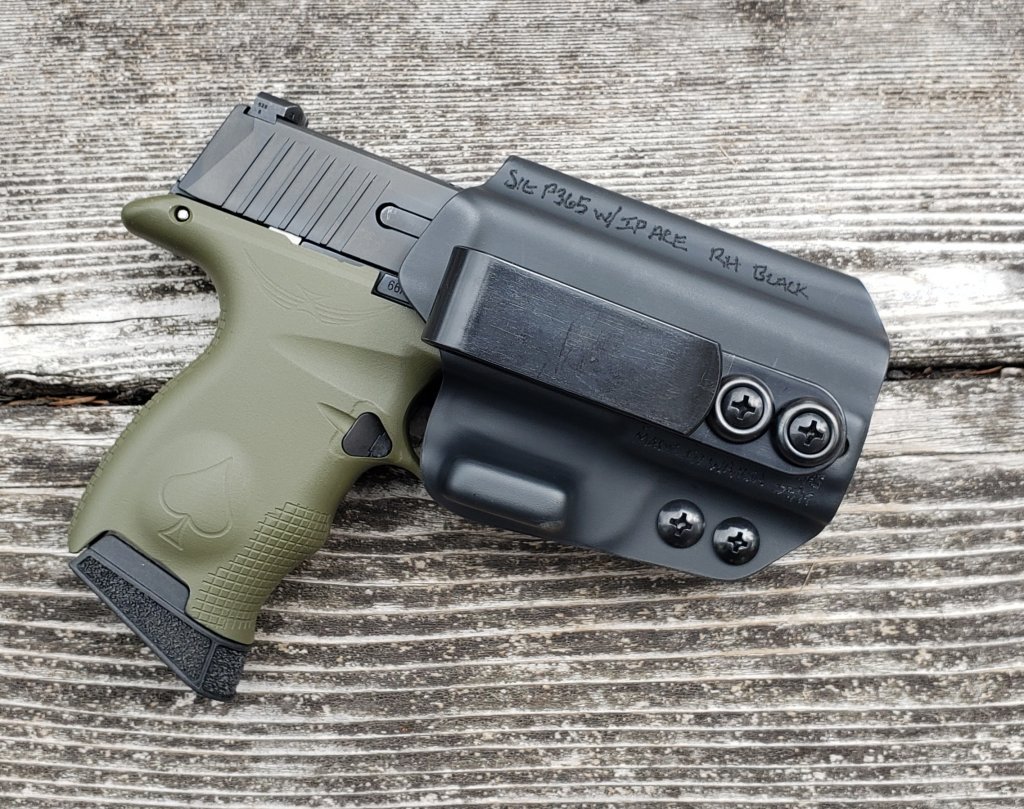
DeSantis Gunhide Slim-Tuk Holster for SIG P365 with Streamlight TLR-6
DeSantis Gunhide Slim-Tuk Holster for SIG P365 with Streamlight TLR-6
May 2021. DeSantis just expanded its IWB Slim-Tuk holster options by adding the fit capability to accommodate the Streamlight TLR-6 light. It’s an ambidextrous IWB holster made of Kydex with the DeSantis tuckable 360° C-Clip, which affords the wearer unlimited mounting options.
From DeSantis:
This new enhancement to the Slim-Tuk style that now fits the TLR-6 is sure to be a great hit as we continue to see illumination tools becoming brighter and smaller, providing deep concealment and versatility. We already have a fitment for the Glock 43 with the TLR-6 and will be adding even more Slim-Tuk fitments for other illumination tools in the weeks to come. Stay Tuned!
The retail price is $34.99 (at the time of this writing).
Tenicor Velo: Reviewing a Sig P365 Holster
Carrying concealed is the only way I carry a firearm when I am off duty. While my methods have changed over the ten years or so of my career, the fundamental requirements of a good holster have not. So while the pistols have gotten smaller and holsters have become less leather, more Kydex, the features required of a quality holster remain consistent: features you’ll find well-developed in the Tenicor Velo Sig P365 holster.
When I first began carrying, it was usually a Compact or Subcompact platform. I normally carried at the four o’clock position with a button-up shirt to effectively conceal it all.

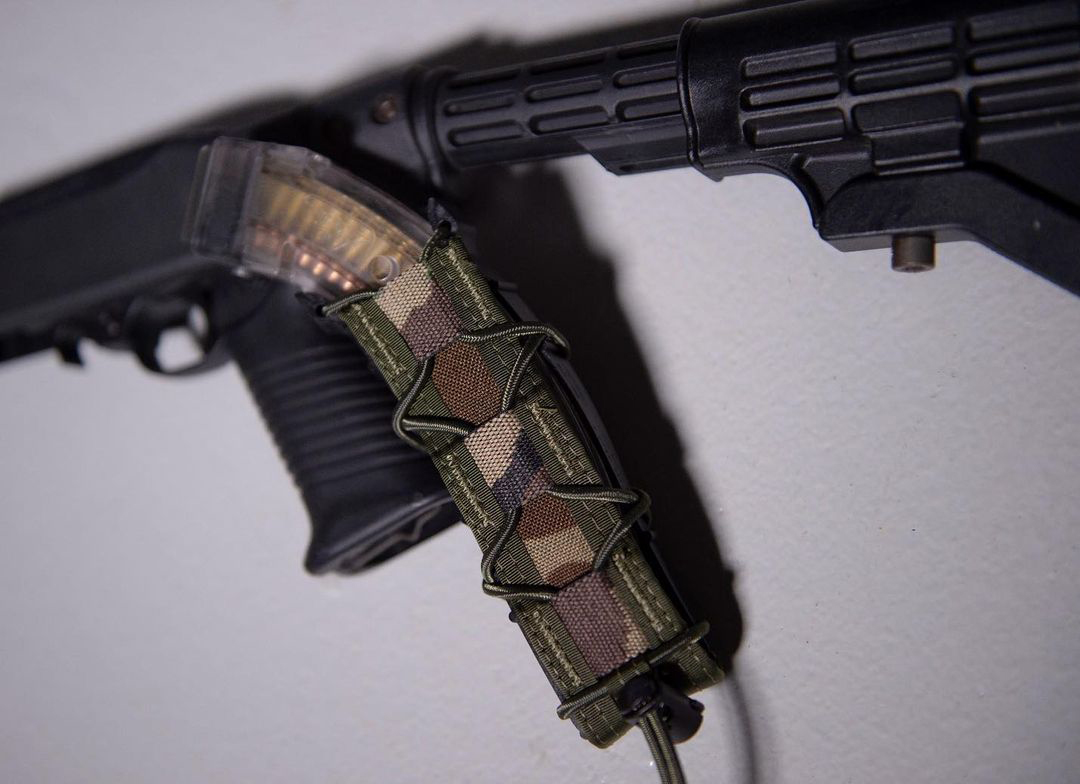
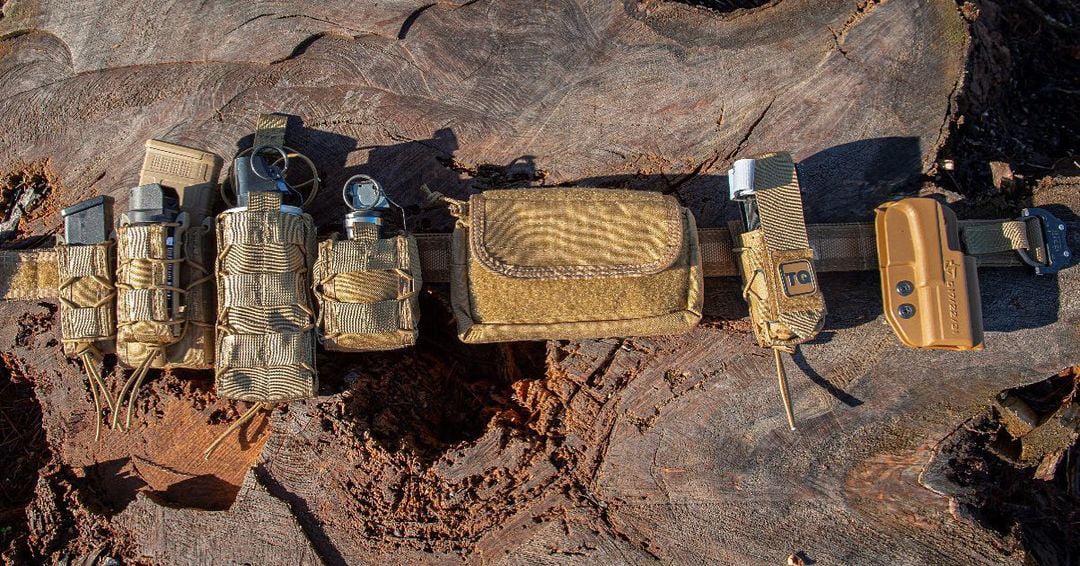
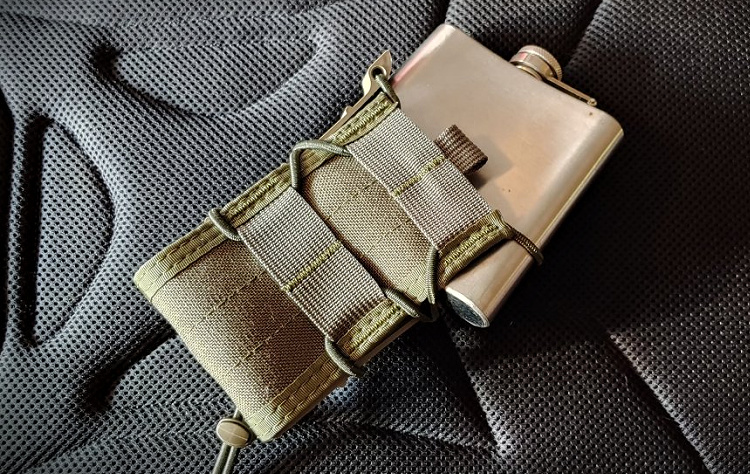
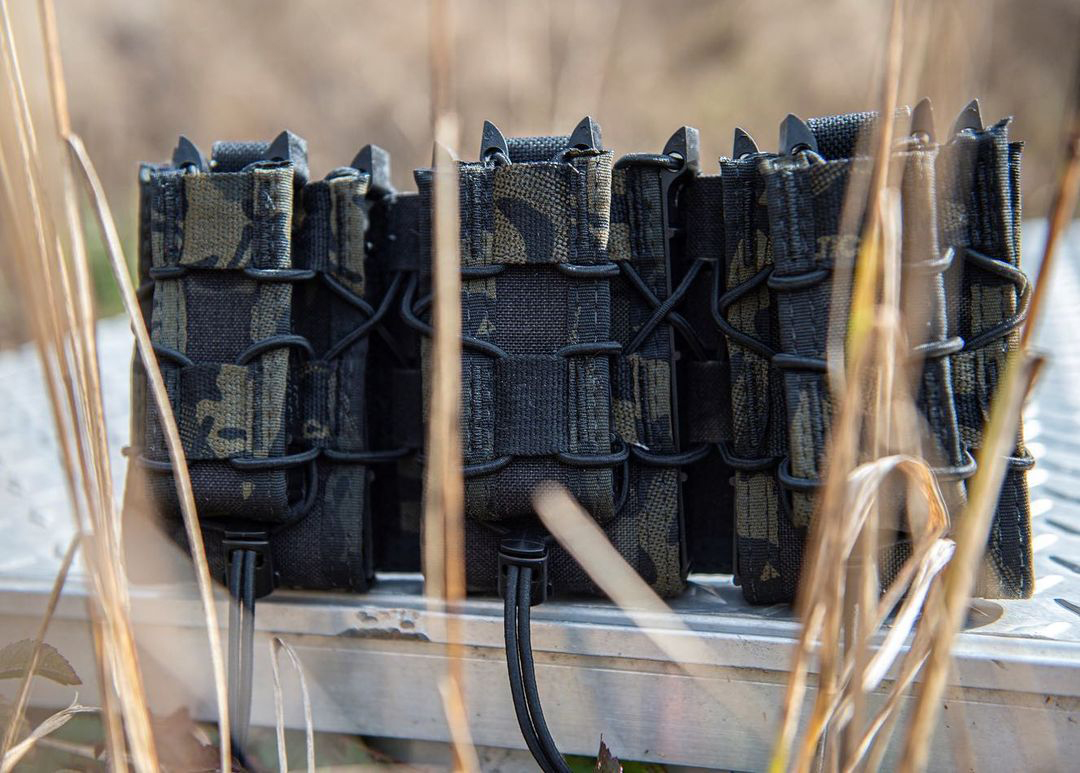
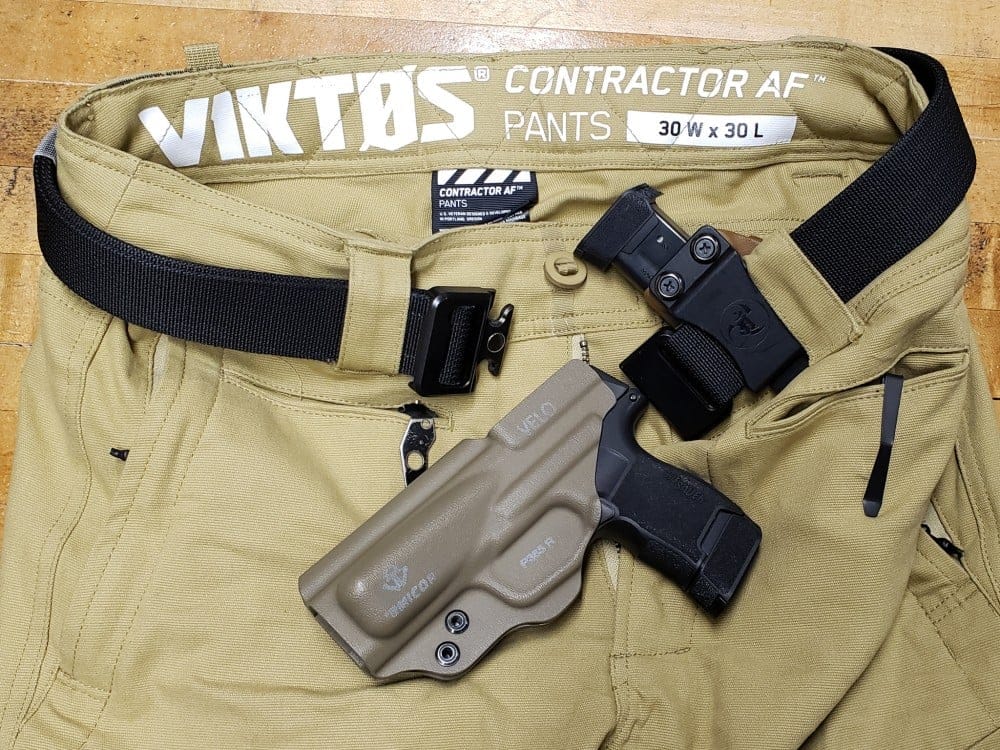
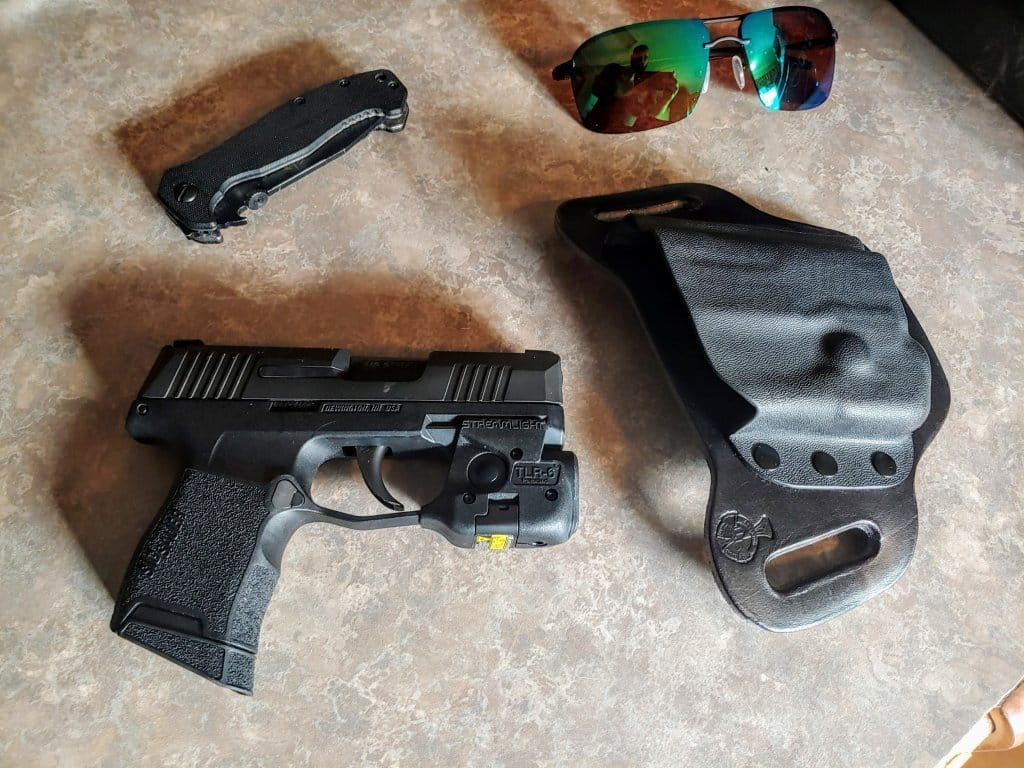
What you see up top is my current EDC setup when using the Velo. here’s a close-up of the holster, weapon, and mag “pouch” (holder). It’s discreet, with plenty of ammo on board.
Now I carry a Sig Sauer P365, with a 12 round extended magazine in, along with two spares for reloads. Depth of pocket allowing, I can also carry an extended 15-round P365 mag. That’s quite an impressive loadout, considering what a small-framed individual was once restricted to. This is made possible by the small overall size of the pistol and a good holster. Happily, there are a couple of options that fit that description, and they allow me to wear t-shirts again.
I was using a rig from another brand when I first began carrying the Sig P365. It was a decent holster, but I was still printing with the grip. It used plastic clips, which were okay, but I repeatedly experienced movement as I wore it throughout the day (the amount depending upon my activity).
When Tenicor added the P365 to their lineup Velo holsters, I immediately wanted to try it out — and it’s been my AIWB holster (Appendix Inside the WaistBand) ever since. Well, my choice of any EDC holster for that matter.
Holsters may seem virtually identical, but that’s far from the case. The Velo, with its distinctive look and muzzle wedge, has many features not to be found on other holsters. That wedge, for instance, looks weird, but it serves a very important purpose — it pushes the grip of your pistol into (toward) the body, which helps keep it from printing.
Another unique and highly effective feature of the Velo, at least in my experience, is the Tenicor T1 belt clip by Discreet Carry Concepts. These are hands down the best clips I’ve ever had on an AIWB holster…or on any holster for that matter.
Plastic clips work acceptably well, but they often allow an entire holster to move around while you’re going about your day — and they’re rarely as durable as the quality metal versions. T1 clips from Discreet Carry Concepts are thin, lightweight, very low profile and have incredible tension. That tension feels as aggressive today as it did when I first began using the holster.
In fact, having a good EDC belt (which should be a must-have as a part of your carry setup) isn’t as necessary as it might be with otherwise due to the Velo’s clips. I’ve used a variety of belts with the Velo and sometimes without a belt at all. The holster has always performed just fine as long as the pants or shorts had enough material in the waistline.
That said, a good belt is always going to be my preferred foundation of carrying.
That is how strong the T1 clips are, and that allows for many more options wardrobe-wise. That, in turn, means that there are even fewer excuses reasons not to carry.

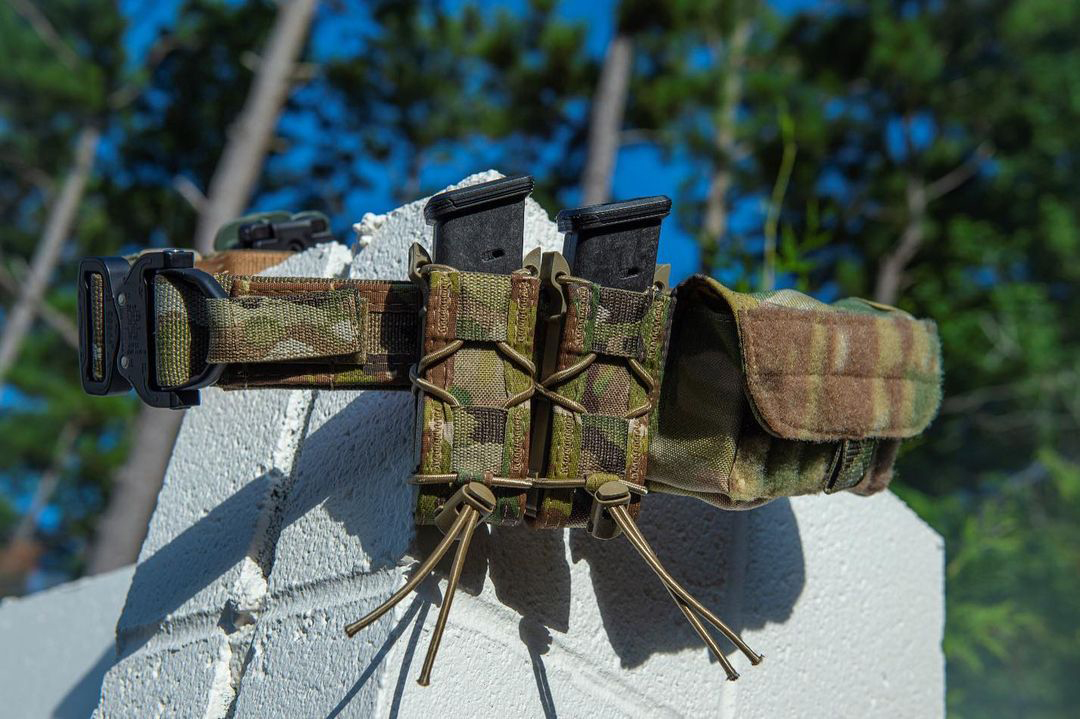
Tenicor Velo Sig P365 holster as a part of a complete EDC loadout (though you can’t see the medical component from this angle). It’s good to have enough gun, but you should have a TQ or some combat gauze or something immediately accessible to patch holes on you.
I have carried my P365 in the Velo for over a year now, the vast majority of the time off duty, and unless someone comes up with something startlingly better it’s going to remain what I use. The Velo + P365 makes for a tight, light, compact option that’s easy to conceal no matter what you wear. Though at first, the muzzle wedge wasn’t very comfortable against my body, after a few days of wearing it that discomfort went away. I have driven on long road trips with it and I am comfortable during the entire 3 to 4-hour ride. That’s actually similar to my first experience carrying appendix fashion for the first time overall — the comfort level improved over a short wear period, and I quickly realized the advantages it gave.
The T1 clips are very effective at staying put and keeping the holster in place. Unlike any other holster I’ve used, I’ve never had to worry about it slipping or falling out. Retention is solid, and I am confident that my pistol is secured until I make the conscious decision to draw it.

There’s a Sig P365 under here — no, it won’t fit an iron or a steamer. Concealed means concealed.

T1 Clips are some of the best!
Tenicor did an excellent job at designing and manufacturing a holster system that is very concealable, safe, lightweight, and durable. They have since made updates to the design with the body contour that evolved from the wedge and a few other features.
The Velo works as advertised and if there is one thing that I could come up with as a con, it would be the price. A Velo setup with the T1 clips will run you $95. Good kit costs money and this is no different. This particular holster has lasted me over a year and is showing no signs of wear or reductions in retention with the clips or of the pistol. It is a high-quality product that Tenicor stands behind 100% and will do a full refund if purchased direct.
The Velo lets you carry your EDC pistol discreetly, safely and will work with pretty much anything you decide to wear. With the increase in shootings in public places, it’s never more important to have a pistol on you (if you can do so legally) so that you’ll have a fighting chance if you’re caught up in an incident where you need it.
For more information check out the Tenicor website.
Carry a Sig P365?
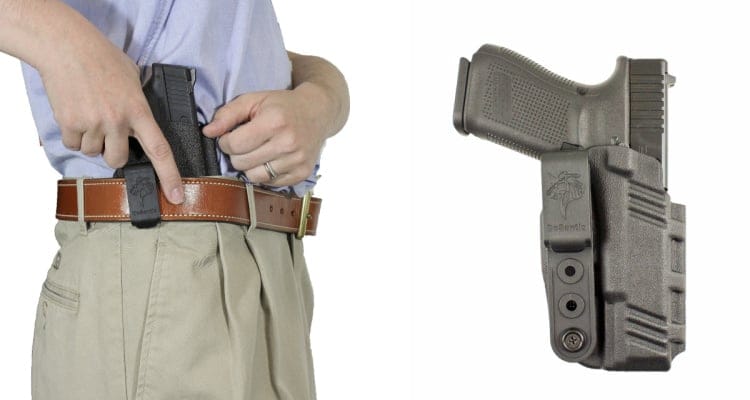
In Stock: Blackpoint Tactical
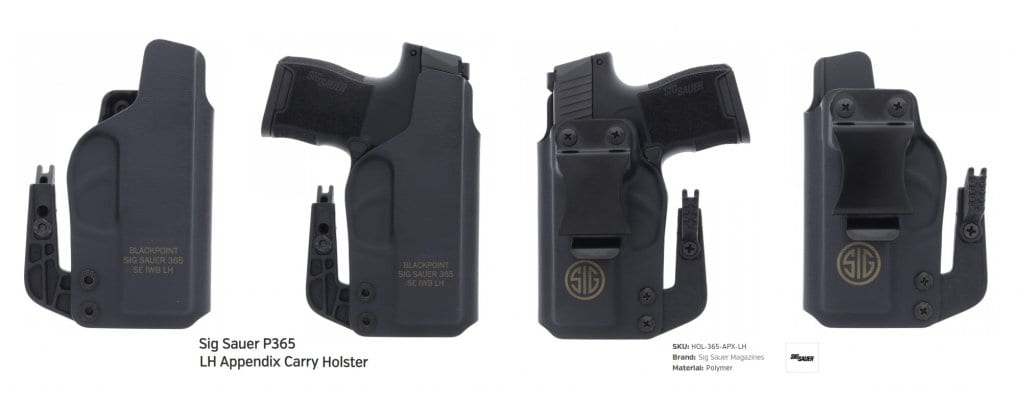
GunMag Warehouse carries this one for the wrong-handed: it’s the Blackpoint Tactical left-hand AIWB holster for the SIG P365.
Sig P365 Holster — This Guy’s Top Five
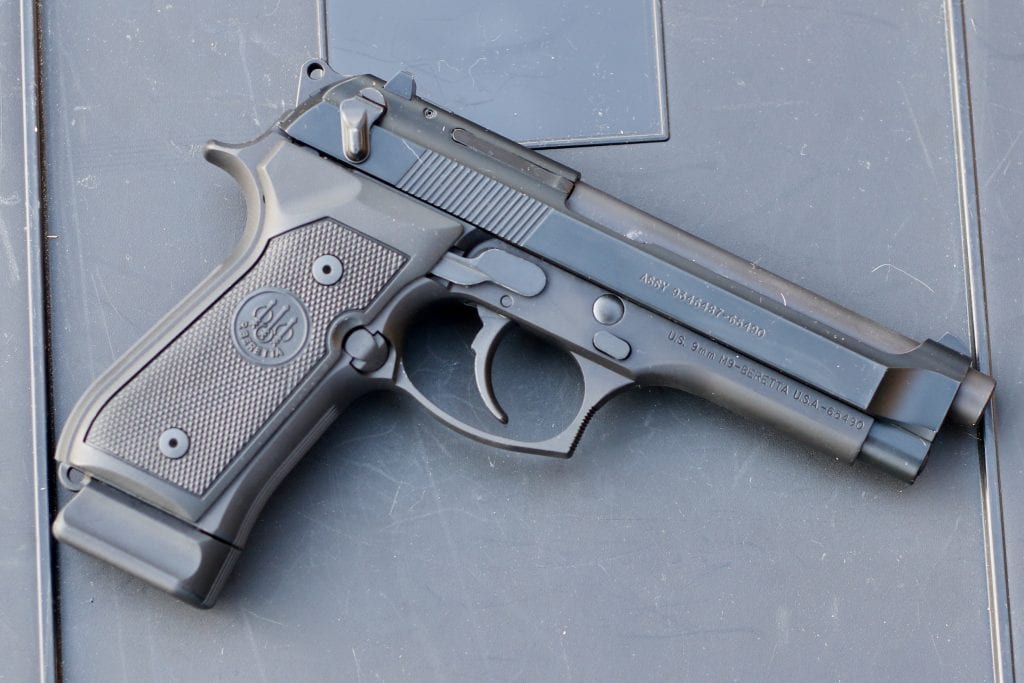
The P365 is the size of a single stack 9 with the capacity of a double stack 9. The gun has of course been quite popular with the concealed carry market and I carry one myself. This has led me to discover a series of Sig P365 holsters, some of which, of course, are better than others. Here are five I feel specifically partial to.
1. Bravo Concealment Torsion 3.0
If you want to go full kydex, the Bravo Concealment Torsion 3.0 is the route to take for the standard grip frame. This appendix carry design comes with two belt clips, but a single clip can be used for a more traditional appendix carry setup. I personally preferred the strongside IWB setup and the Bravo Concealment rig conceals without effort.
A Sig P65 holster of choice: the Torsion 3.0 holster is a good Kydex option for AIWB (Appendix Inside the Waist Band) carry.
The design is set up to accommodate a threaded and extended barrel and will also function with raised suppressor height sights. With a growing P365 aftermarket it makes sense that some folks have suppressed their P365 for range time. Having P365 holsters to accommodate this is a nice touch. The Bravo Concealment Torsion 3.0 has an adjustable cant and adjustable passive retention.
The Torsion 3.0 is a well-made holster that is plenty comfortable and has that satisfying click when the gun is holstered. The Torsion 3.0 is currently only available for the standard P365 model, but I would expect an XL model to come forward soon.
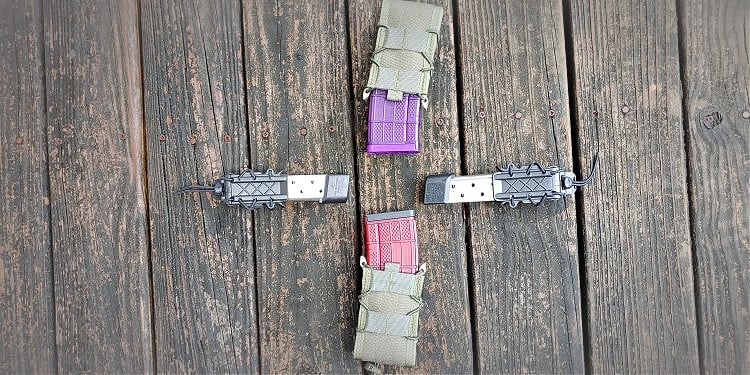
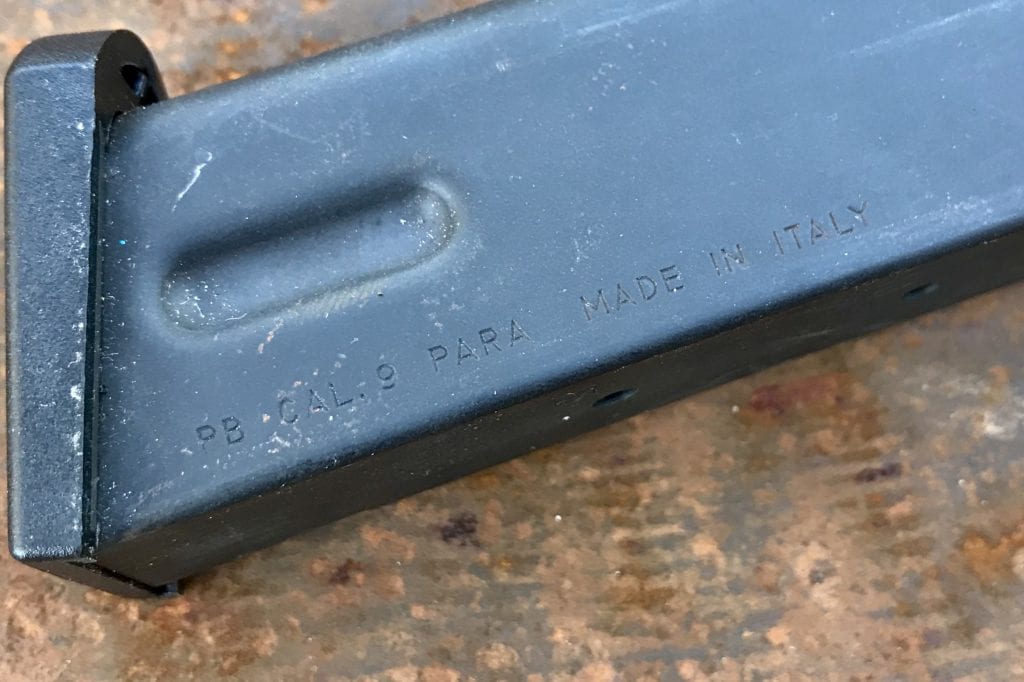
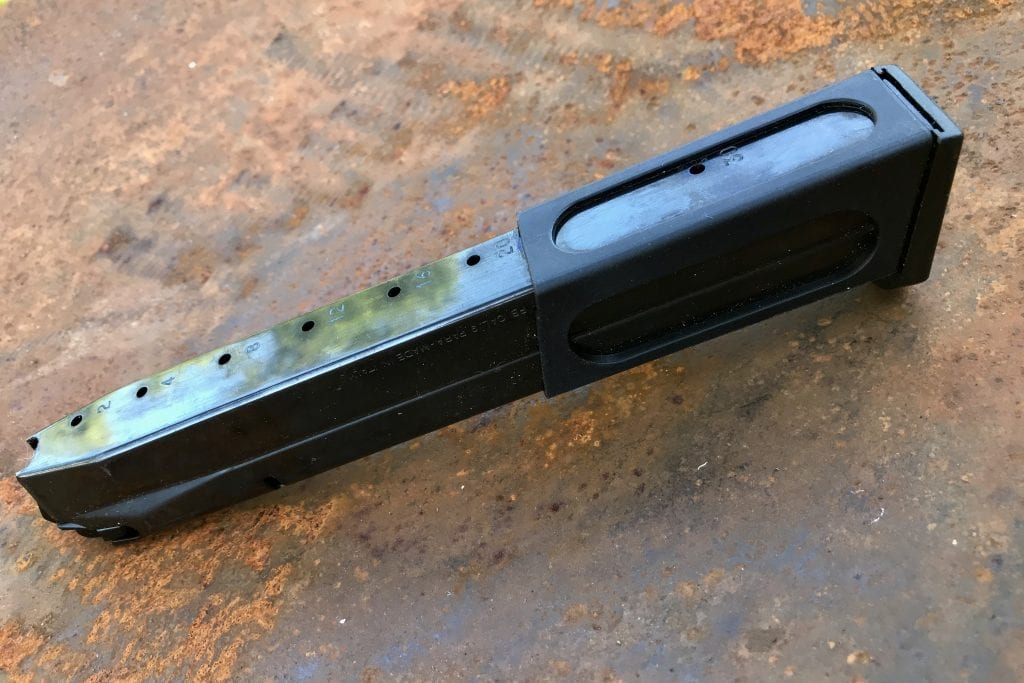
Sig Sauer P365 9mm 15-round magazine. GOT MAGS?
2. Crossbreed DropSlide
Crossbreed is well known for their hybrid style holsters and they produce both IWB and OWB models. They produce an absolute ton of P365 holsters. The Crossbreed DropSlide is an OWB model that is cut not only to accommodate the P365, but also TLR 6 equipped P365. This is one of the few light-bearing models I could find without a 6 to 9 week lead time.
The Crossbreed DropSlide for SIG Sauer P365 is an OWB model that is cut not only to accommodate the P365, but a TLR 6 equipped P365 as well…cuz it’s good to have a light! (WML and handheld f you can.)
I’m an OWB kind of guy. I typically find it the most comfortable means to carry a gun and my large frame also makes it easy for me to conceal an OWB gun. The DropSlide design cuts the leather low to make it easy to get a comfortable grip on the gun and draw with speed.
The DropSlide bends around the body and allows the holster to conform to the body. It conceals very well and the DropSlide’s custom-molded frame keeps things comfortable and keeps the gun secured. I can carry my SIG p365 with a Streamlight TLR 6 and do so very comfortably.
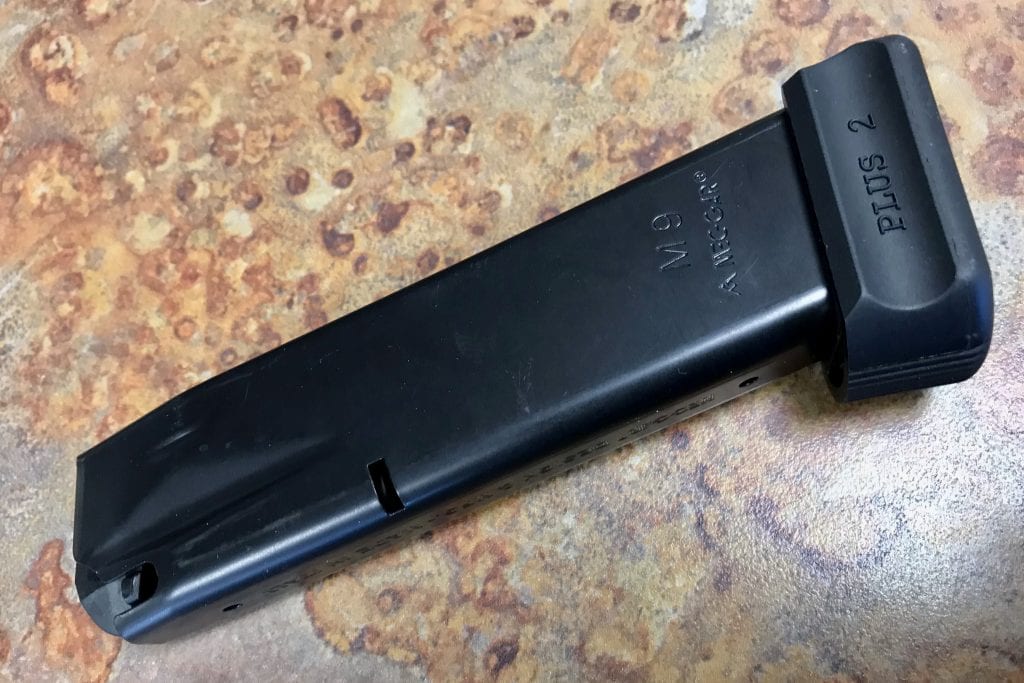
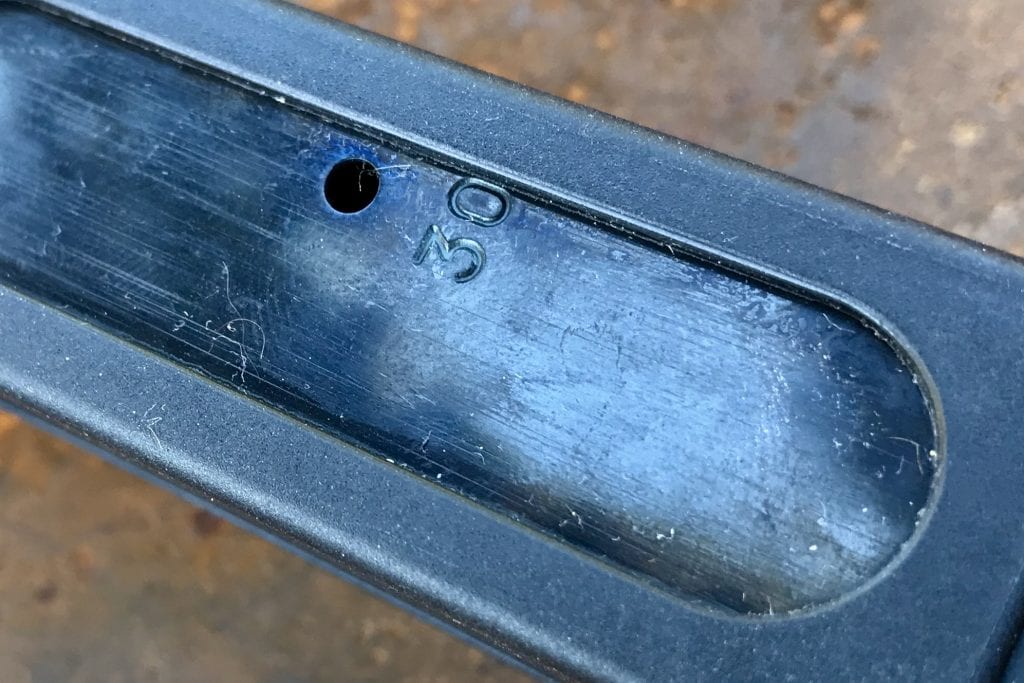
P365 Micro-Compact 9mm 12-round magazine. GOT MAGS?
3. Alien Gear ShapeShift
The Alien Gear ShapeShift Holster system is designed to be an all-in-one holster option. It utilizes interchangeable shells that allow you to swap holsters and carry techniques. You can swap between OWB models, appendix holsters, hybrid IWB, shoulder holsters, car holsters, MOLLE rigs, pocket holsters, and more. With one shell you can purchase the expansion packs you need and want.
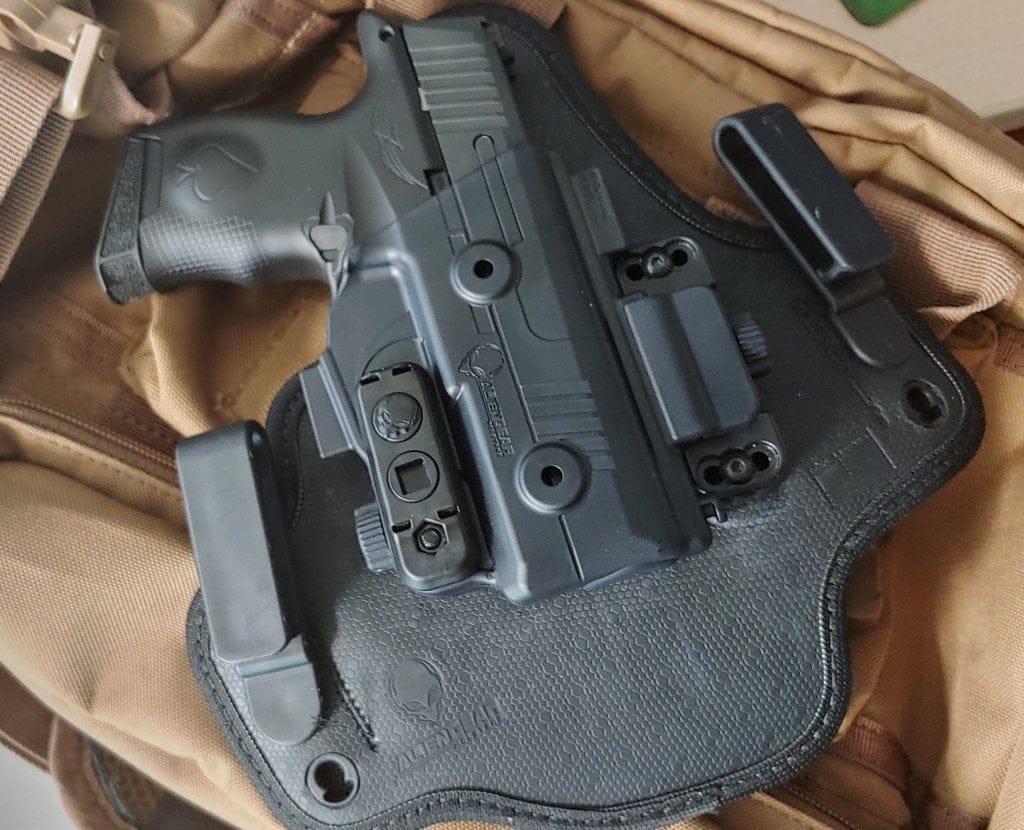
Alien Gear’s ShapeShift Holster system is based on interchangeable shells so you can swap holsters (and change up carry techniques).
Alien Gear and their ShapeShift system was an early adopter of the P365 and allowed shooters to have nearly any option they wanted for their P365. The ShapeShift system isn’t perfect, and won’t satisfy all people with their designs. However, they do offer a multitude of options that other holsters companies do not.
Being able to carry my P365 on a belly band, or a shoulder holster, or even on my ankle isn’t always necessary but they do open up options for those niche situations in which you need a niche means to carry. I tend to stick to the IWB model for a tuckable carry option. As far as P365 holsters go this will cover every use you can imagine.
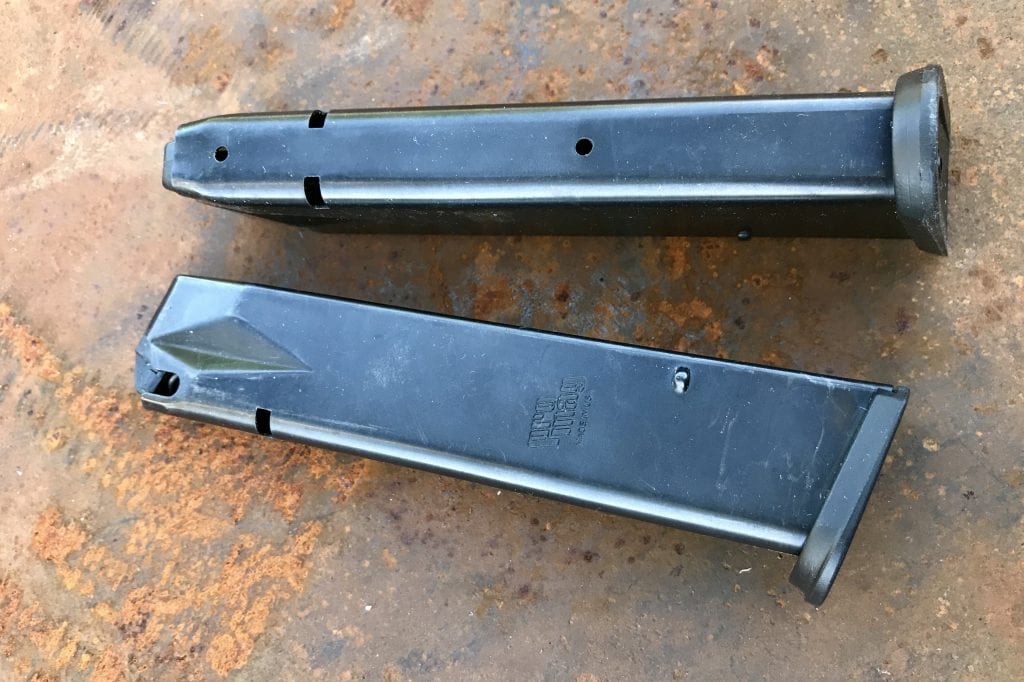
P365 Micro-Compact 9mm 12-round magazine. GOT MAGS?
4. Clinger Holsters V3
The V3 No Print Wonder from Clinger Holsters is a modular holster system that mixes leather and kydex but not in a way that you’d expect. The V3 No Print Wonder P365 holsters use a solid polymer base with leather wing attachments. These wings allow you to carry the gun in an OWB or IWB configuration with just a flip of the hardware.
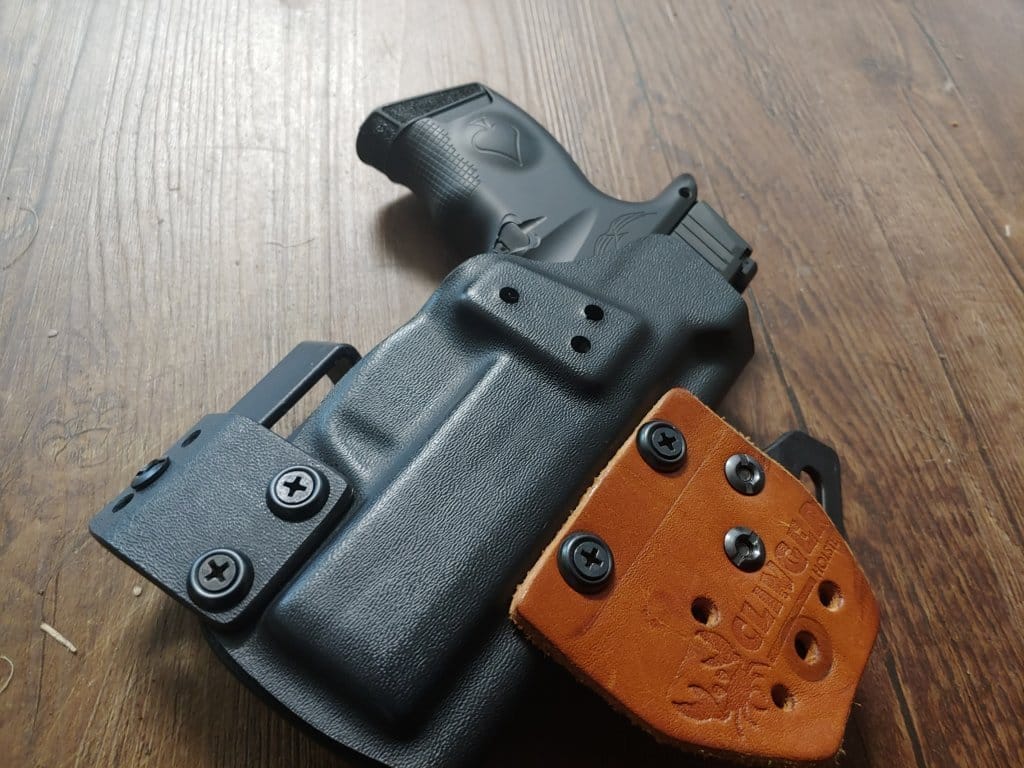
This is the V3 No Print Wonder from Clinger Holsters: it’s a leather-and-Kydex modular holster system, but not the sort of hybrid you might expect. Another recommended option for those of you who need a Sig Sauer P365 holster.
The IWB hardware gives you a strongside IWB holster that does what its long name says. The design doesn’t print and is superbly secure and comfortable. OWB hardware gives you something akin to a pancake-style design. It keeps it tight to your body.
If you remove the wings and add a large clip to the body of the polymer holster then you now have an appendix holster. The Clinger Holster V3 allows for a multitude of carry options in a low profile and lightweight design. On top of all that modularity, you can also adjust both cant and ride height to maximize concealment and comfortable draw.
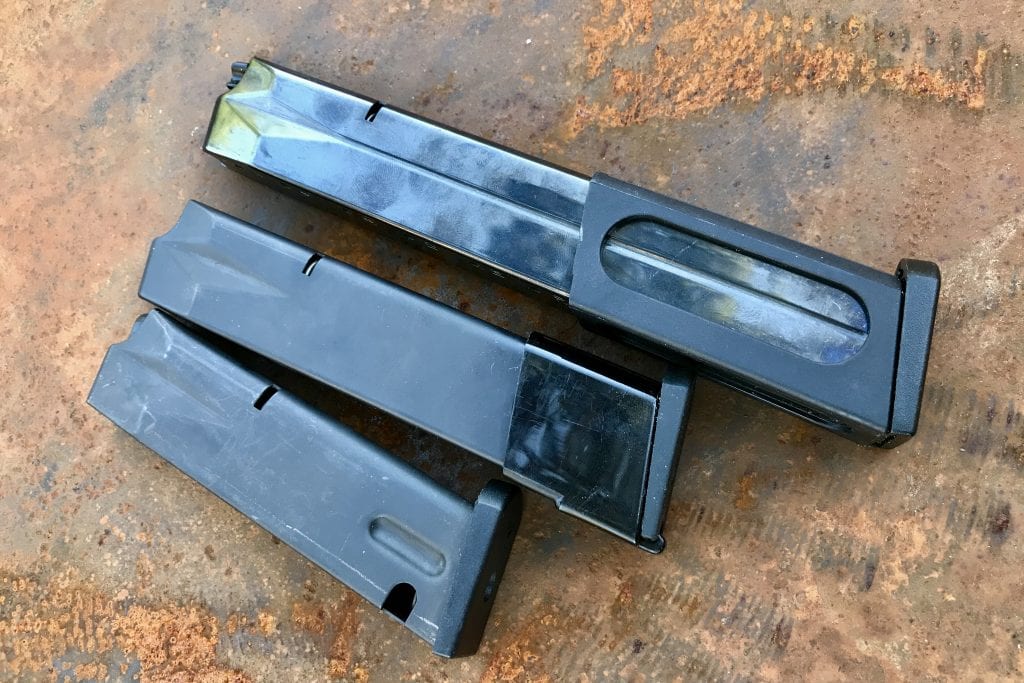
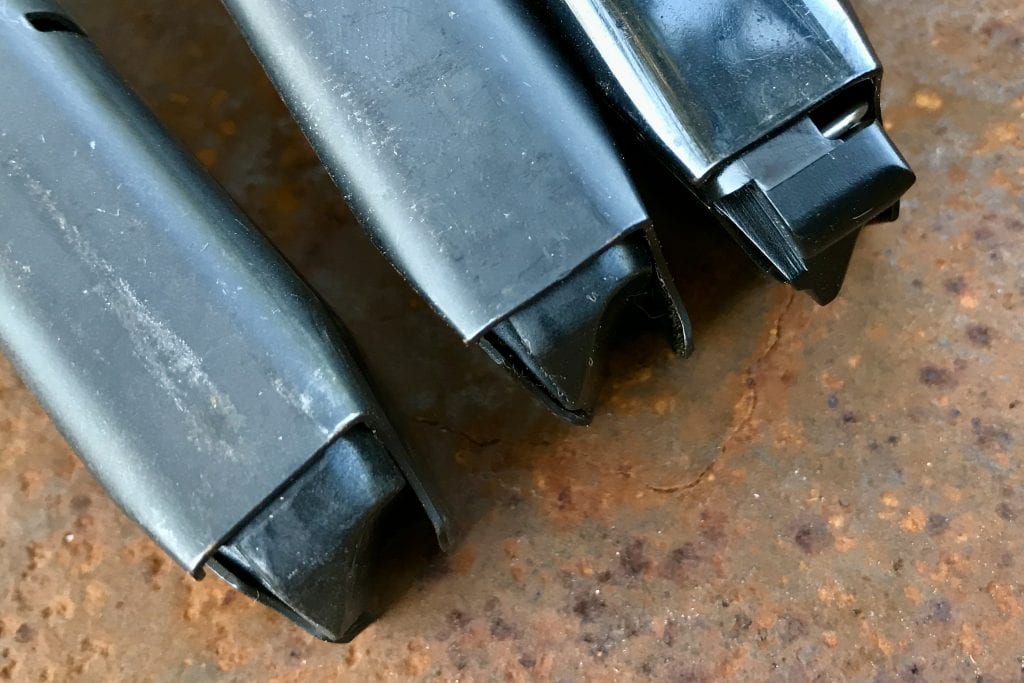
P365 9mm 10-round magazine with extension. GOT MAGS?
5. Black Label Products Appendix Holster
Black Label is the only company I’ve found that produces a full kydex P365 holster for the Icarus Grip Module I keep my P365 situated in. This gives them a major advantage to me in this list. This appendix rig offers me a small, lightweight, and unobtrusive holster for carrying my P365 with the Icarus Grip Module.
It’s good for the Icarus Grip Module Sig P365XL too — thin, well-made, and comfy, it’s the Black Label appendix carry Sig Sauer P365 holster option for concealed carry.
The Black Label appendix rig does offer you adjustable cant as well as an easily adjustable ride height. Unlike many other appendix holsters, the Black Label holster system doesn’t have a claw. Instead, it has an integrated bump on the outward-facing portion of the trigger guard. This pushes the holster back for complete concealment. It has an integrated sweat guard but is a minimalist design.
The Black Label Appendix holster is thin, well made, and quite comfortable. It will also fit the new P365 XL with the Icarus Grip module as well. The Black Label Appendix holster comes from a small company, but they seem to be one willing to innovate. The holster is also available in a multitude of colors, including black, Tiffany Blue, Krypteks, Multicam black, and many more.
Find it: the P365 Sig P365 Icarus Grip Module.
Sig Sauer P365 Holster Choices and you
This is a gun designed to be carried day in and day out. It’s called the 365 for a reason. The P365’s aftermarket is growing rapidly and holsters are one small portion of that aftermarket. Who else carries one? If so, what is your preferred choice of Sig Sauer P365 holster?
Let us know if there are any holsters we should check out.!
Find this article’s holsters here:
Bravo Concealment: https://www.bravoconcealment.com/
Crossbreed: https://www.crossbreedholsters.com/
Clinger Holsters: https://clingerholsters.com/
Alien Gear: https://aliengearholsters.com/
Black Label Holsters: https://blacklabelholsters.com/
This has been a collaborative effort by two or more members of The Mag Life contributor team: to wit, a JWOT (Joint Writing Operations Team). We’ll advise which specific contributors in the text of the article. Subscribe to GunMag TV and follow GMW on Instagram, @gunmagwarehouse. Connect on Facebook, /gunmagwarehouse/.